Udemy Low Poly Landscapes
1. Introduction
Useful Shortcuts
- [Numpad .] - Frame selected objects.
- [Home] - Frame all.
- [X],[Y],[Z] - Constrain transform along axis.
- [Shift X],[Shift Y],[Shift Z] - Constrain transform along plane.
- [F3] - Opens command palette. Can search by name.
- [Tab] - Switch between object and edit modes.
- [1],[2],[3] - Switch between vertices, edges and faces modes.
- [L] - Select linked objects.
- [P] - Separate meshes into different objects.
- [J] - Join separate objects into a single one.
- [Ctrl X] - Dissolve selected.
- [Ctrl Alt Numpad 0] - Move selected camera to current view.
Explained concepts
- Framing objects
- Moving camera around
- Adding/removing objects
- Transforming objects
- Creating/Destroying workspaces
- Creating/Destroying docked windows
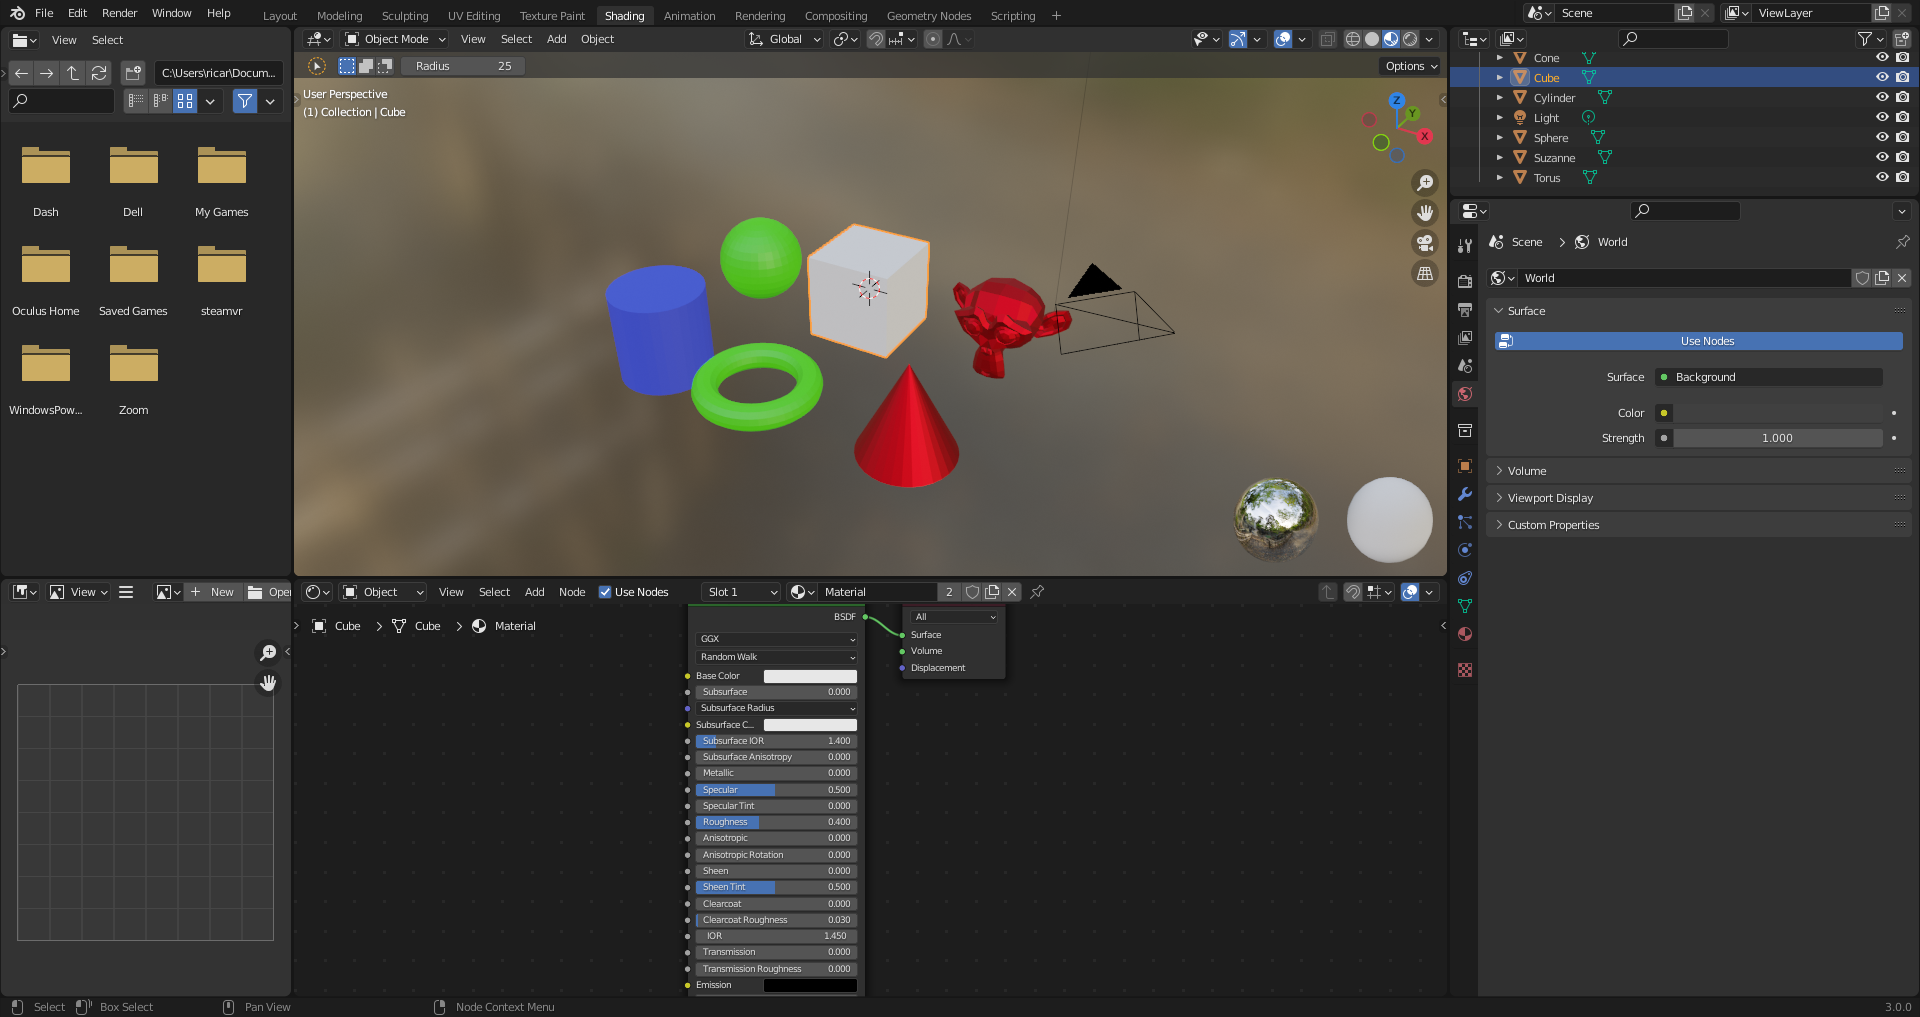
- Materials
- Shading view
- Shader node editor
- Creating materials
- Using existing materials
2. Basic Modelling
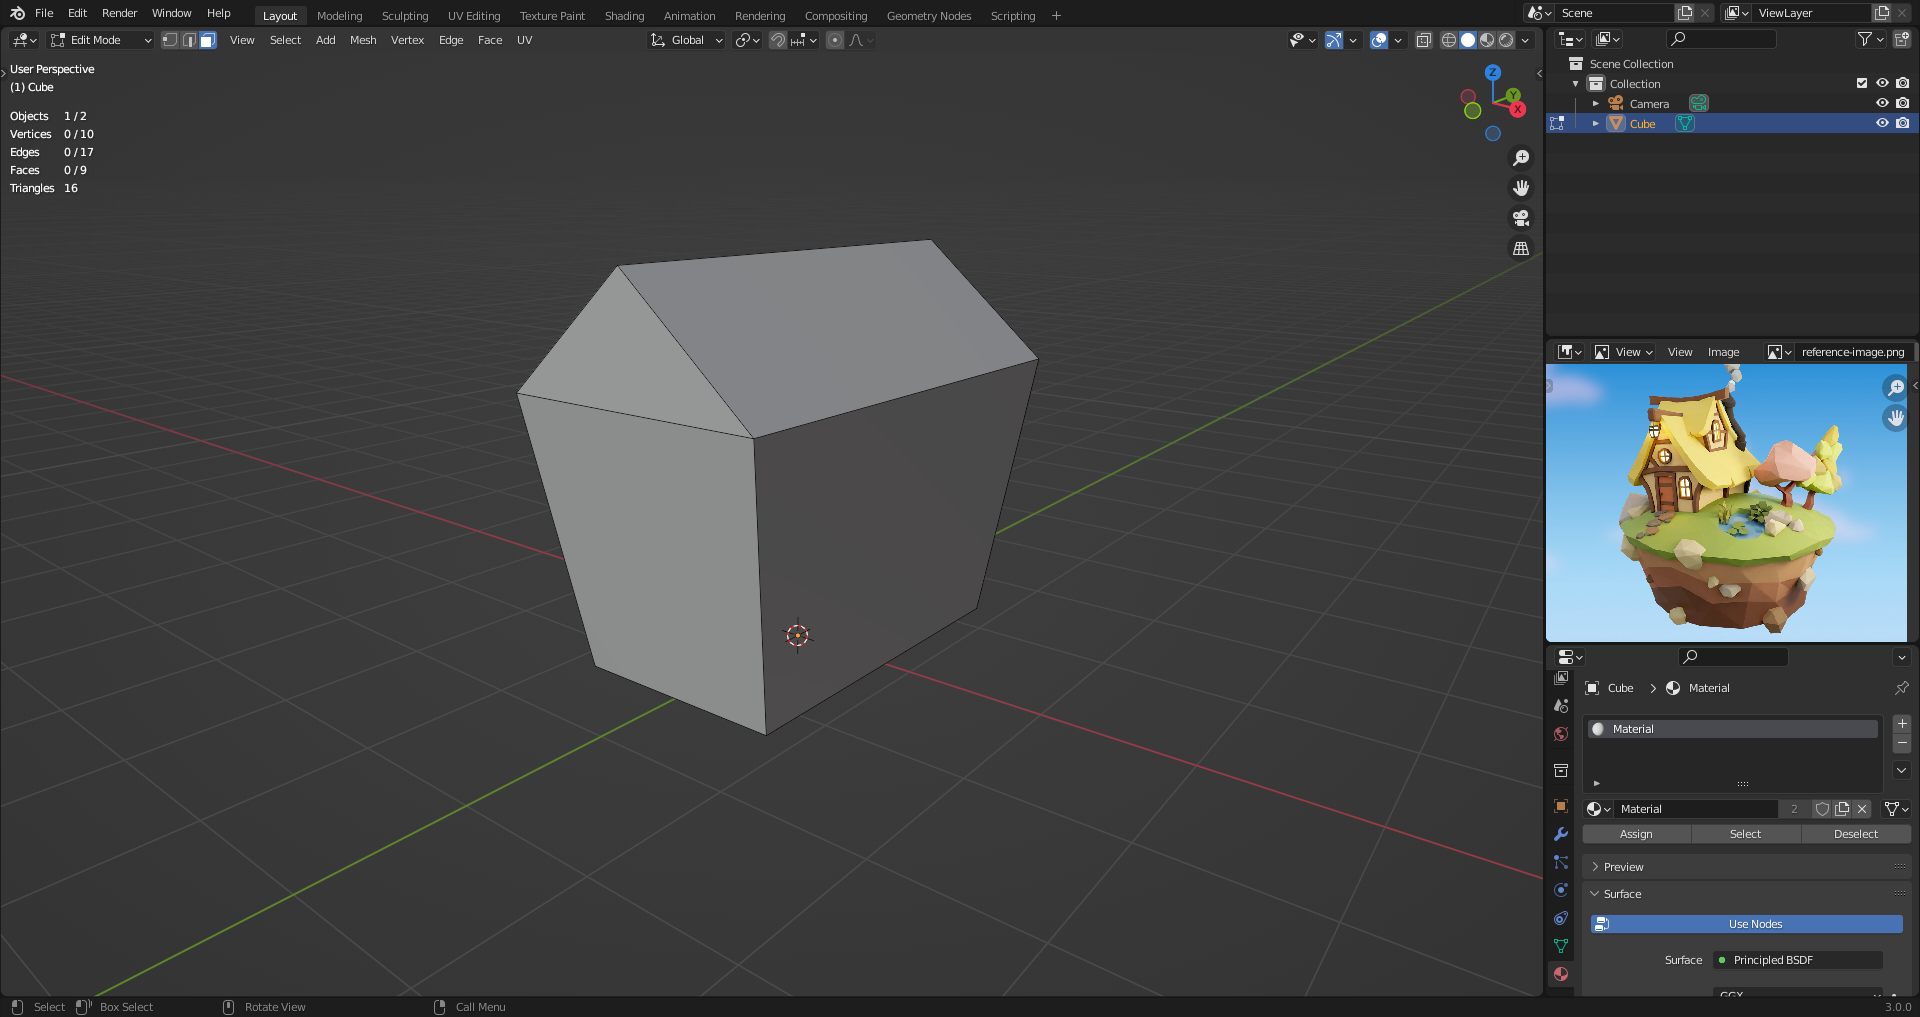
9. Basic House
Blocking out the shapes to have an idea before adding detail.
Using sketches and 2d images as references makes it easier.
Adding image editor to the workspace is interessant.
Start out of a box, scale to proper size.
Multiple ways to create the pointy top. Extrude top face (Key [E]) and merging top vertices together (Key [M]).
Overlays -> Statistics: Shows vertex/faces etc are selected.
Scale down bottom face to give a more cartoony cottage shape.
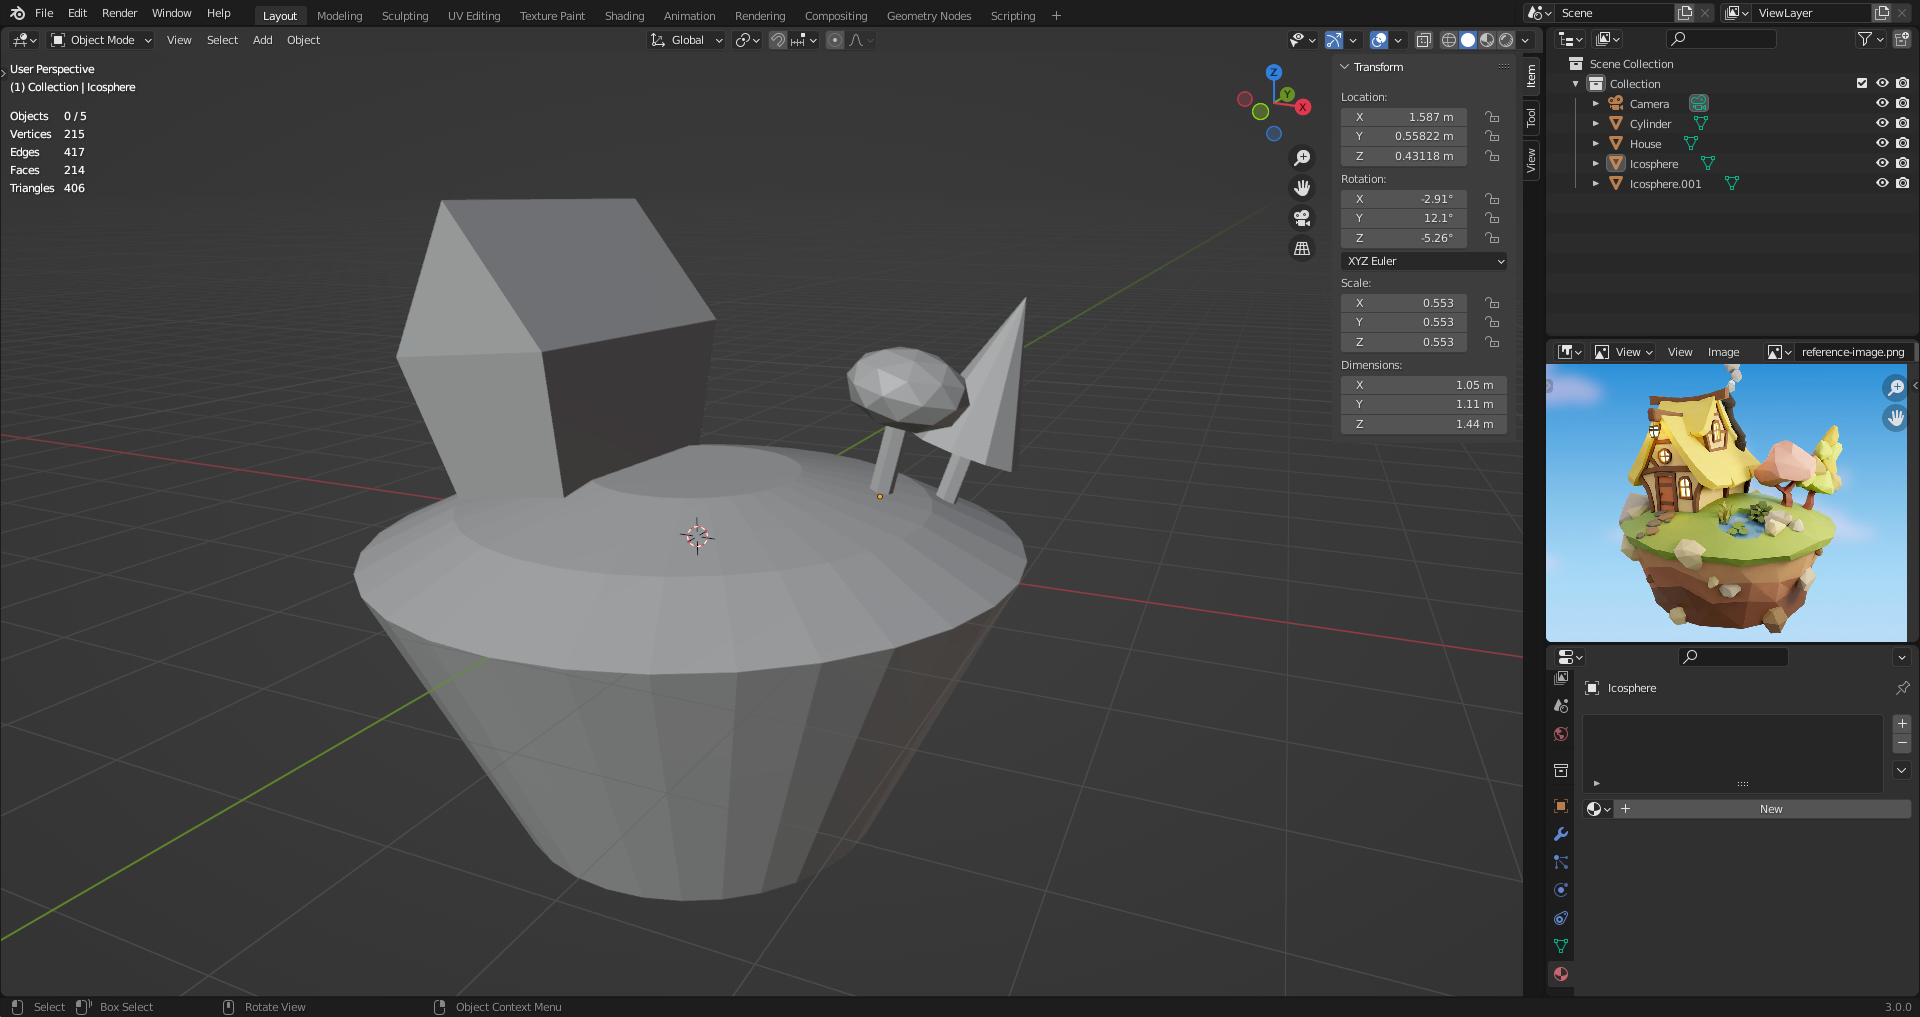
10. The Base & Trees
Make sure you are in object mode when adding new shapes.
Separate objects by selecting linked mesh if they are merged together by accident.
Add cilynder and select amount of vertices before closing the add menu. That's permanent.
To create "bowl" shape on top: Extrude top face, then scale it down to create curved surface.
After moving/rotating object, use local transforms to transform object without deforming it
Add trees by combining cilynders, cones and icospheres.
11. Loop Cuts
Toggle X-Ray with [Alt Z]. Makes it easier to edit objects.
Box-select vertices to adjust height. Or [F3] -> Select edge-loop. [Alt Left Click] Also select edge-loops.
Loop cuts [Ctrl R] objects to create a new loop around the object. Ideally work out with rect objects for that reason.
[Right-click] to cancel edge-loop position and set on default positions.
Delete edges -> Also removes the faces they compose.
Dissolve edges -> Delete edges but keep the faces.
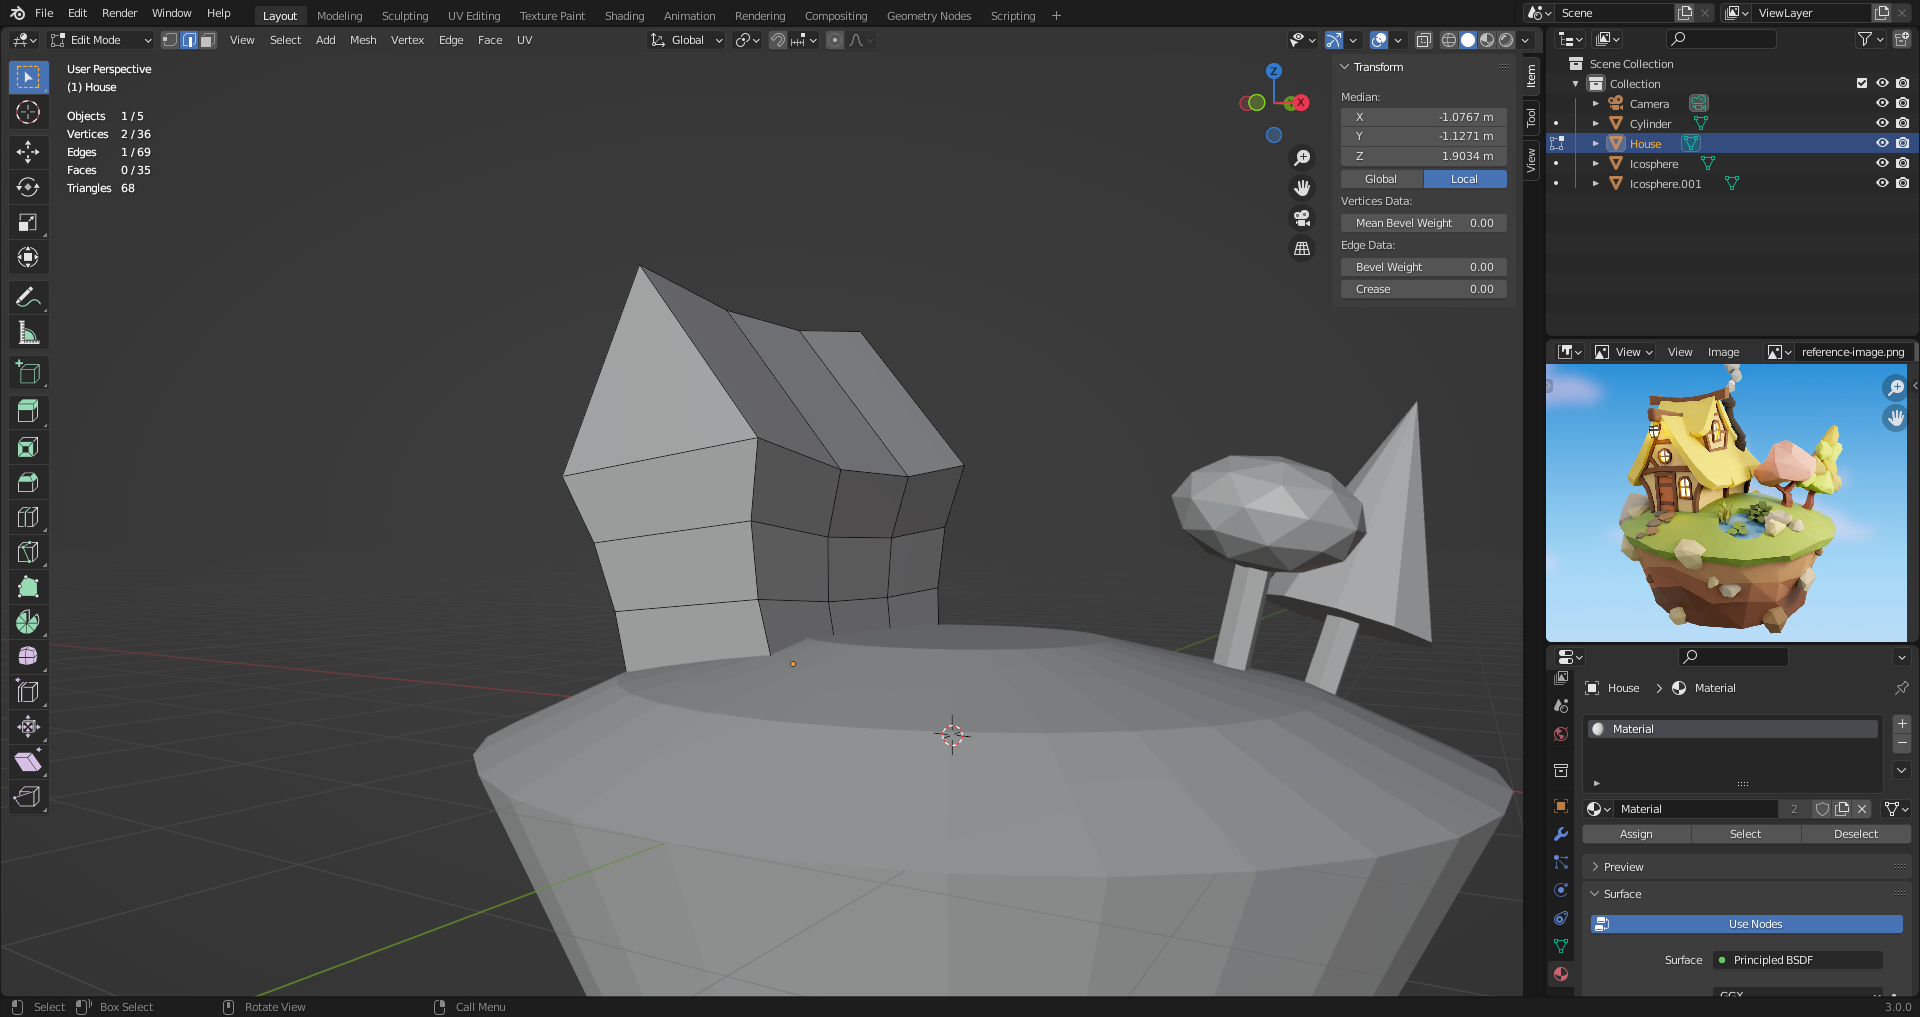
12. Separating Objects
When selecting faces in x-ray mode, you need to click closer to the center point.
Select roof faces, and duplicate using [Shift D]
Separate them using [P]
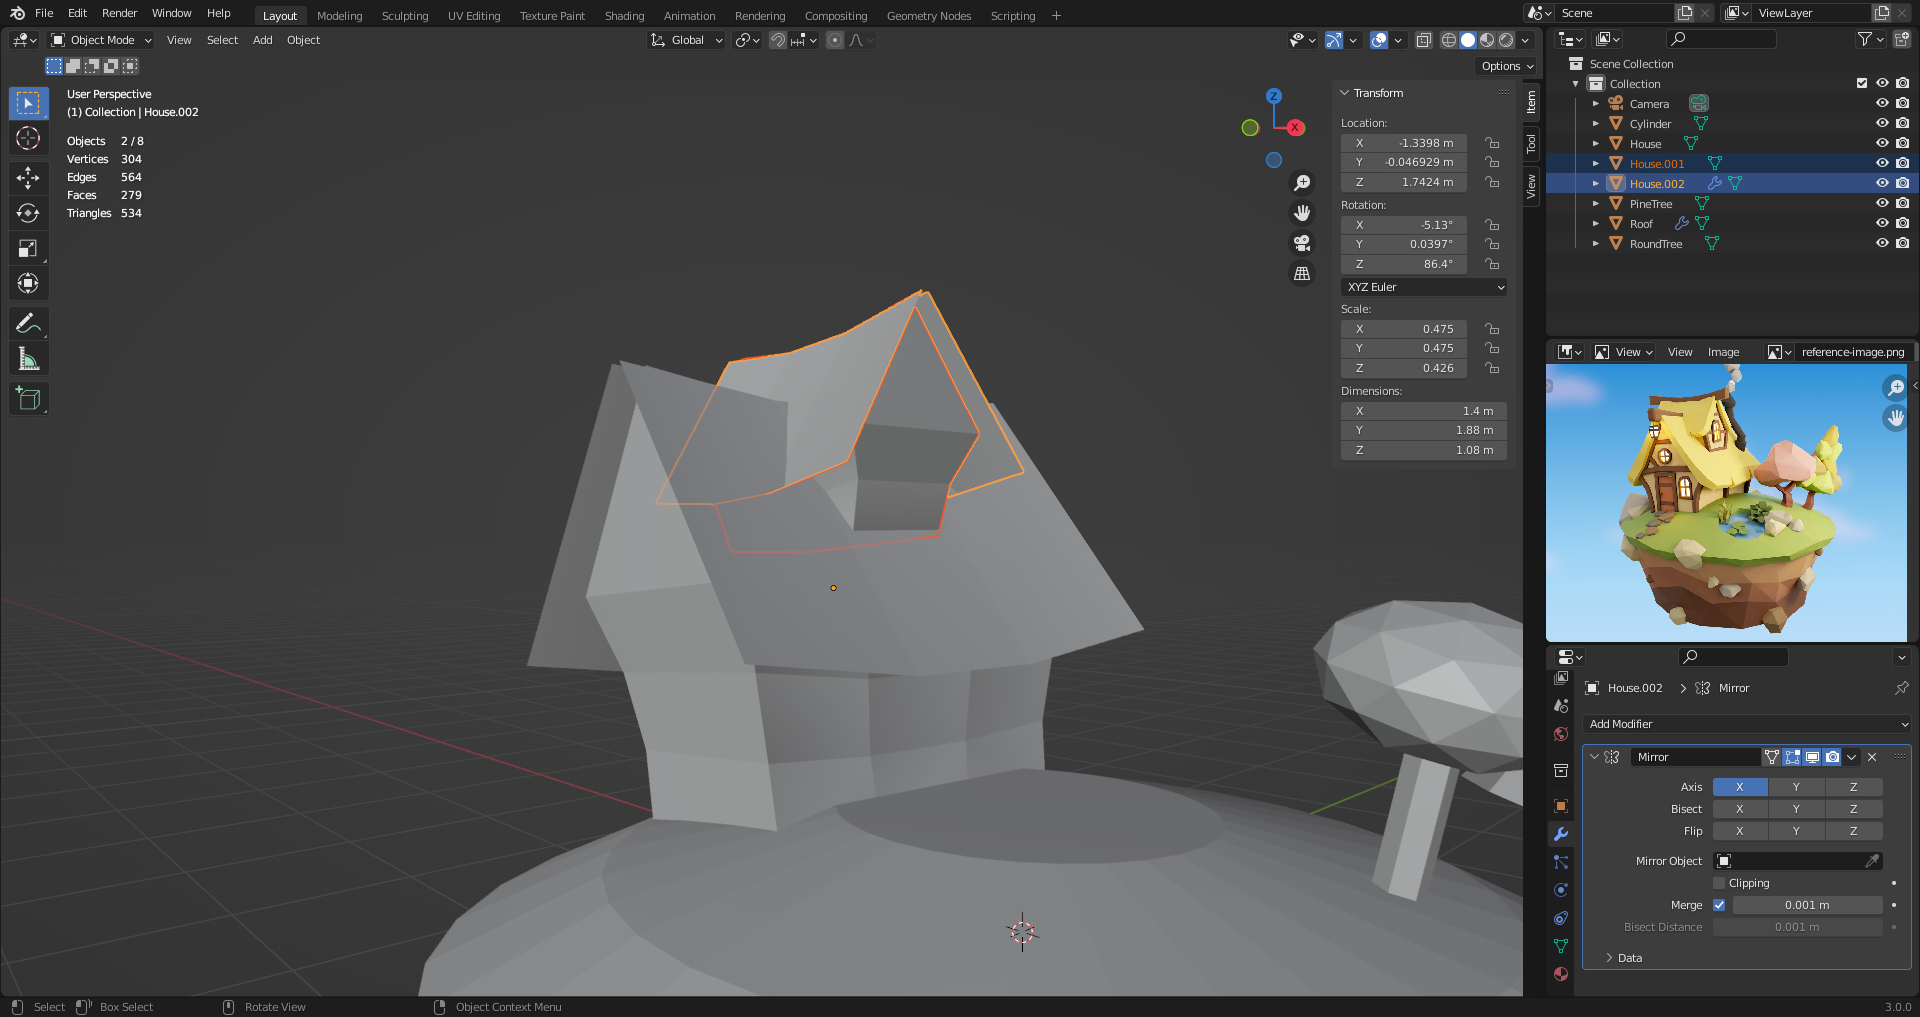
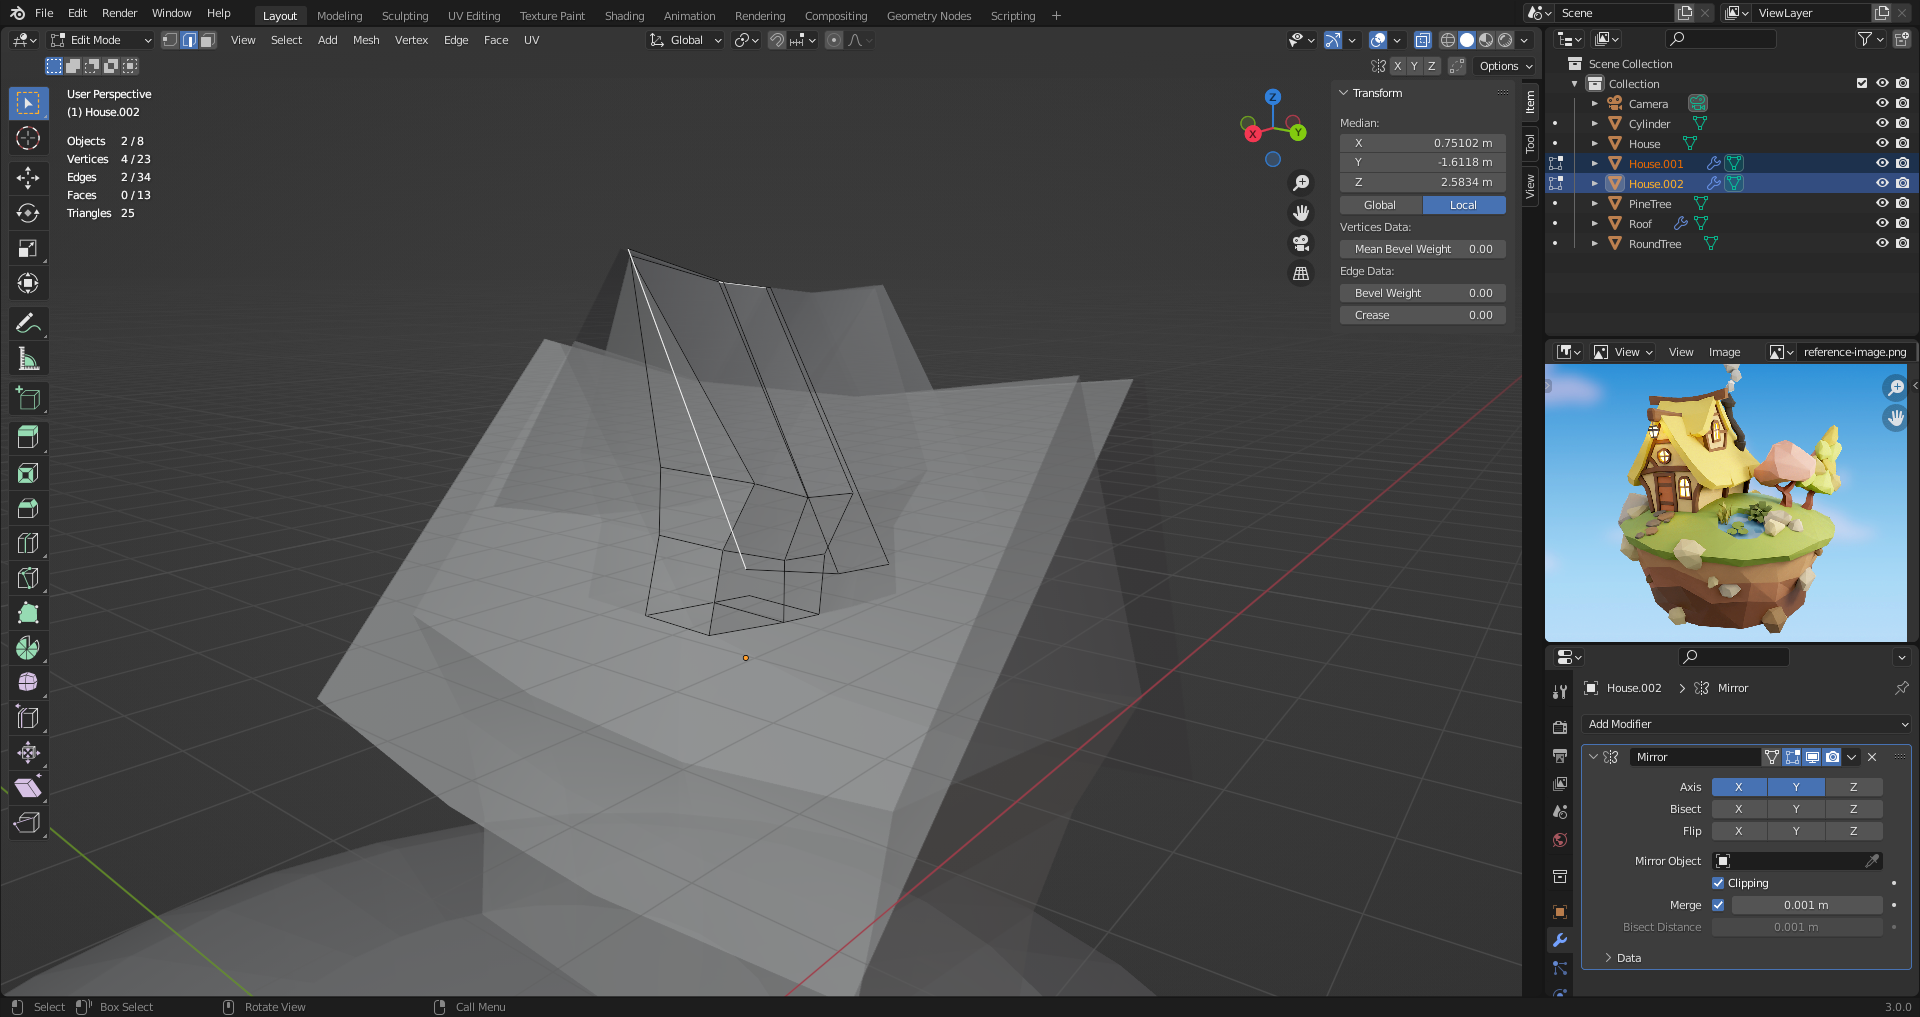
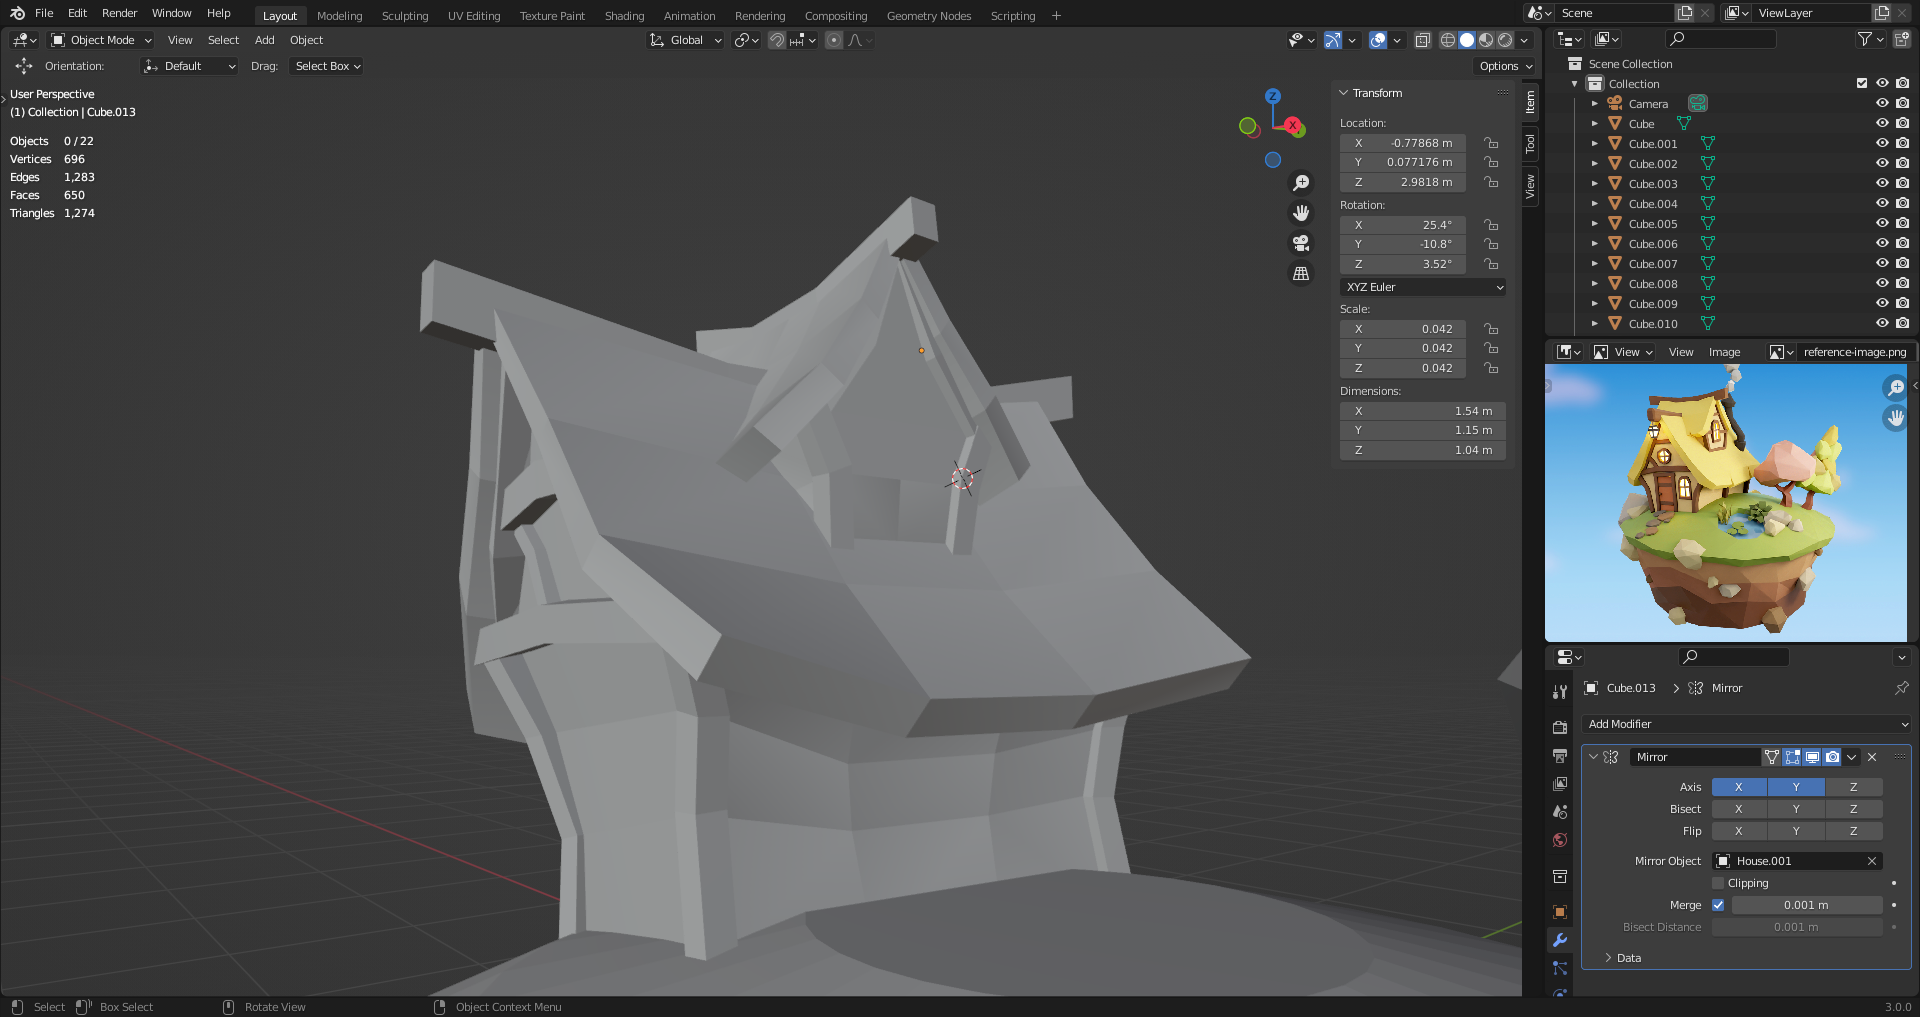
13. The Mirror Modifier
Modifiers change object without actually applying changes to the mesh. Can be configured without losing information.
Stack on top of each other.
Modifiers act relative to the origin (local coordinates).
With tool settings enabled (view->tool settings) you can enable options menu.
In options menu, you can change so transform only affect object origin. Use this to move object origin around.
"Mirror Object" options let you select a different object to use it's origin as reference.
Clipping prevents object from overlapping past the mirror. Also glues vertices that touch the mirror. Disable to unglue.
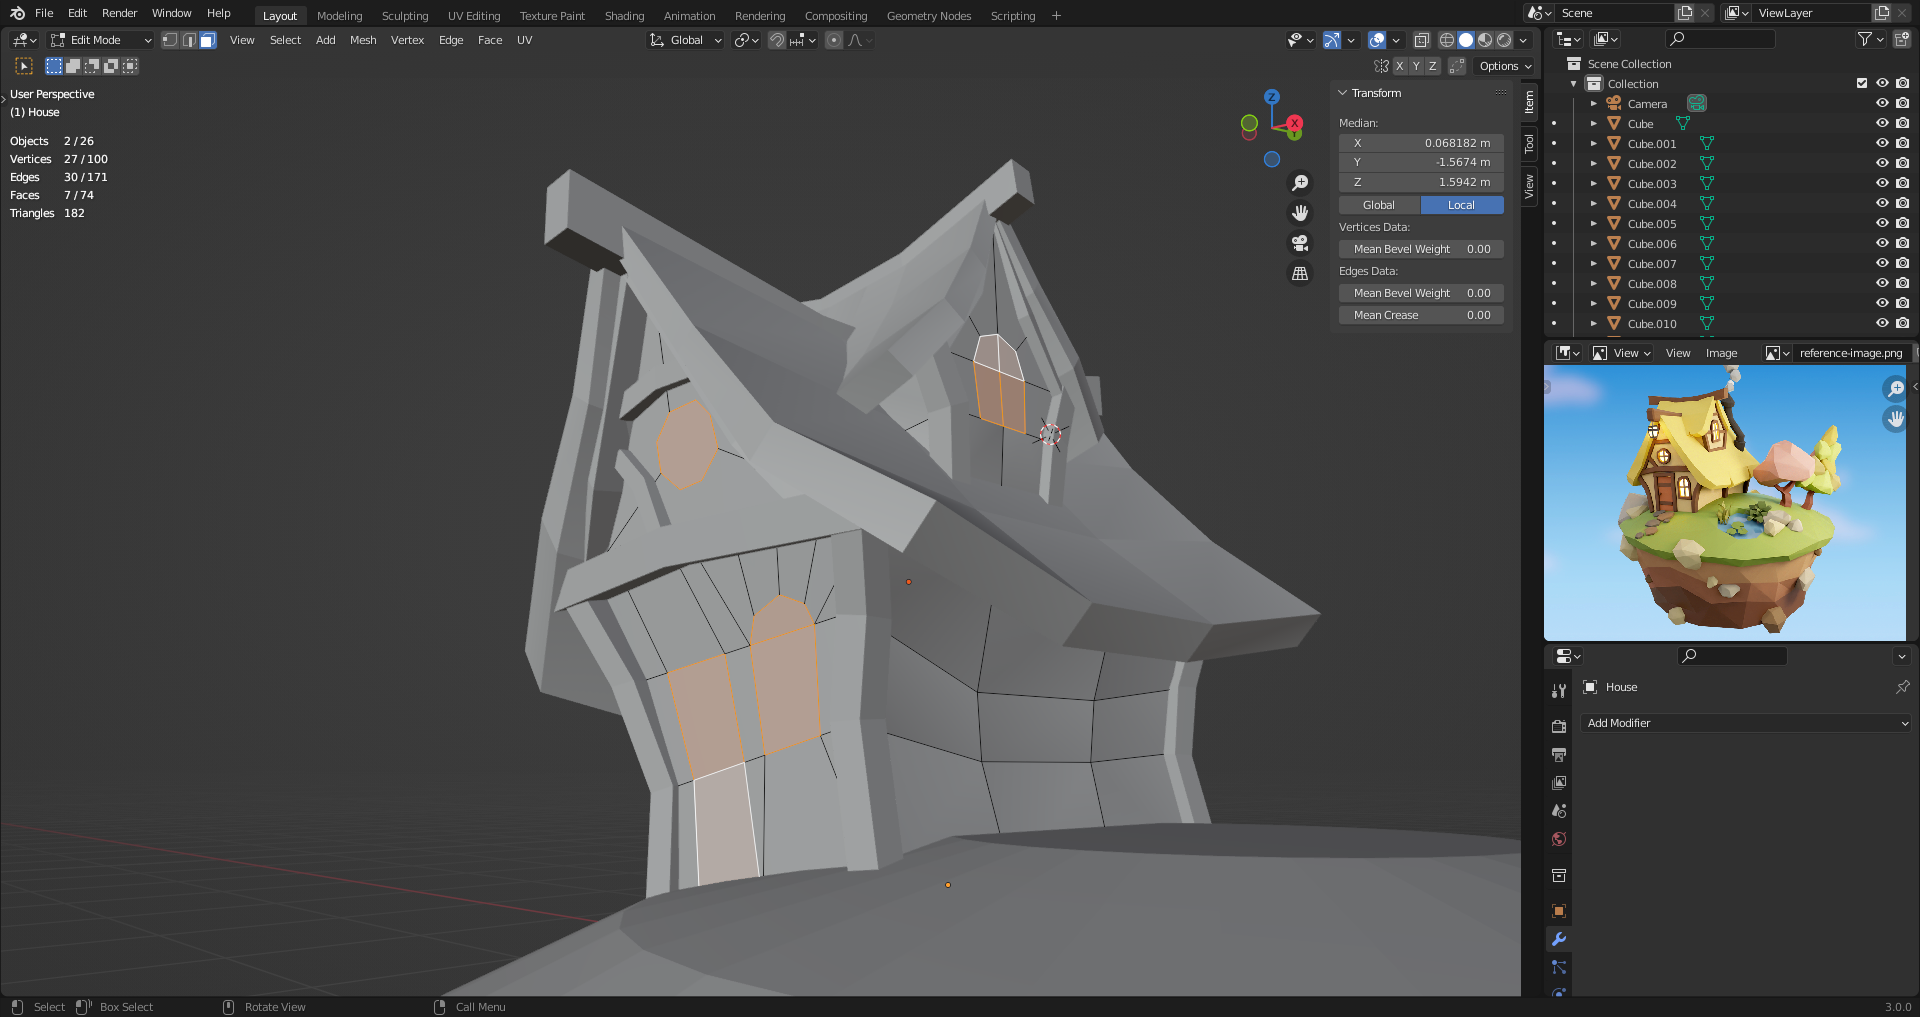
14. More Mirrors
You can mirror in more than one axis with the same mirror.
Toggle Local View (Pressing [Numpad /]) to edit single object centered and hiding other objects.
Since top part of the house is kinda simetric, add X and Y mirrors
Knife tool [K] to create new edges. If cut wrong and create new vertices, can use merge [M] to fix it.
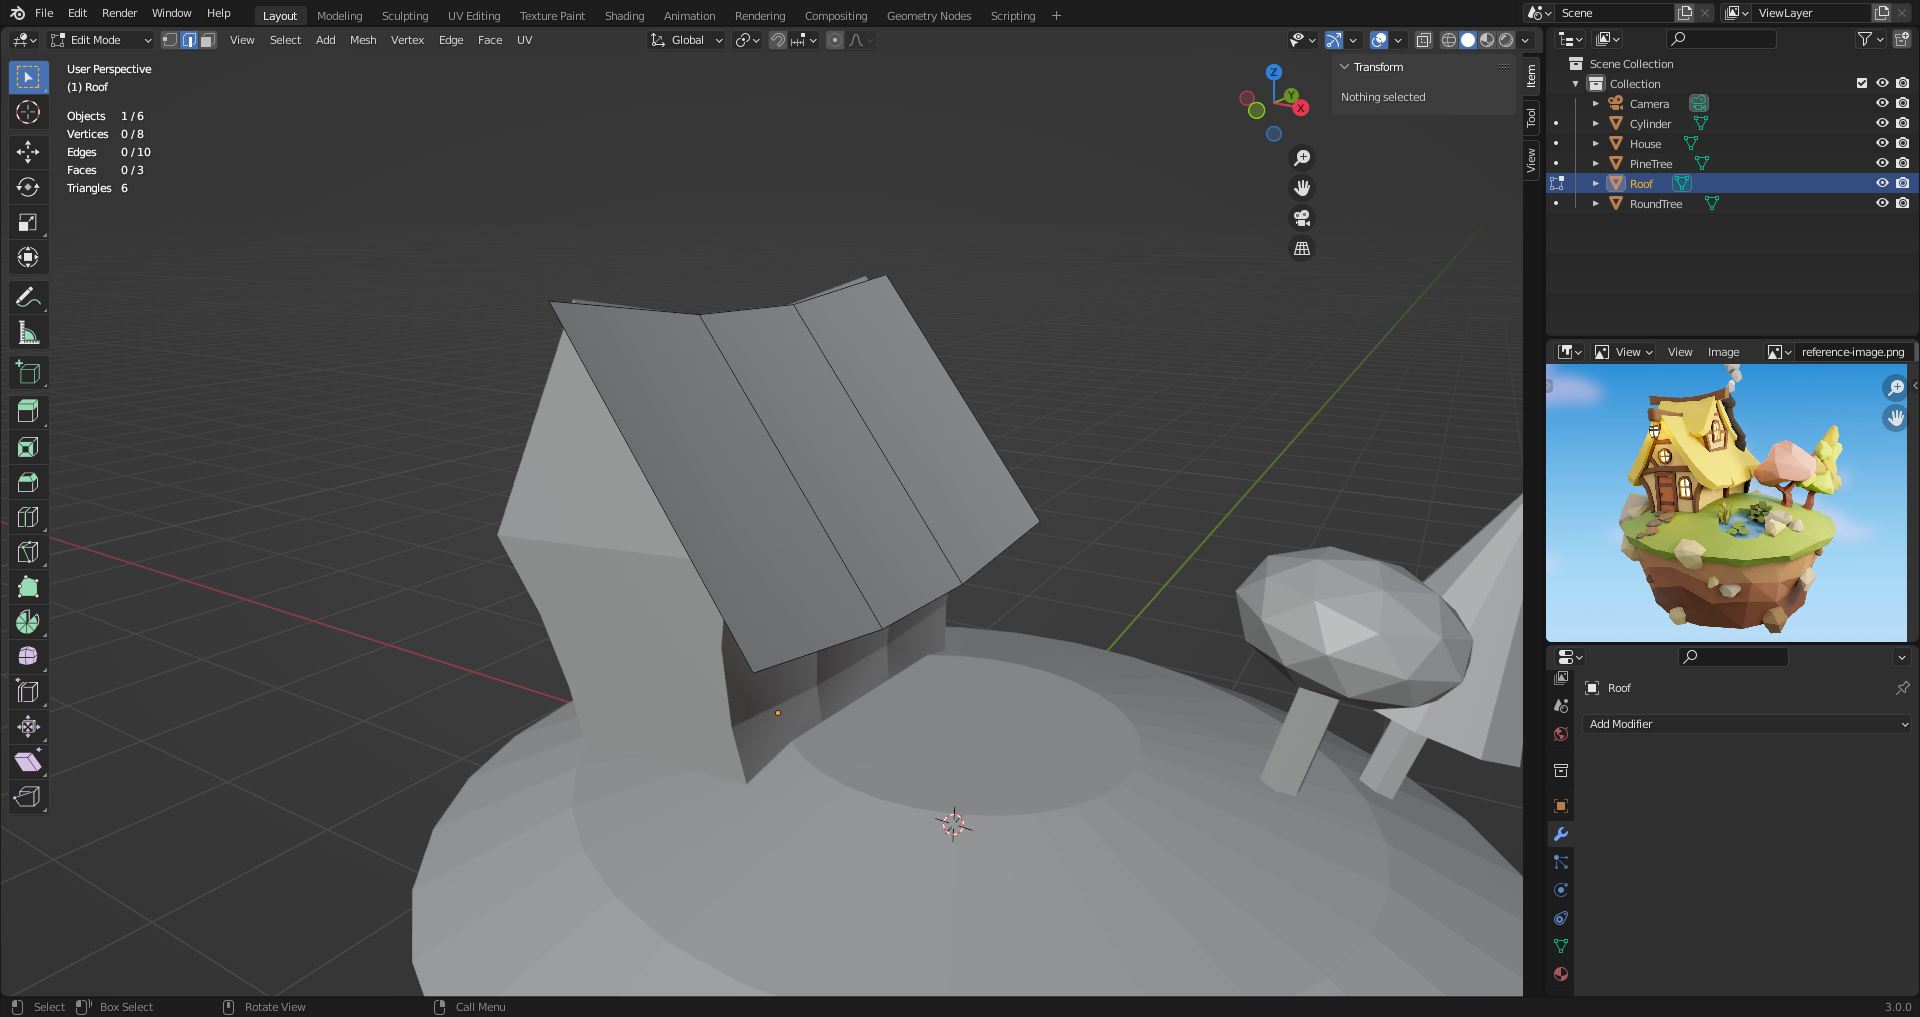
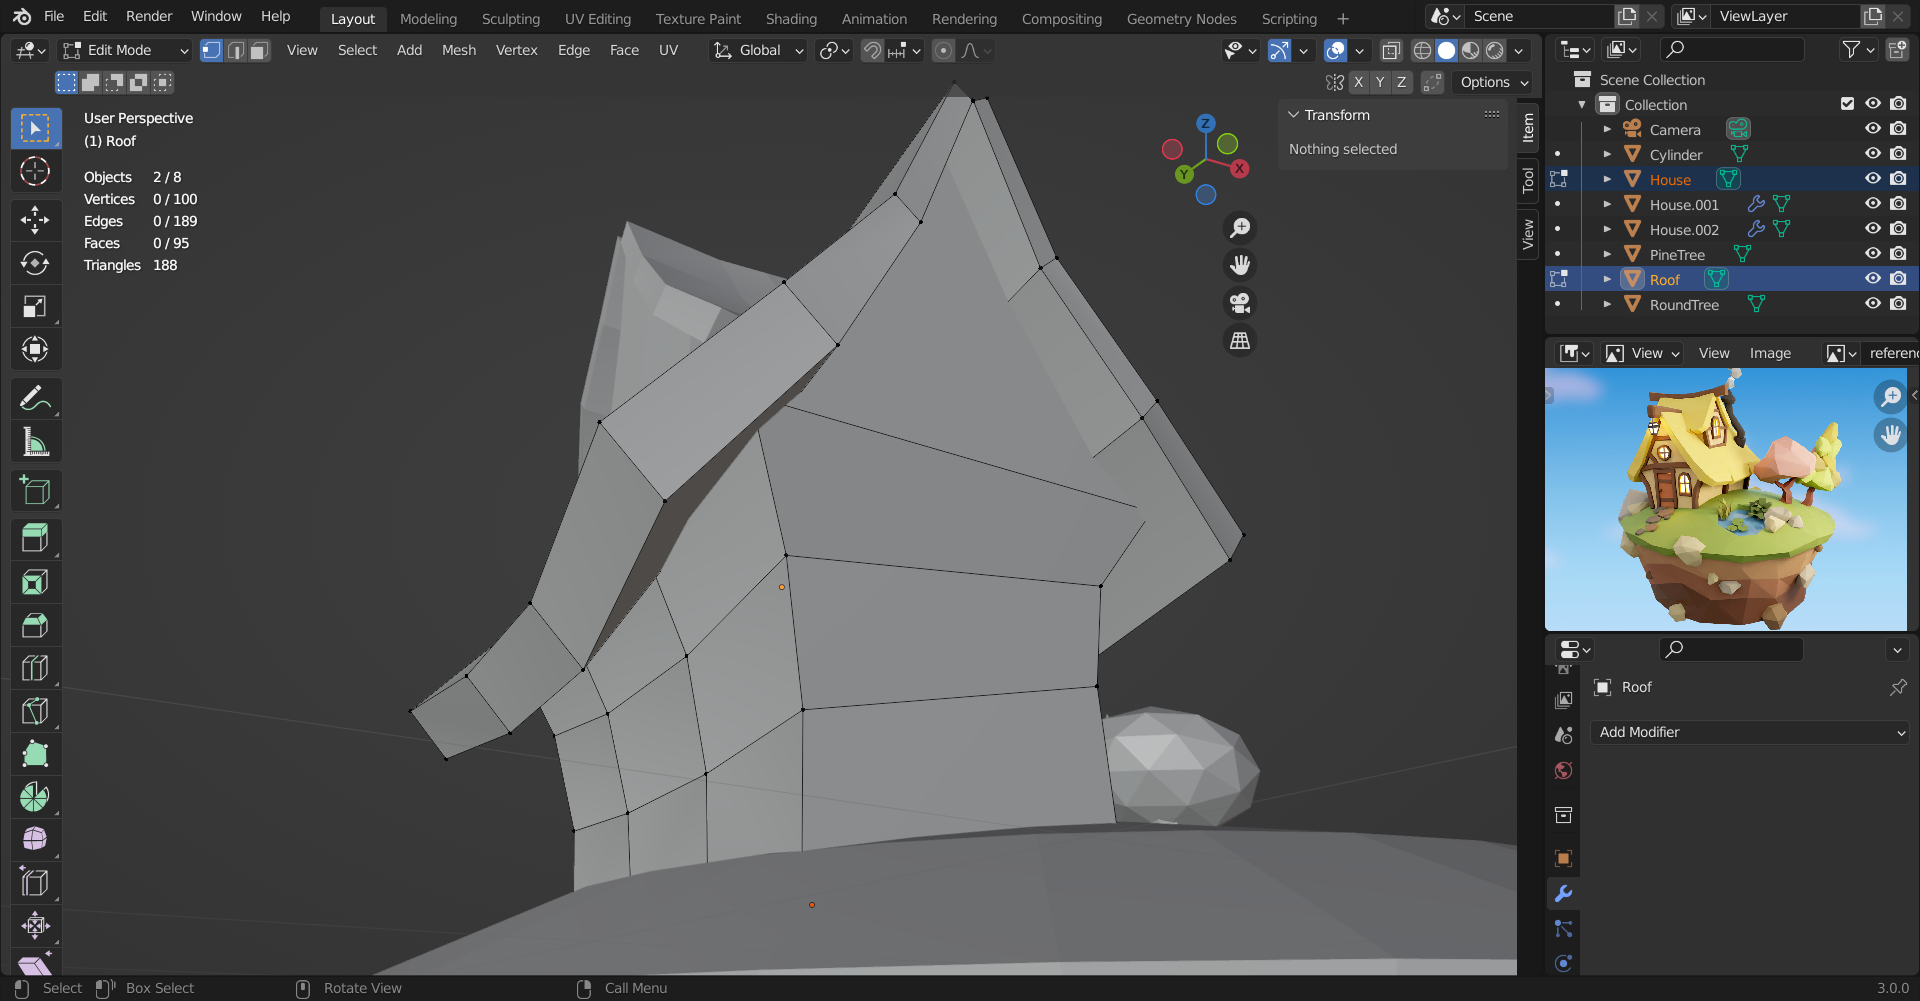
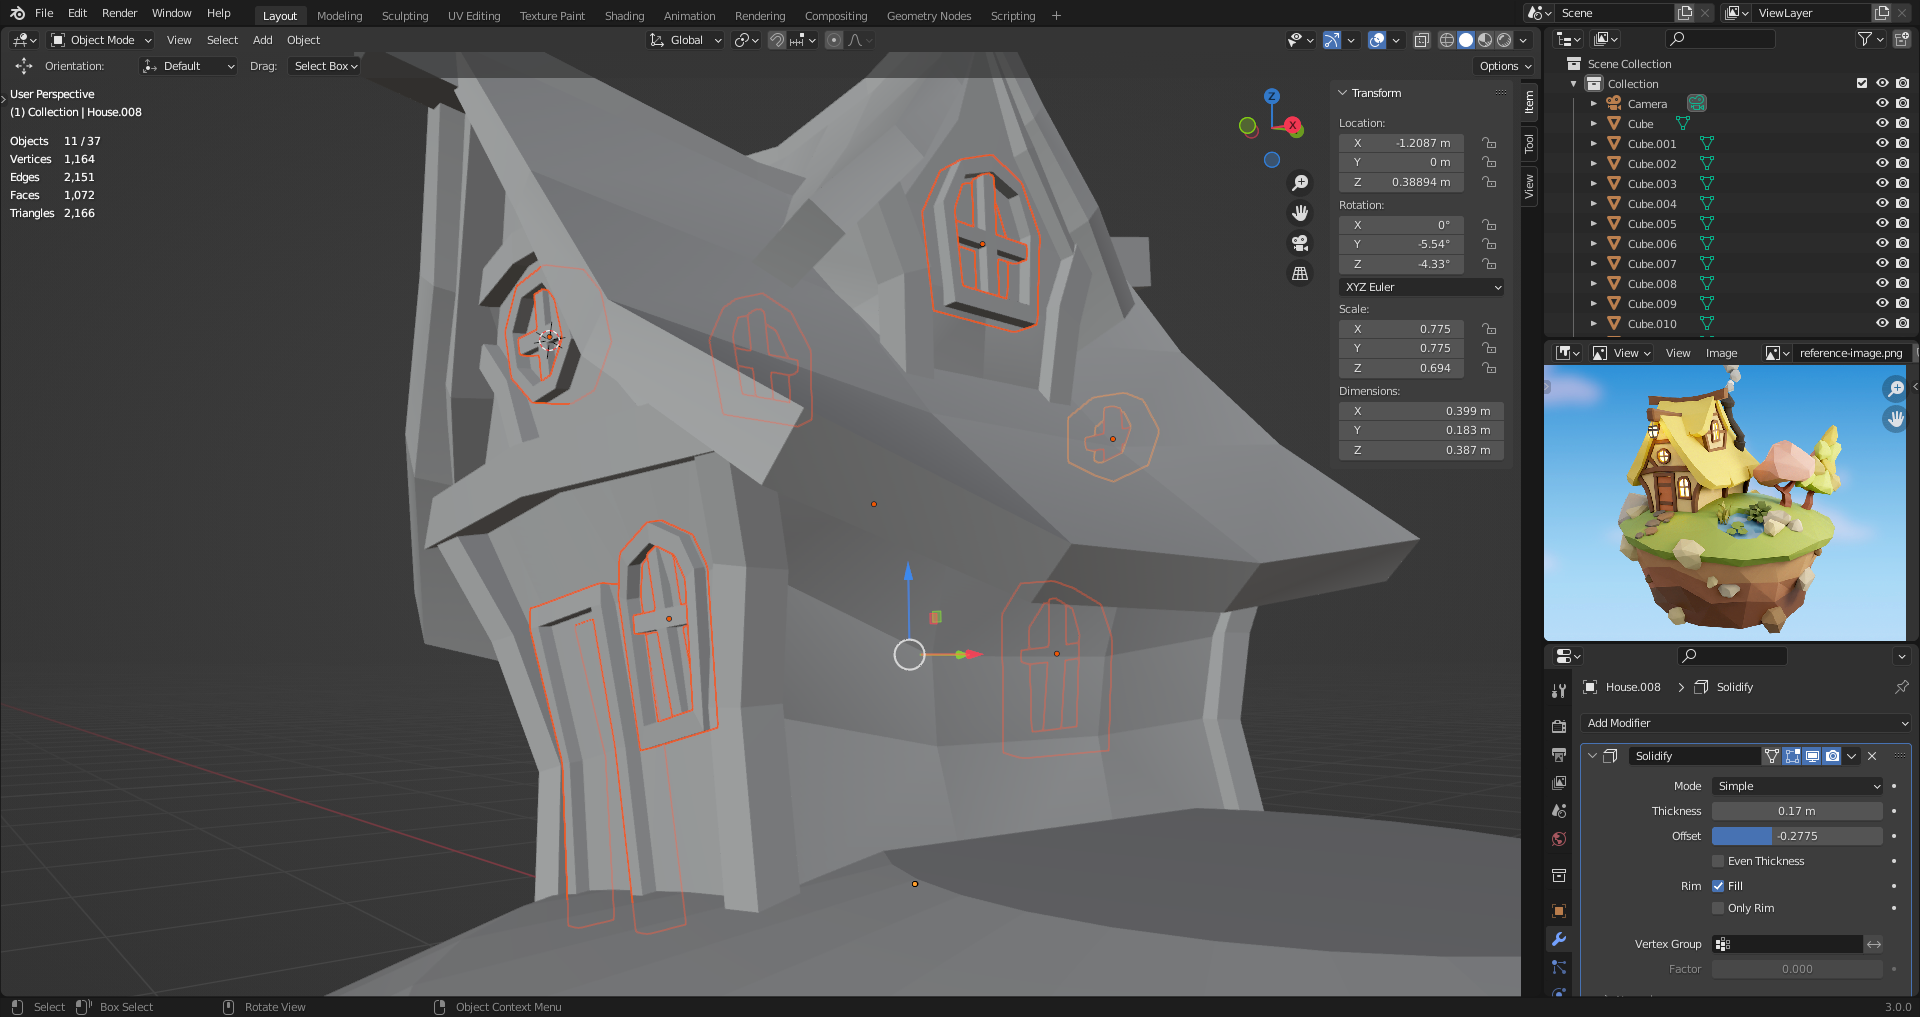
15. The Solidify Modifier
So far rooves are planes. To add volume, another modifier: Solidify
Thickness and Offset adjustable.
Visibility can be toggled.
On cage - Show vertices as if modifier is applied. Helps selecting original vertices, but as if they were in the final position. Also work with mirror, but commands are still relative to the actual vertice.
Solidify values are scaled with the object. Applying the scale makes the object with scale 1,1,1. [Ctrl A]
Applying modifier changes the mesh permanently. Good for making further changes without the modifier constraints.
16. Destructive Modelling
Small shifts into edges and vertices to increase randomness.
Select vertes in-between two vertices: [Ctrl Click]. Also work for edges and faces.
Apply mirror modifier to edit asymetrically.
Applying modifier is a destructive modelling since you lose your original model.
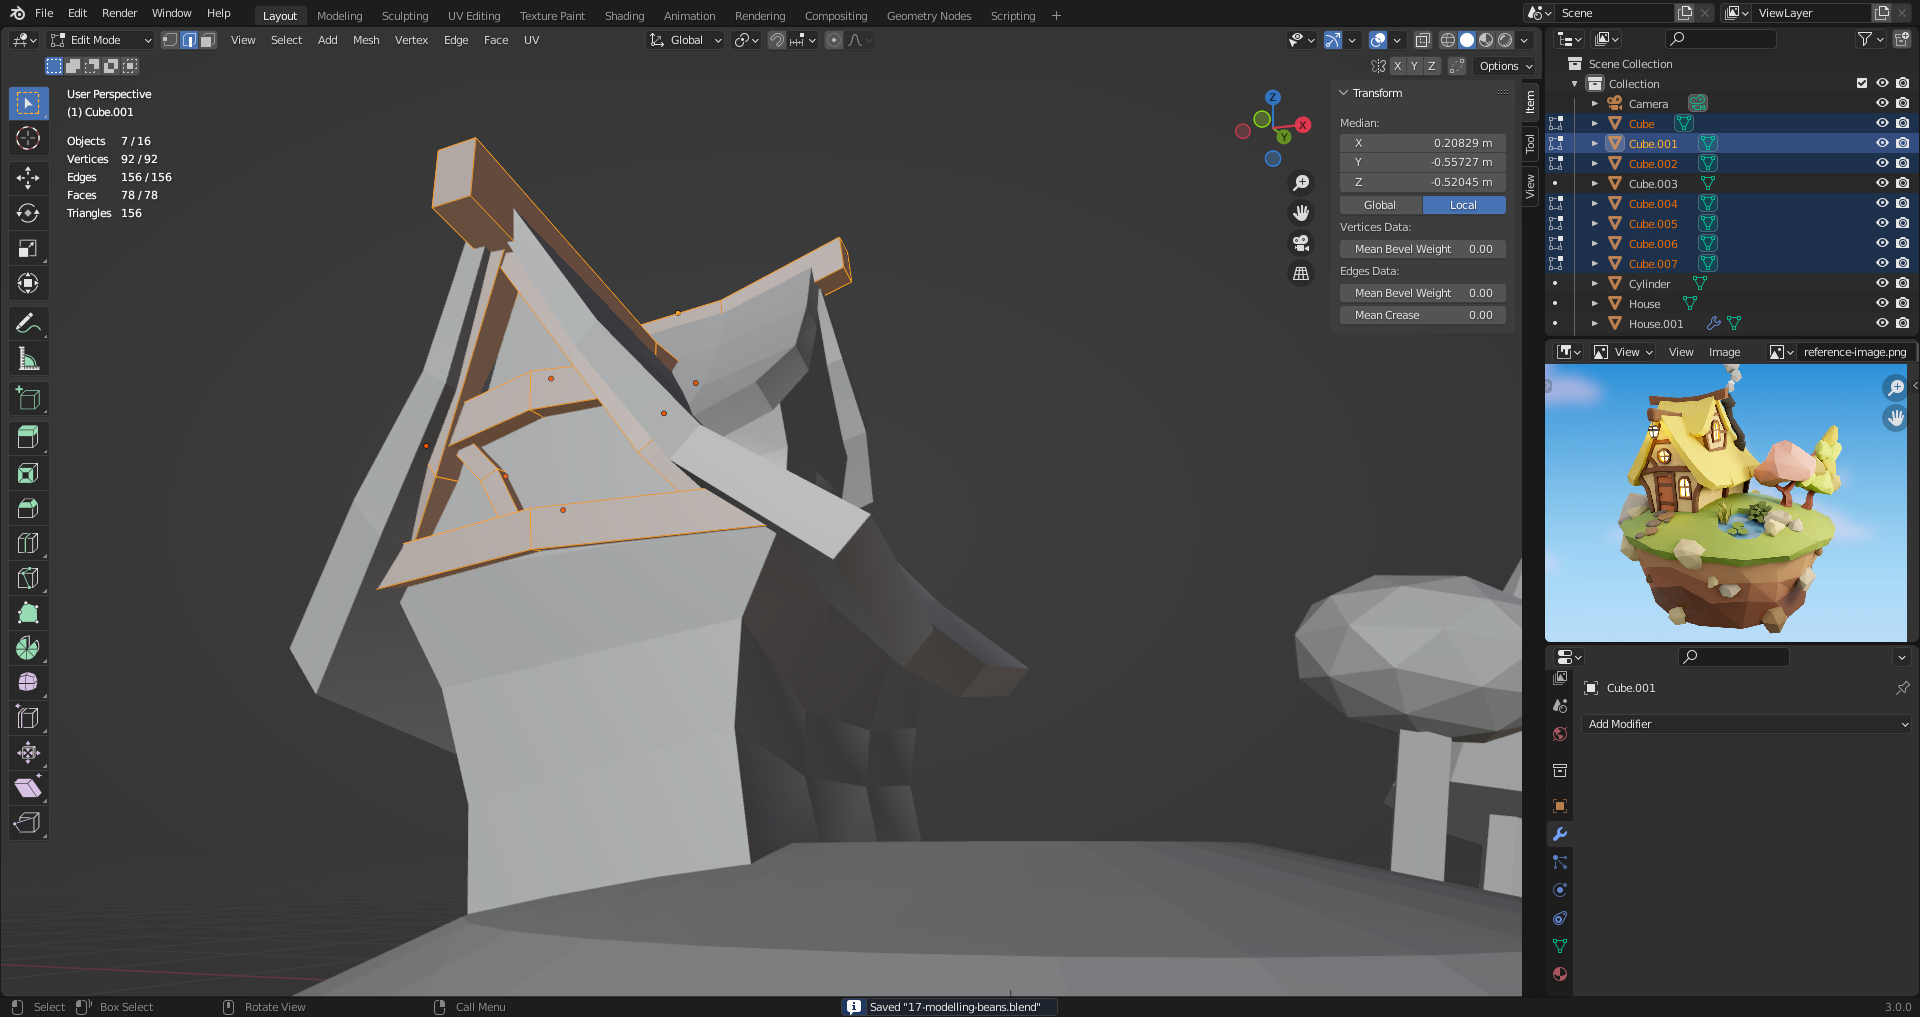
17. Modelling the Beams
Apply same techniques as before: Add new shape, start from cube, scale and divide loops etc. Duplicate to add another beam to the top part of the house.
Rotate object in object mode if you intend to use local axis when moving things locally.
Make sure object parts are not sticking out of the model while doing so.
18. Efficient Modelling
Create remaining beams using cube extrusion technique.
Be careful with double extrusion, this creates faces with area 0.
Select whole mesh, press [M] to merge -> Merge by distance.
Scaling can distort shapes. Still possible to scale by the normals. Select shape then [Alt S]
Enable normal visualizations: Overlays -> View Normals
[Shift N] to re-calculate normals. Possible to flip then inside.
19. The Knife Tool
Use knife tool [K] to cut out window and door shapes into the house faces.
Avoid non-planar N-gons. When they get triangulated things can get weird.
While cutting, you can press [E] to start out a new shape before applying.
Cut out faces to divide n-gons into quads if you plan to delete portions of a face. Enforce triangulation happens in a controlled manner.
20. The Window Frames
Multiple ways, like extruding out multiple times until achieving the desired shape.
Duplicate [Ctrl D] window and door edges like we did with the roof. Then extrude [E] and scale [S] to create volume.
When using volume modifier, make sure normals are facing in the right direction.
If whole shape is duplicated, you can delete Only Faces to keep the edge loop.
Face direction visualizations, show blue when facing you, red when facing backwards.
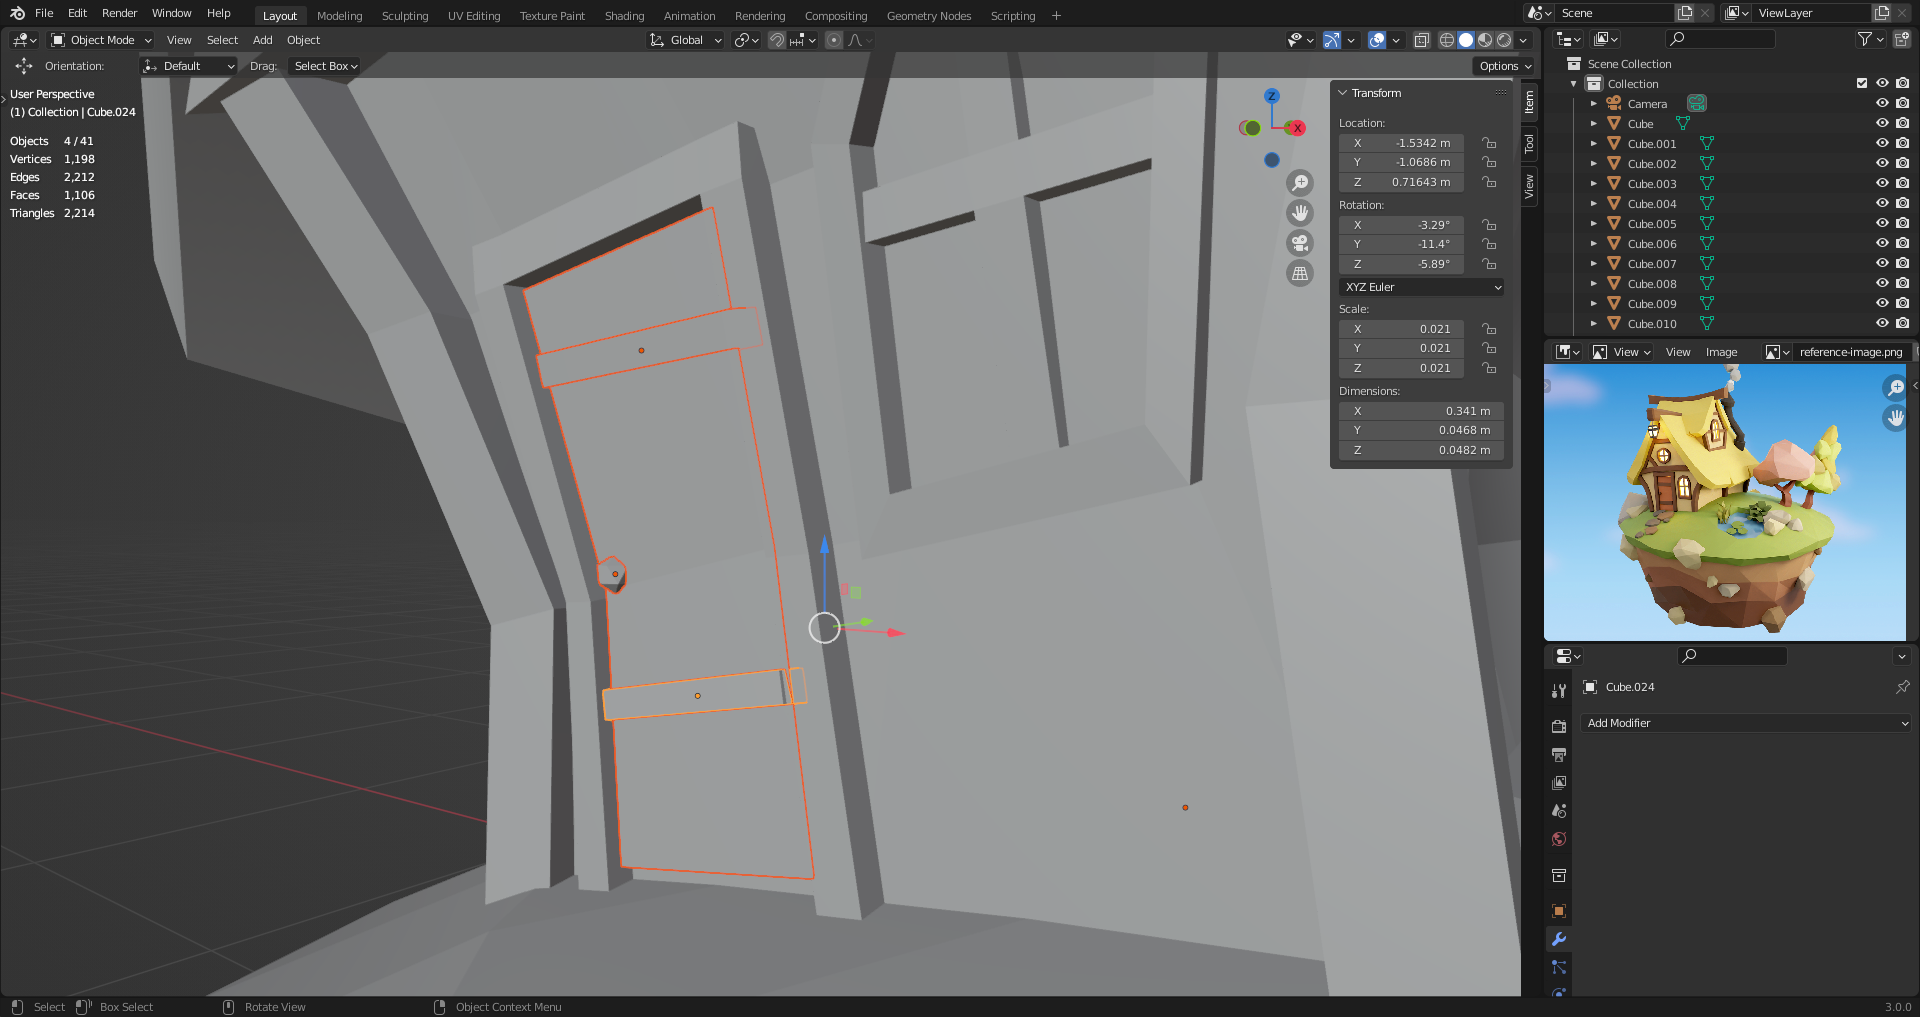
21. The Door
Just exercizing what I learned in previous lessons.
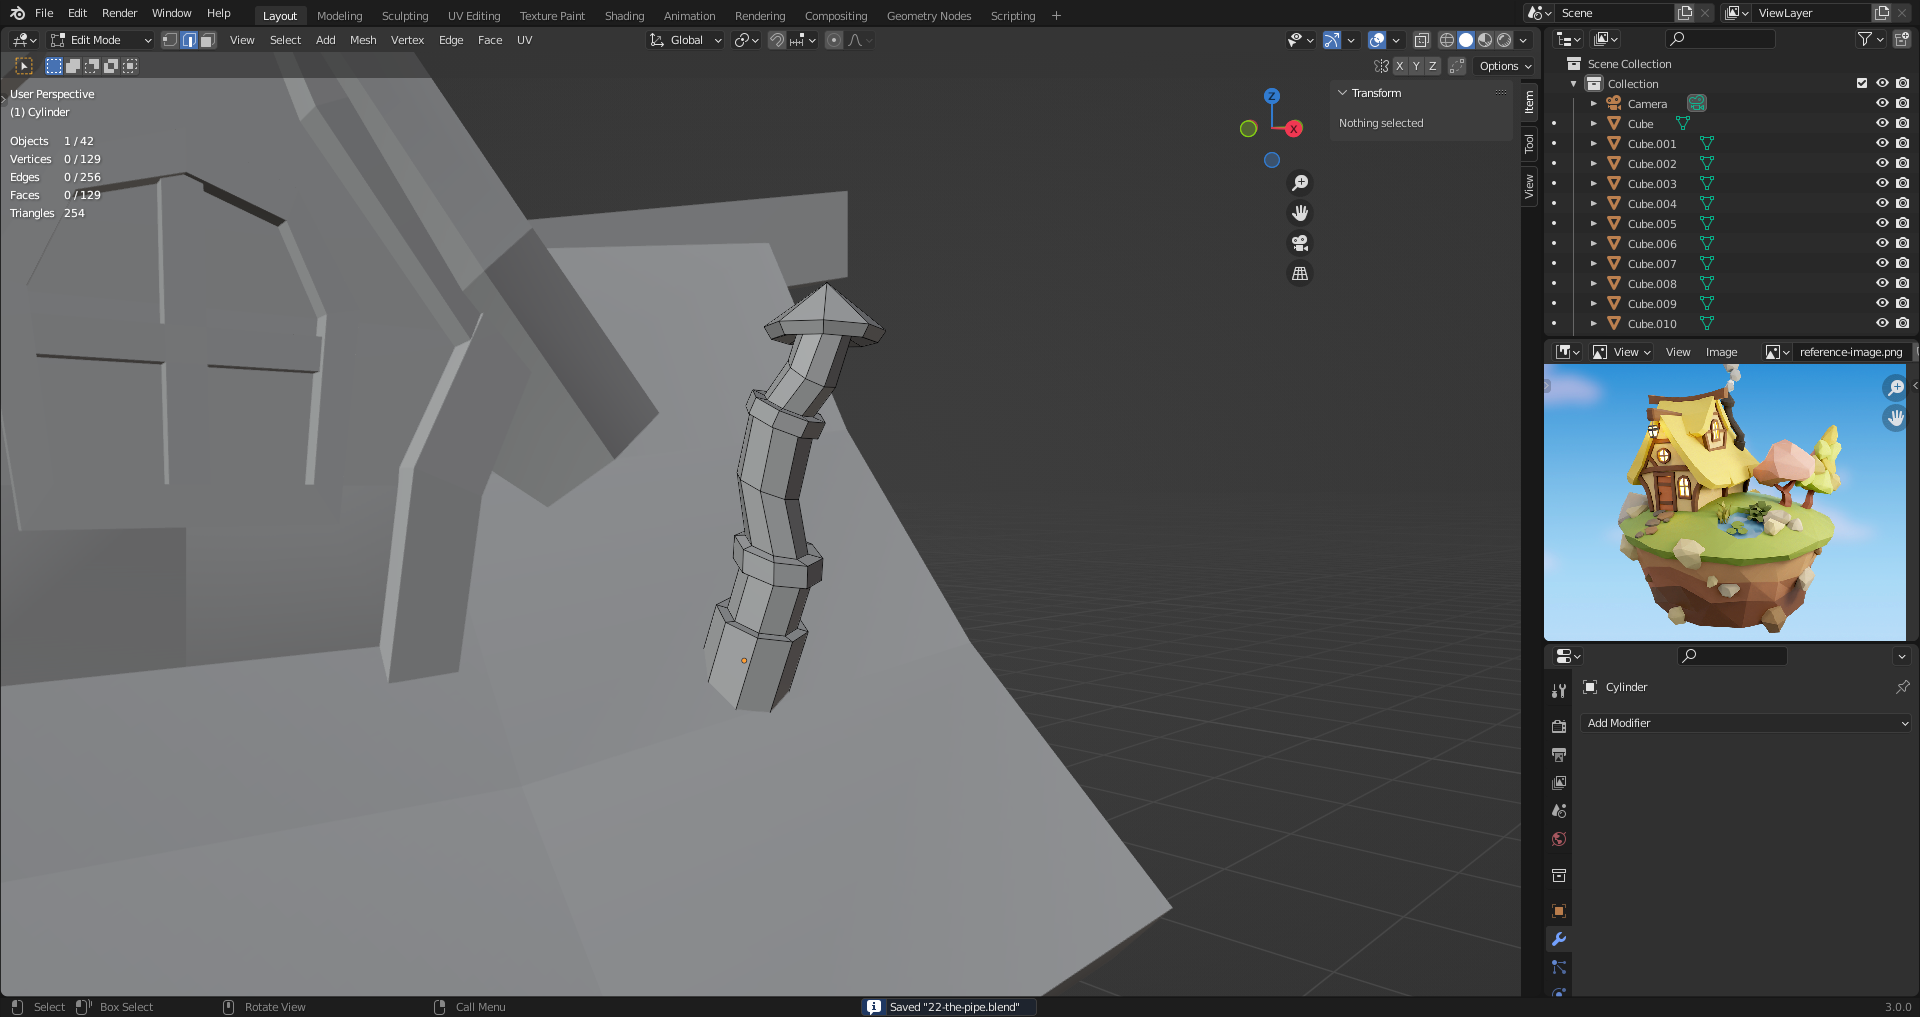
22. The Pipe
Extrude + right click to cancel movement, then Scale to make a shorter connection.
Extruding + moving or rotating the extruded face can cause distortion.
Can get better results with bevel command. Create rough shape then [Ctrl B] on edge-loops to create intermediates.
To create a pipe-joint from a edge-loop, bevel->extrude->scale by normal
Creating the tip with same technique. Scaling top vertices down to 0 -> keep topology, can still select face-loop.
Merge vertices by distance when finished.
If it does not look low poly enough, select even edge-loops alongside the desired axis, and [Ctrl X] to dissolve them.
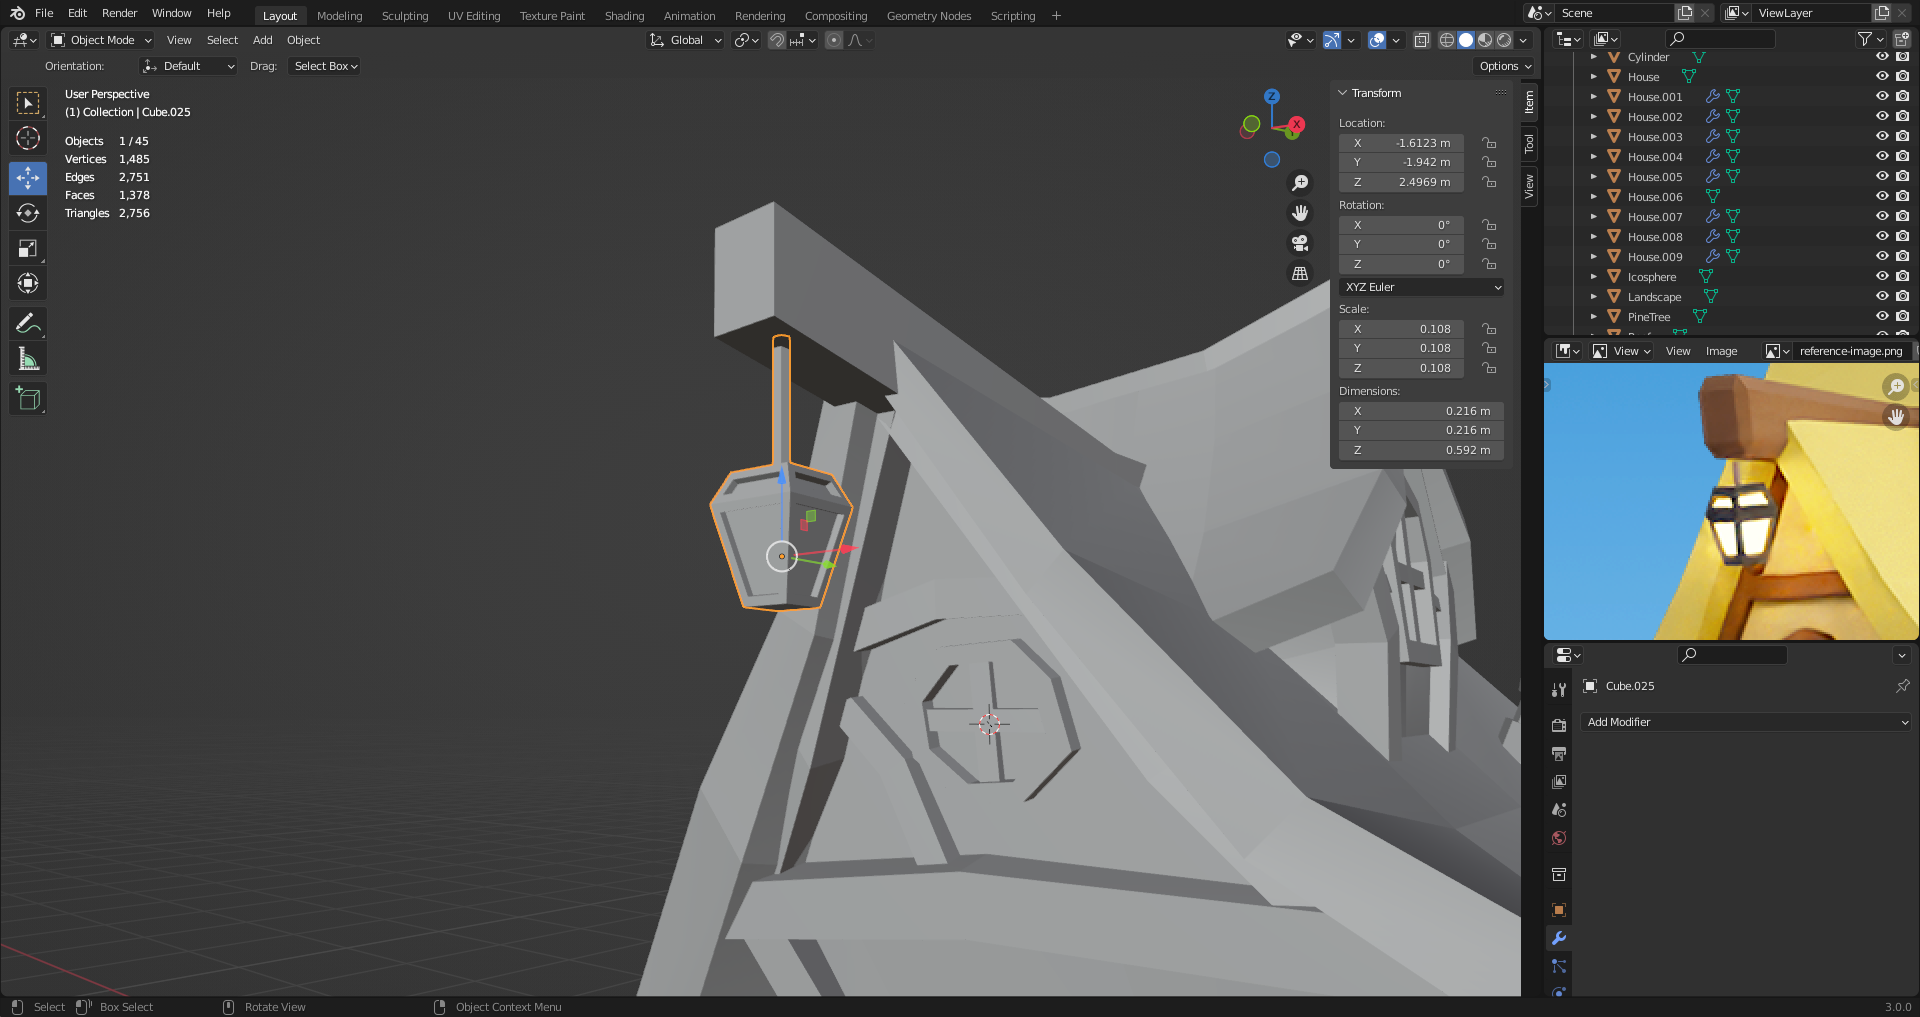
23. The Lamp
Pressing Z to swap around render modes
Instead of extruding and then scaling a face down, we can use inset instead [I]
If multiple faces are selected, it can look weird. Pressing [I] again will toggle to individual face mode.
Then extrude the inset faces and scale them down by normal.
3. The Landscape
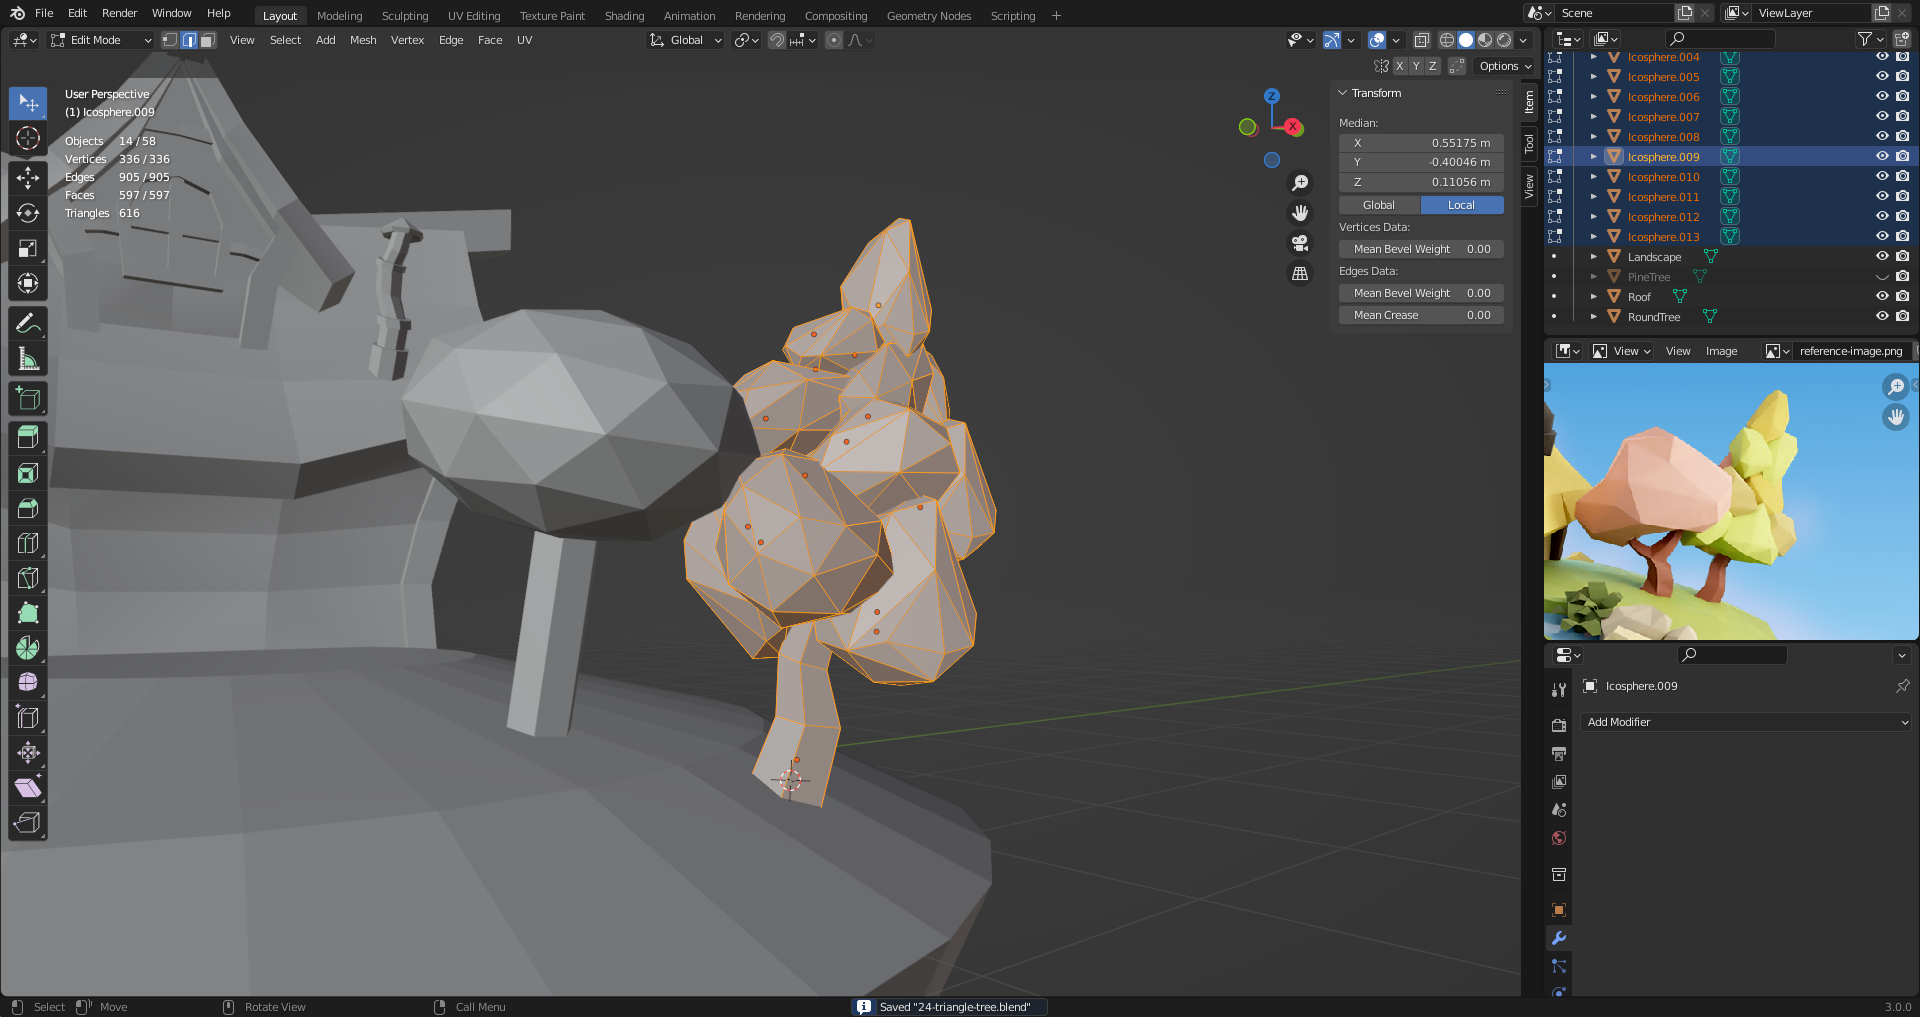
24. The Triangle Tree
Hide objects with [H] or all objects with [Shift H] and Unhide with [Alt H]
Sculpting tab adds a lot of new tools. Multiple brushes e.g. grab brush.
Three categories of brushes, blue red and yellow.
Blue add or subtract from the mesh. Red smooth out things, and yellow deforms it.
Holding shift activates smooth brush. You can change smooth intensity in that brush properties.
Decimate modifier reduces the face count. Good to add variation to modified shapes.
Creating 3 random blobs from ico spheres to make the tree.
25. Collections
Select object, press [.] will highlight the object in the outliner.
Holding [Ctrl RMB] can let you select objects using the lasso selection.
[M] to move object into collection.
Collections can be moved around and nested in the outliner.
Labelling and naming objects, and organization is a matter of how your work pipeline work.
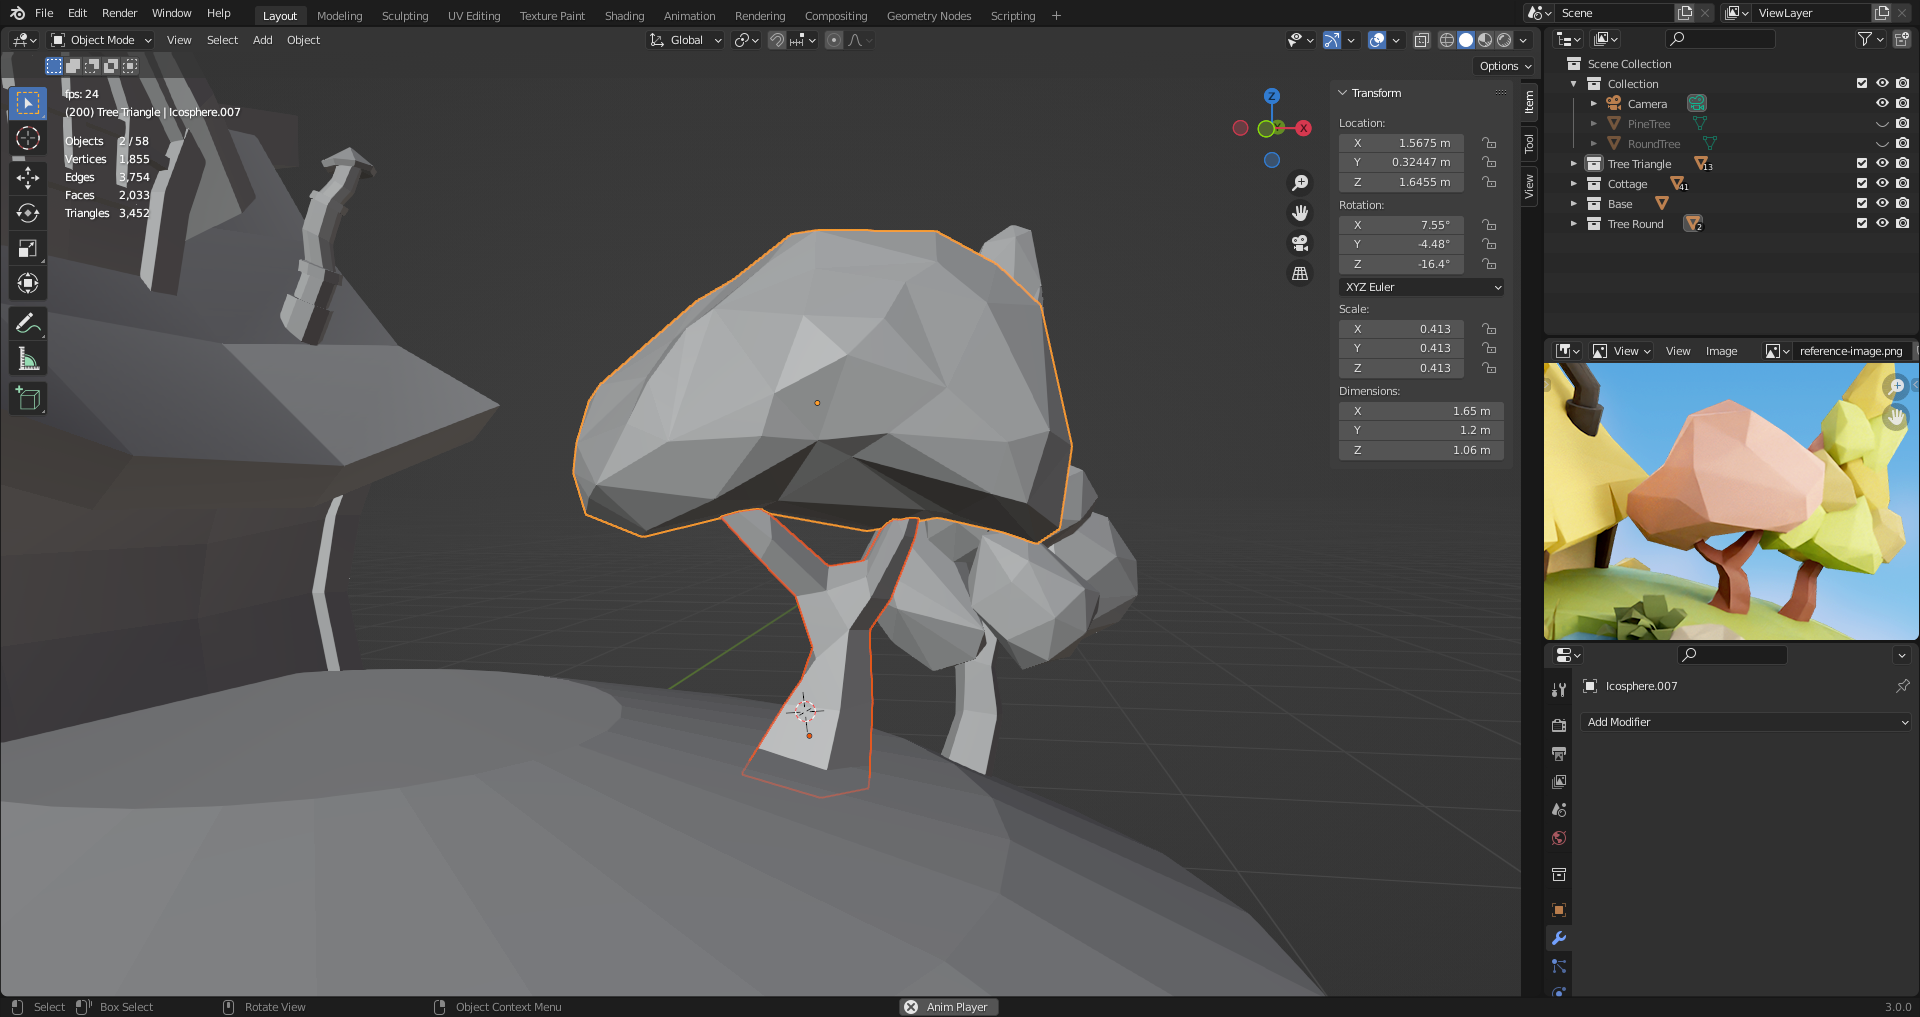
26. The Round Tree
Creating branch in trunk: Extrude multiple faces and round things up a bit.
Alt: Extrude one face, and use loop cut to make it rounder.
Proportional editing [O] lets you drag adjacent vertices when dragging. Circle of influence can be adjusted with [Mouse Wheel]
Remesh: Useful when sculpting and do not have enough vertices. Use voxels.
[Shift A] to scale voxels and have a preview of their sizes.
Use decimate to bring the vertex count back to close the original.
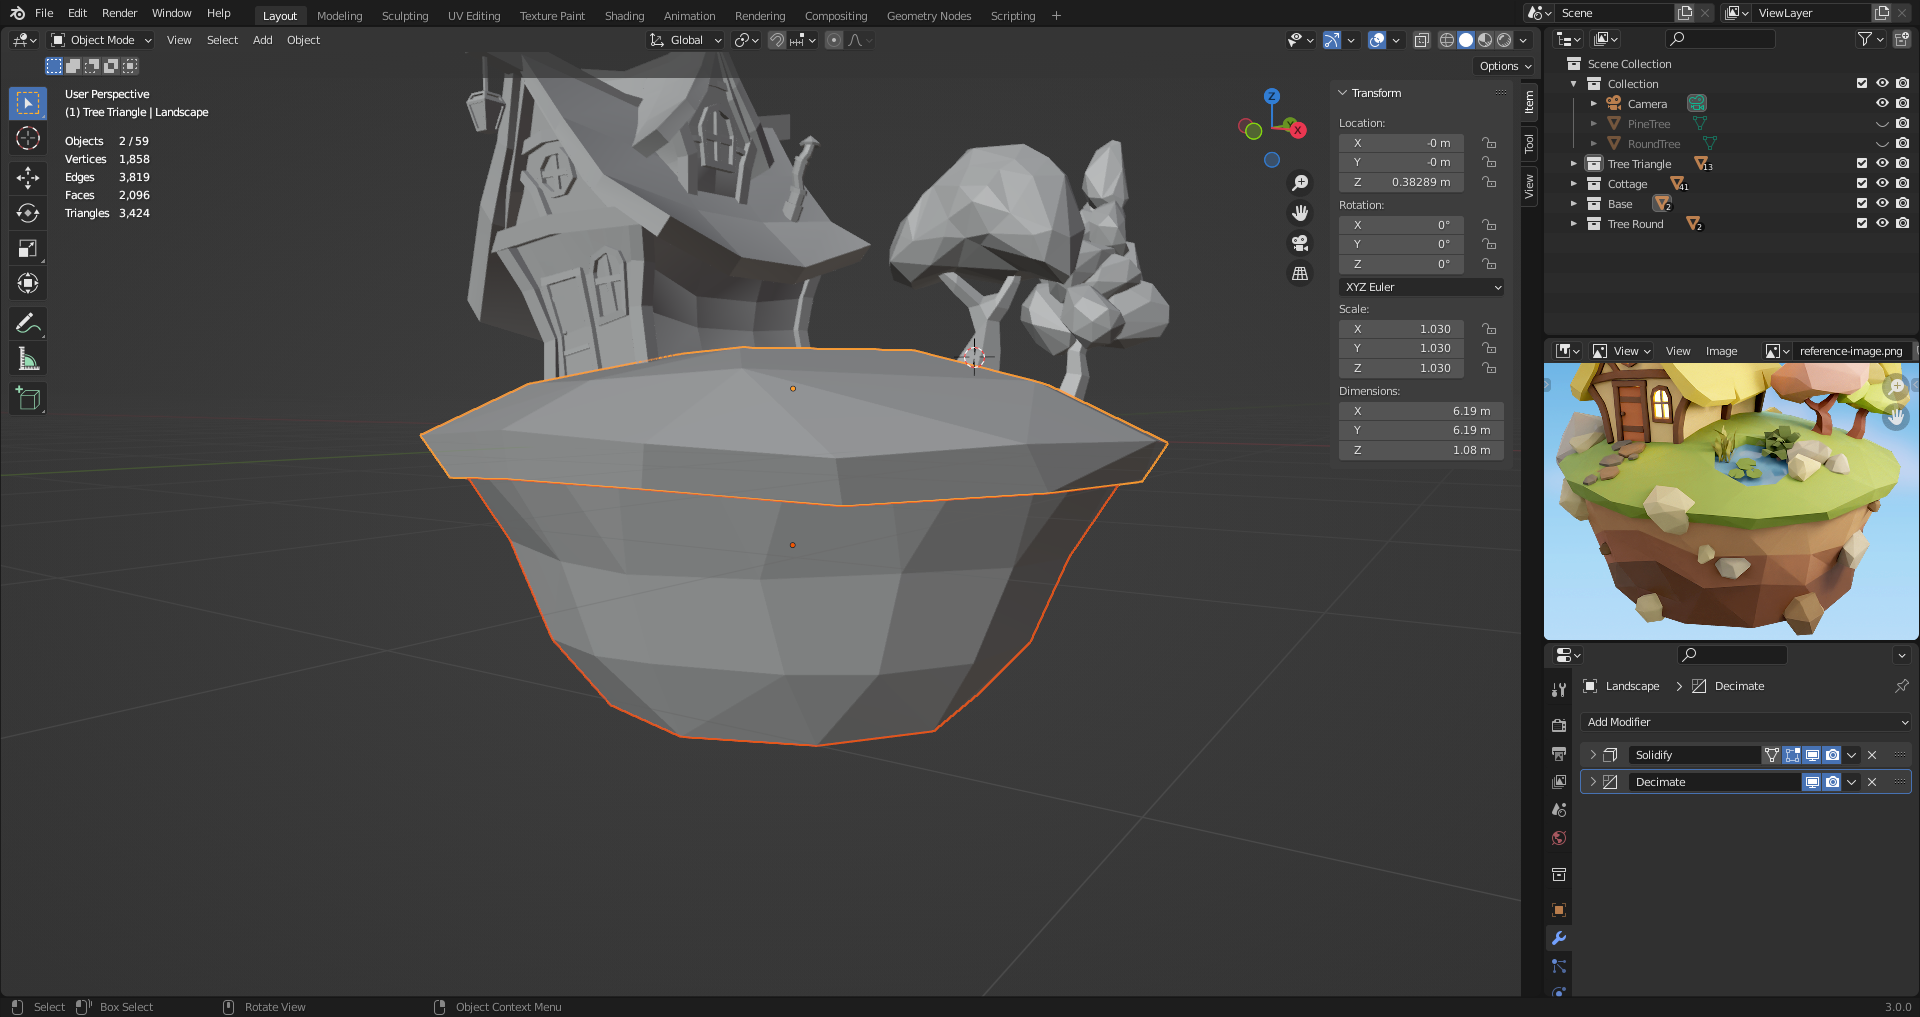
27. The Base
Separate the top face from the bottom. Select center face and press [Ctrl +] to grow selection. [Ctrl -]] to shrink selection.
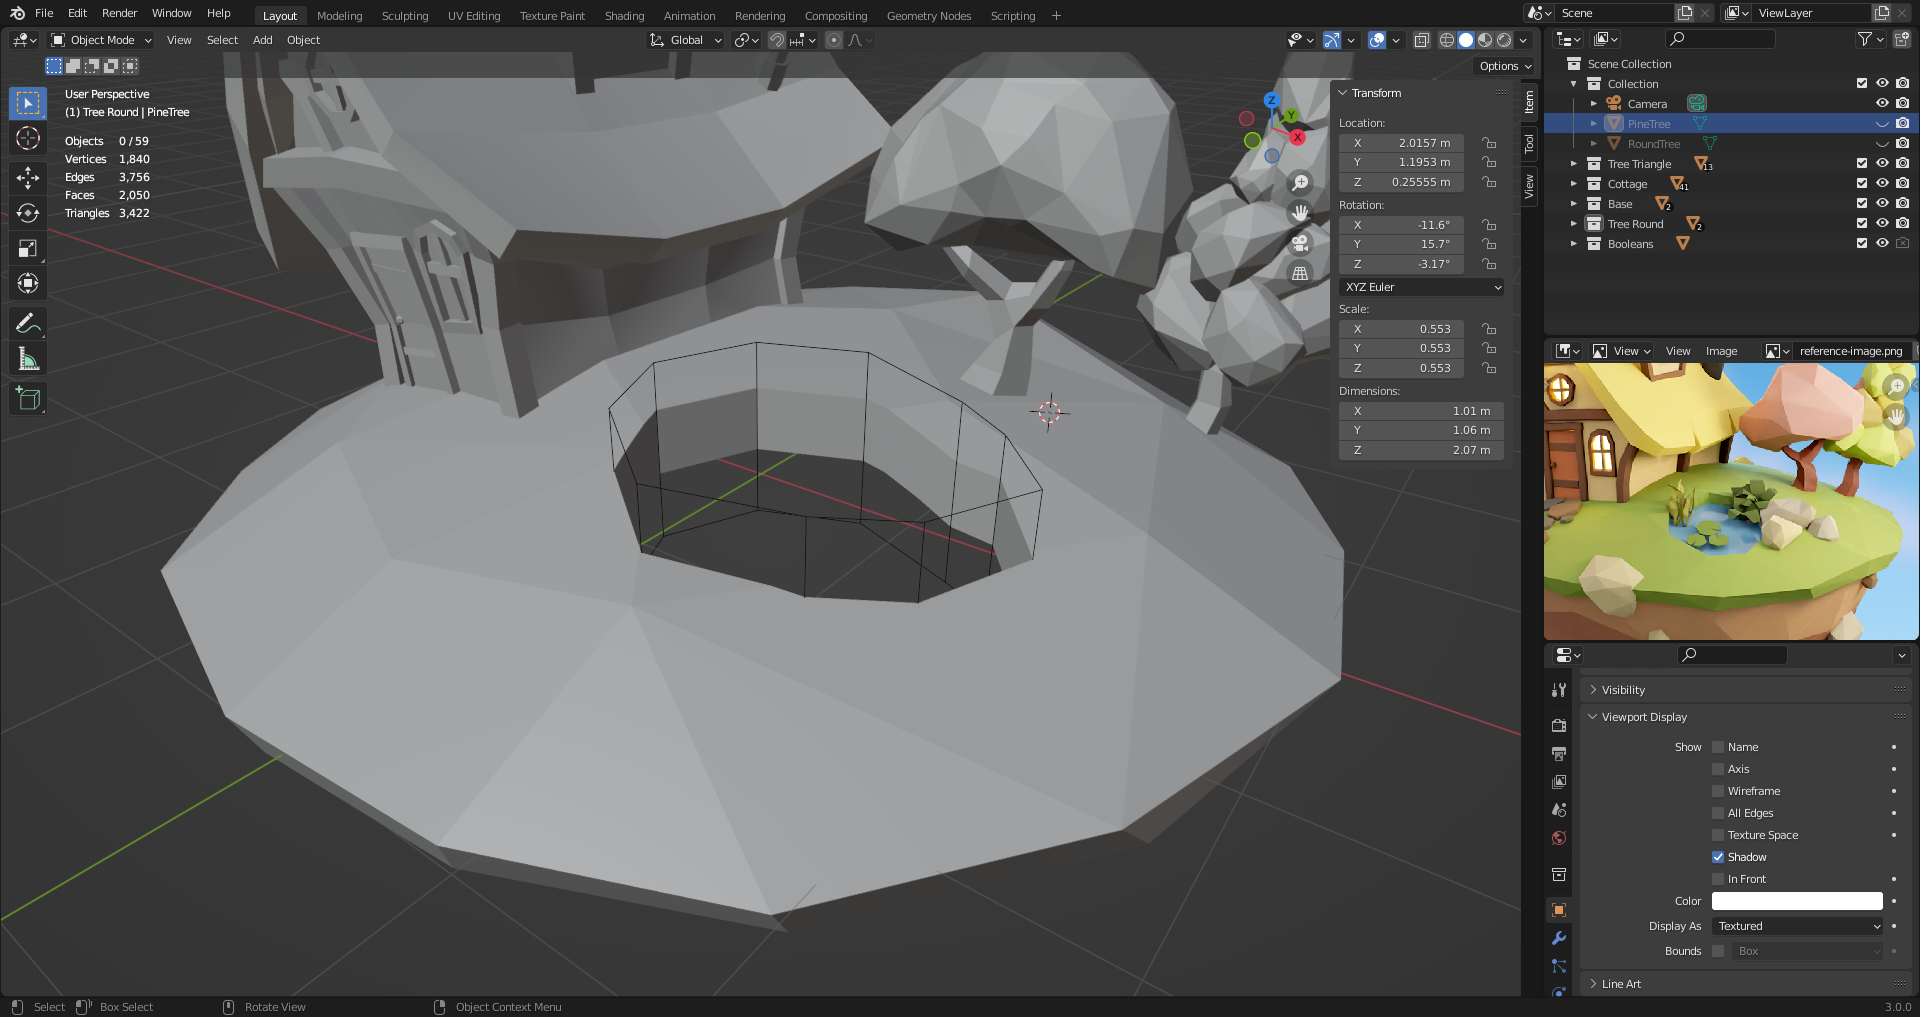
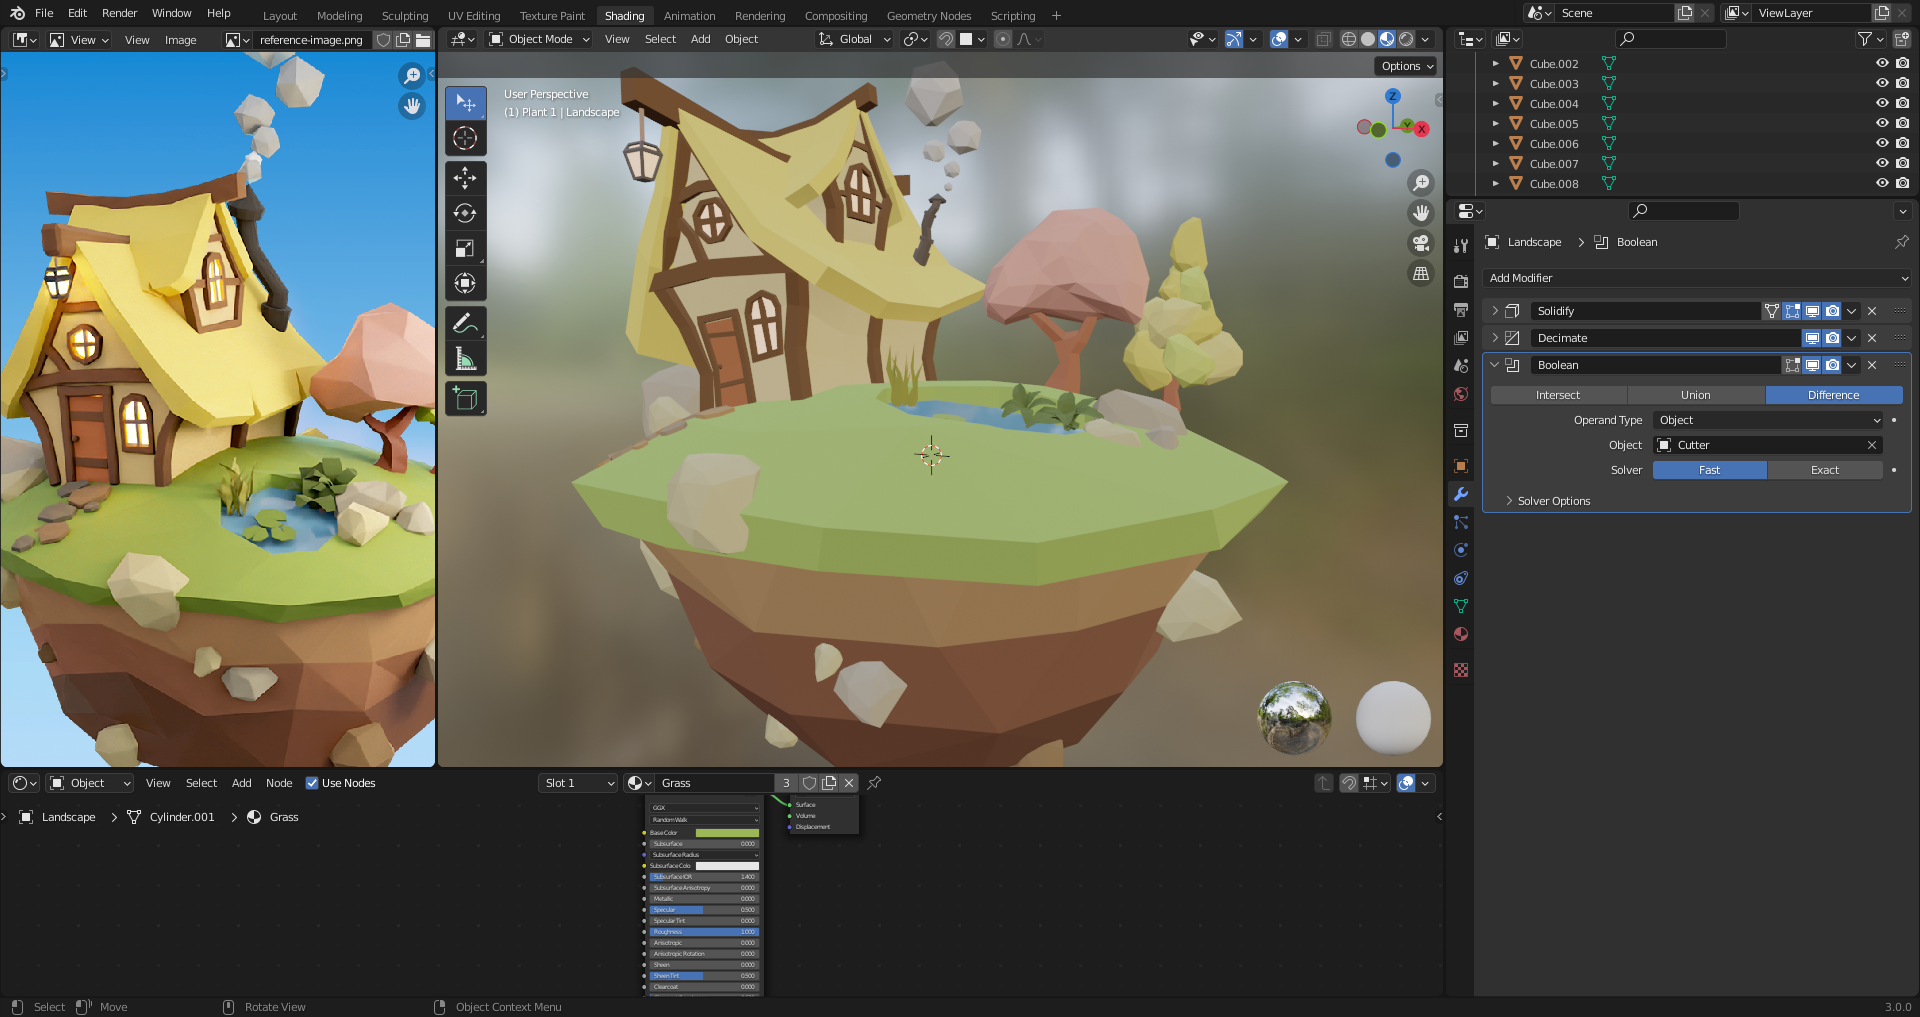
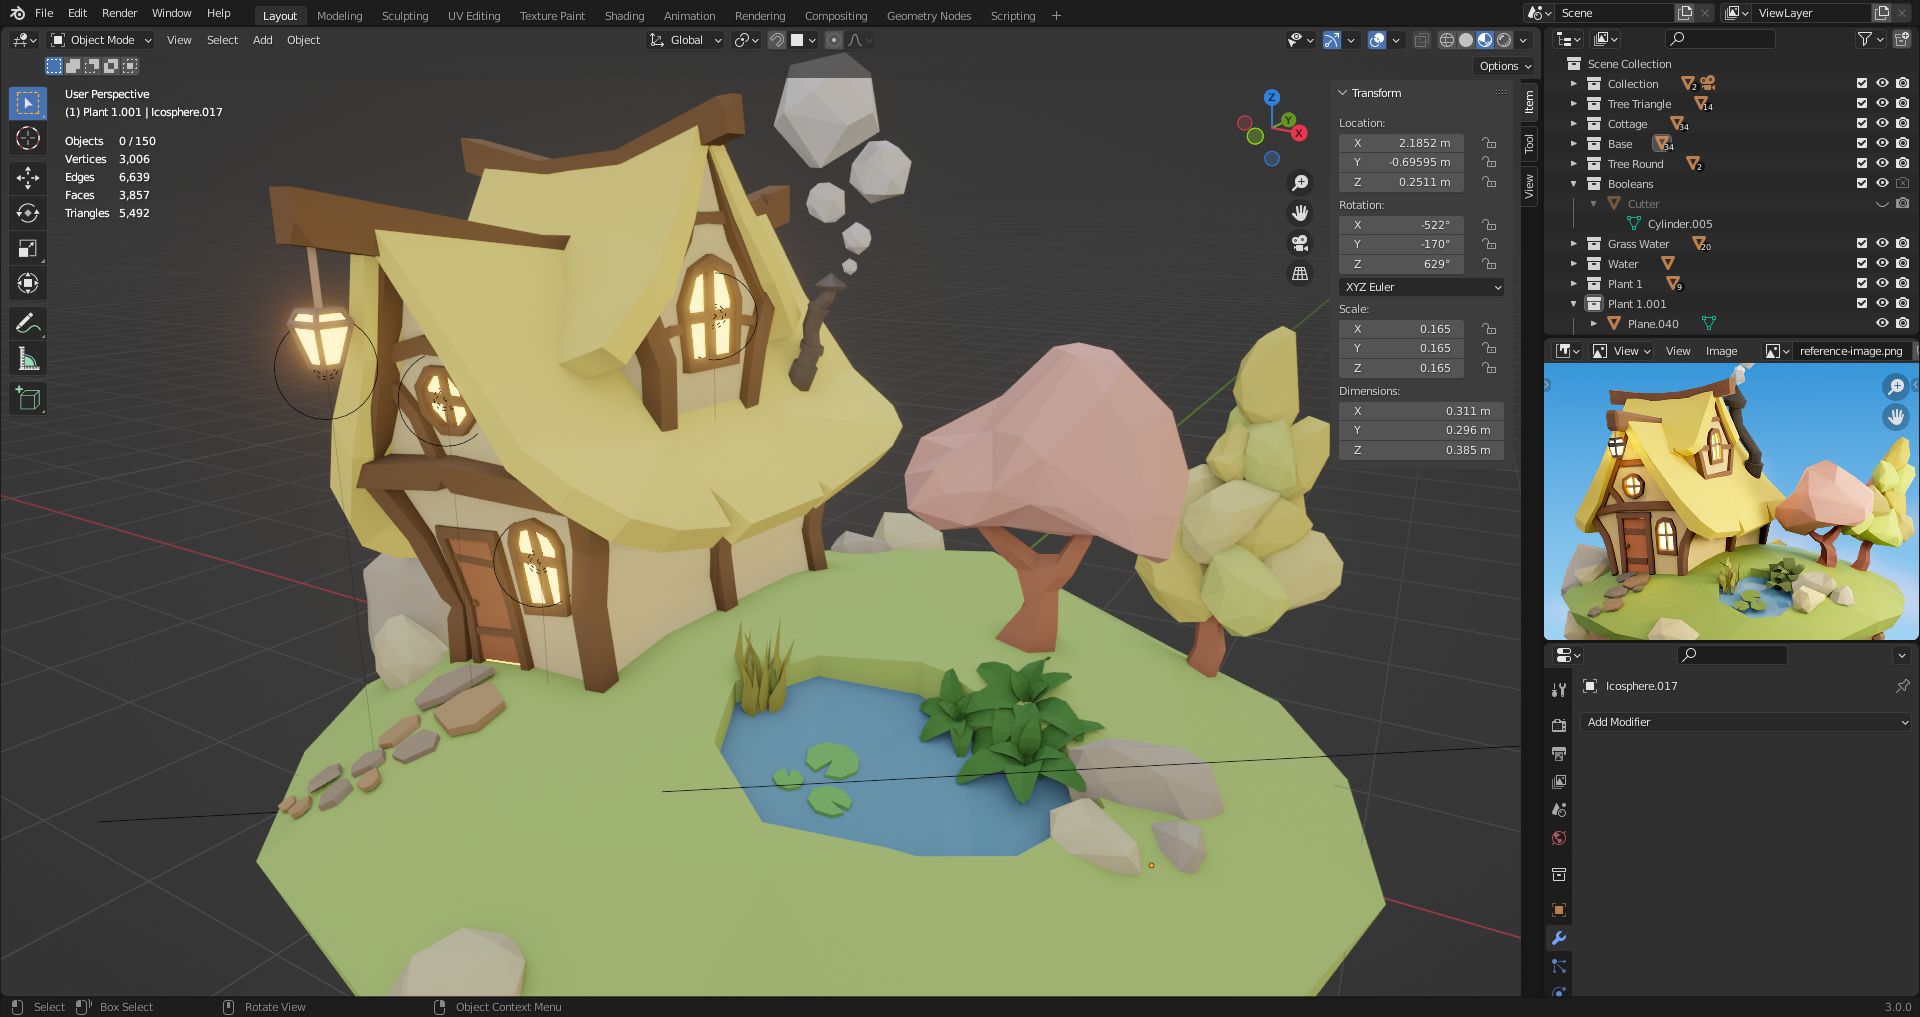
28. Booleans
Boolean modifier to cut out a hole to make the pond. Need another shape to be the cutter.
Object properties in the cutter -> Viewport Display -> Display as: Wireframe. Now you can see the cut.
Can click on the camera icon in the outliner window to not render the cutter.
If modifier is not applied, make sure everything is selected (including cutter) when moving shapes around.
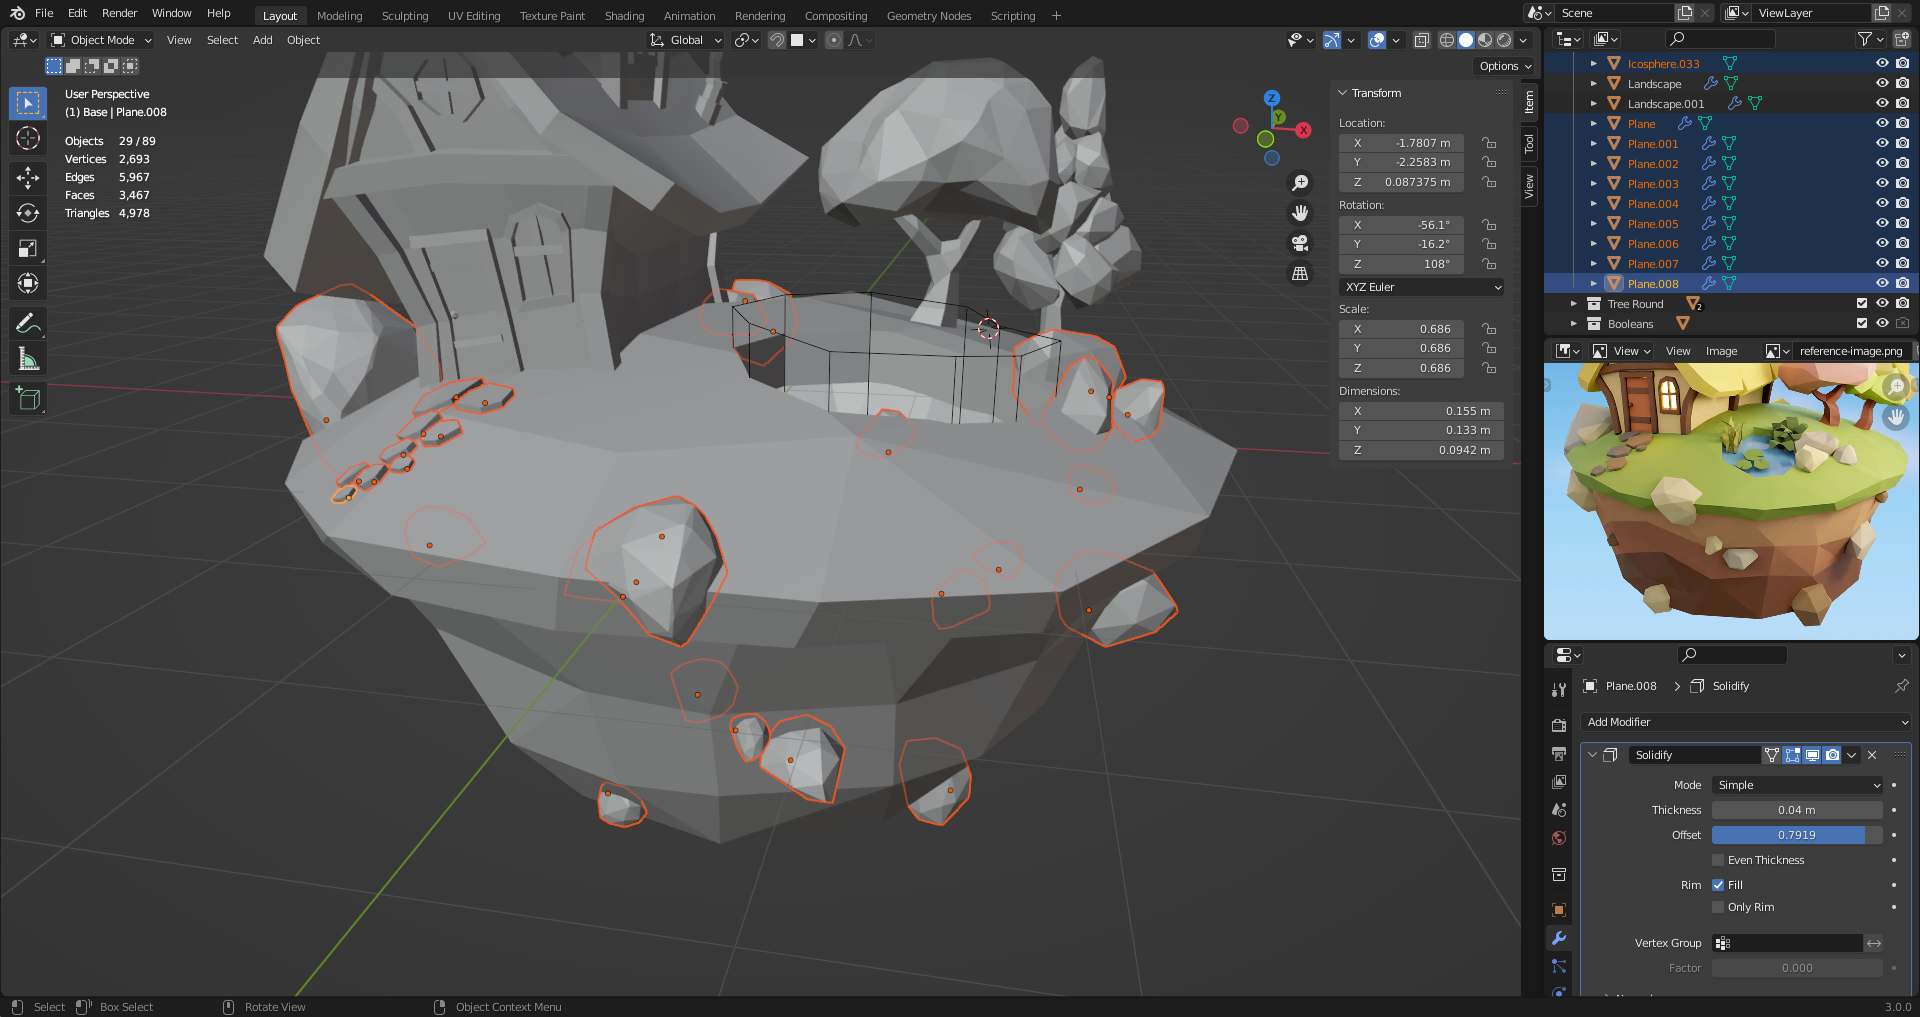
29. Paving & Rocks
Snapping tools to snap one object into the other. E.g. face, rotation to target.
Can snap individual vertices as well.
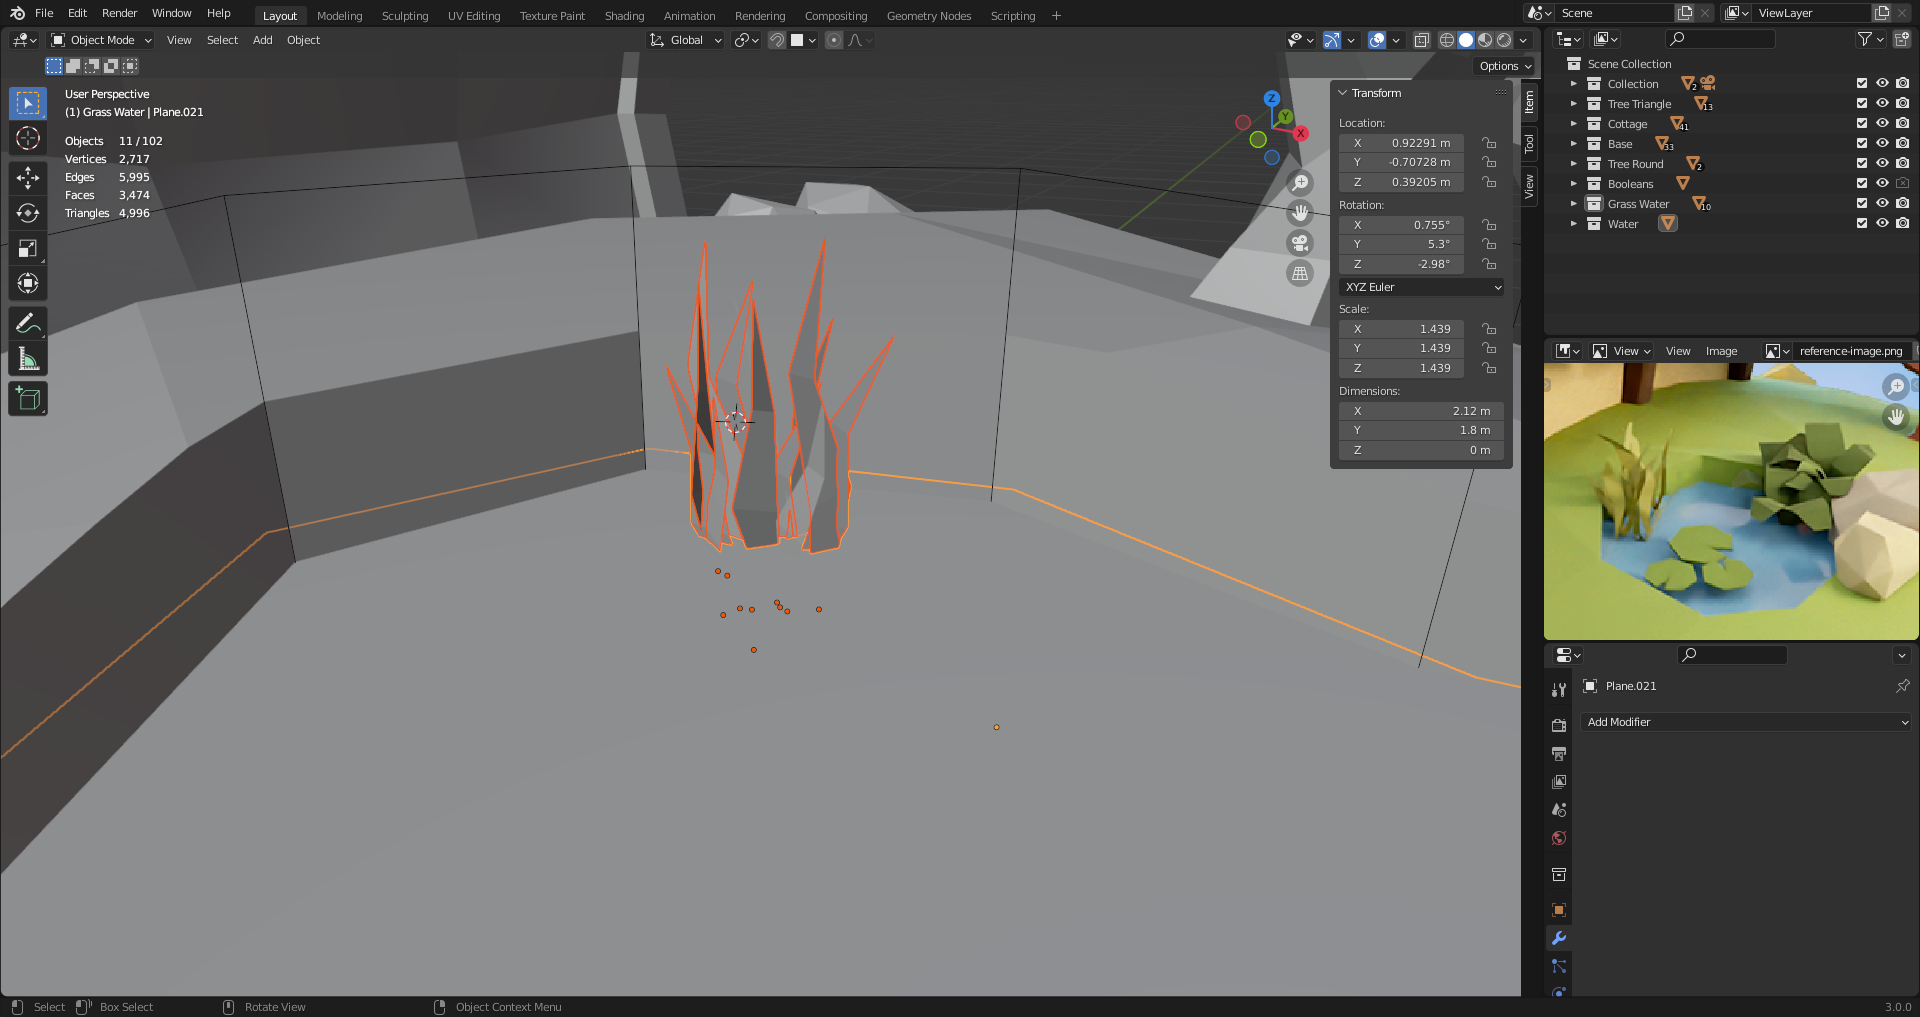
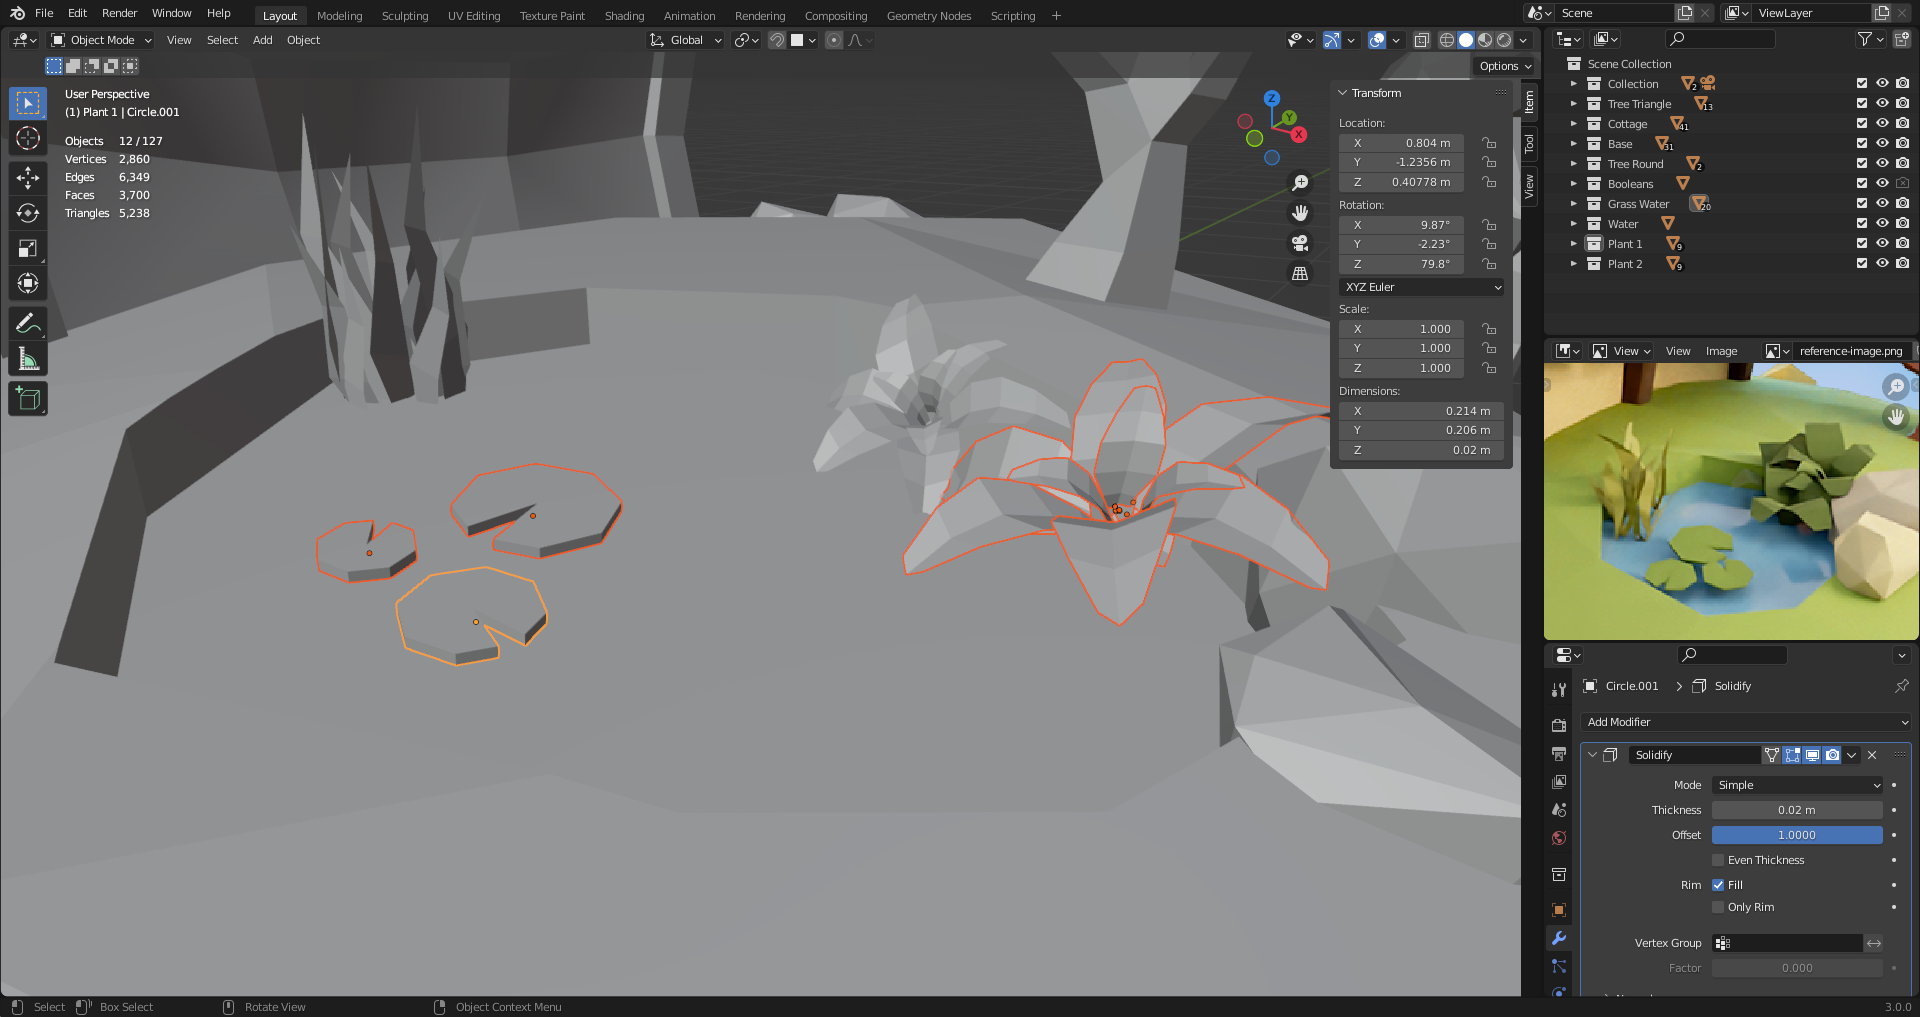
30. Grass & Plants
[Alt D] creates an instance copy (Duplicate Linked). Changes made in any instance is mirroed to the original object.
Select -> Select linked to select all objects created from linked duplicates.
Can use plane and intersect boolean to create water surface.
31. More Plants
Make origin in the base of the leaf, and link duplicate leaves make creating the plant shape faster.
[Shift S] helps setting the cursor to a specific vertex or selection. Then move origin to cursor position.
[Shift R] repeats last rotation action
Create face on edge-loop: [F]. With edit mode and face mode selected, you can right click object and "poke faces" to subtivide n-gons.
Holding control to snap.
Hint from design: To fill up spaces nicely, use around 3 copies of an object.
4. Color
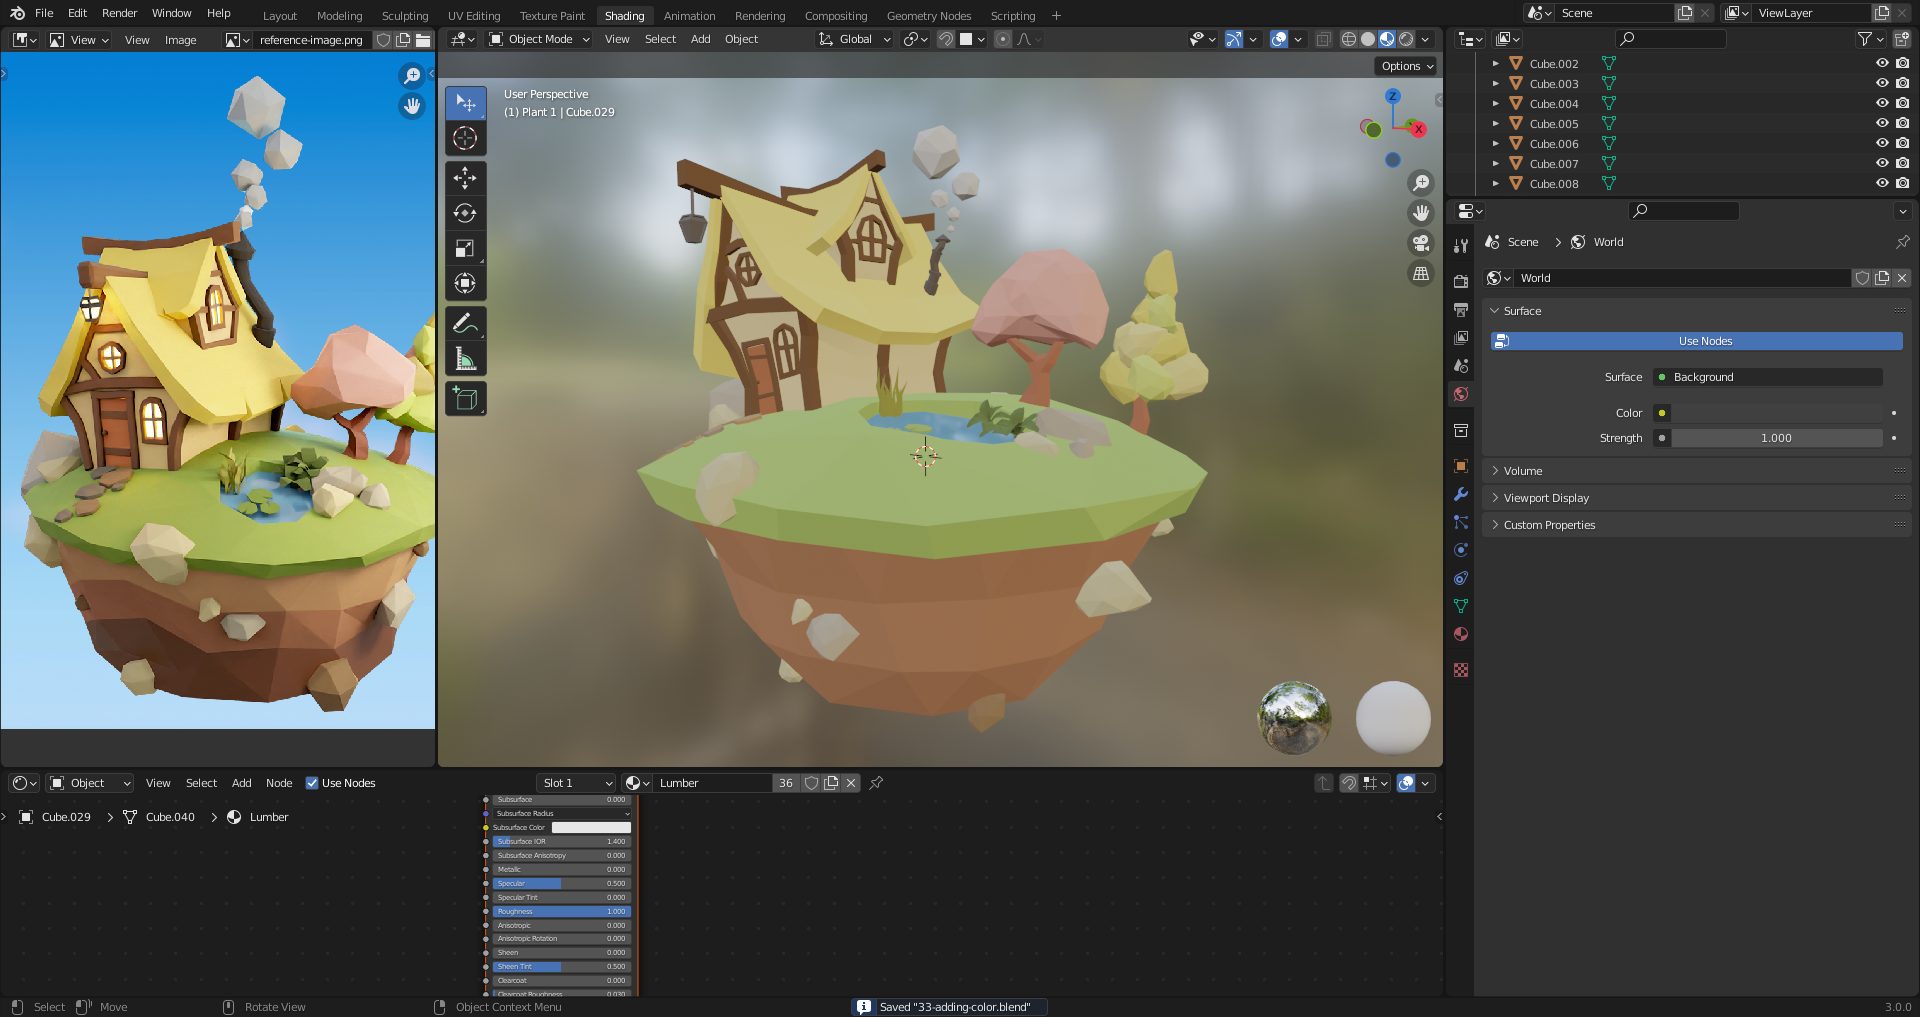
33. Adding Color
Back to shading tab.
Picking right color right away can be tricky due to lighting. Over time practice will help predict results.
[Ctrl L] to link object materials.
Creating around 3 color variations for repeated objects to make it more random.
Change roughness to make it more/less metalic.
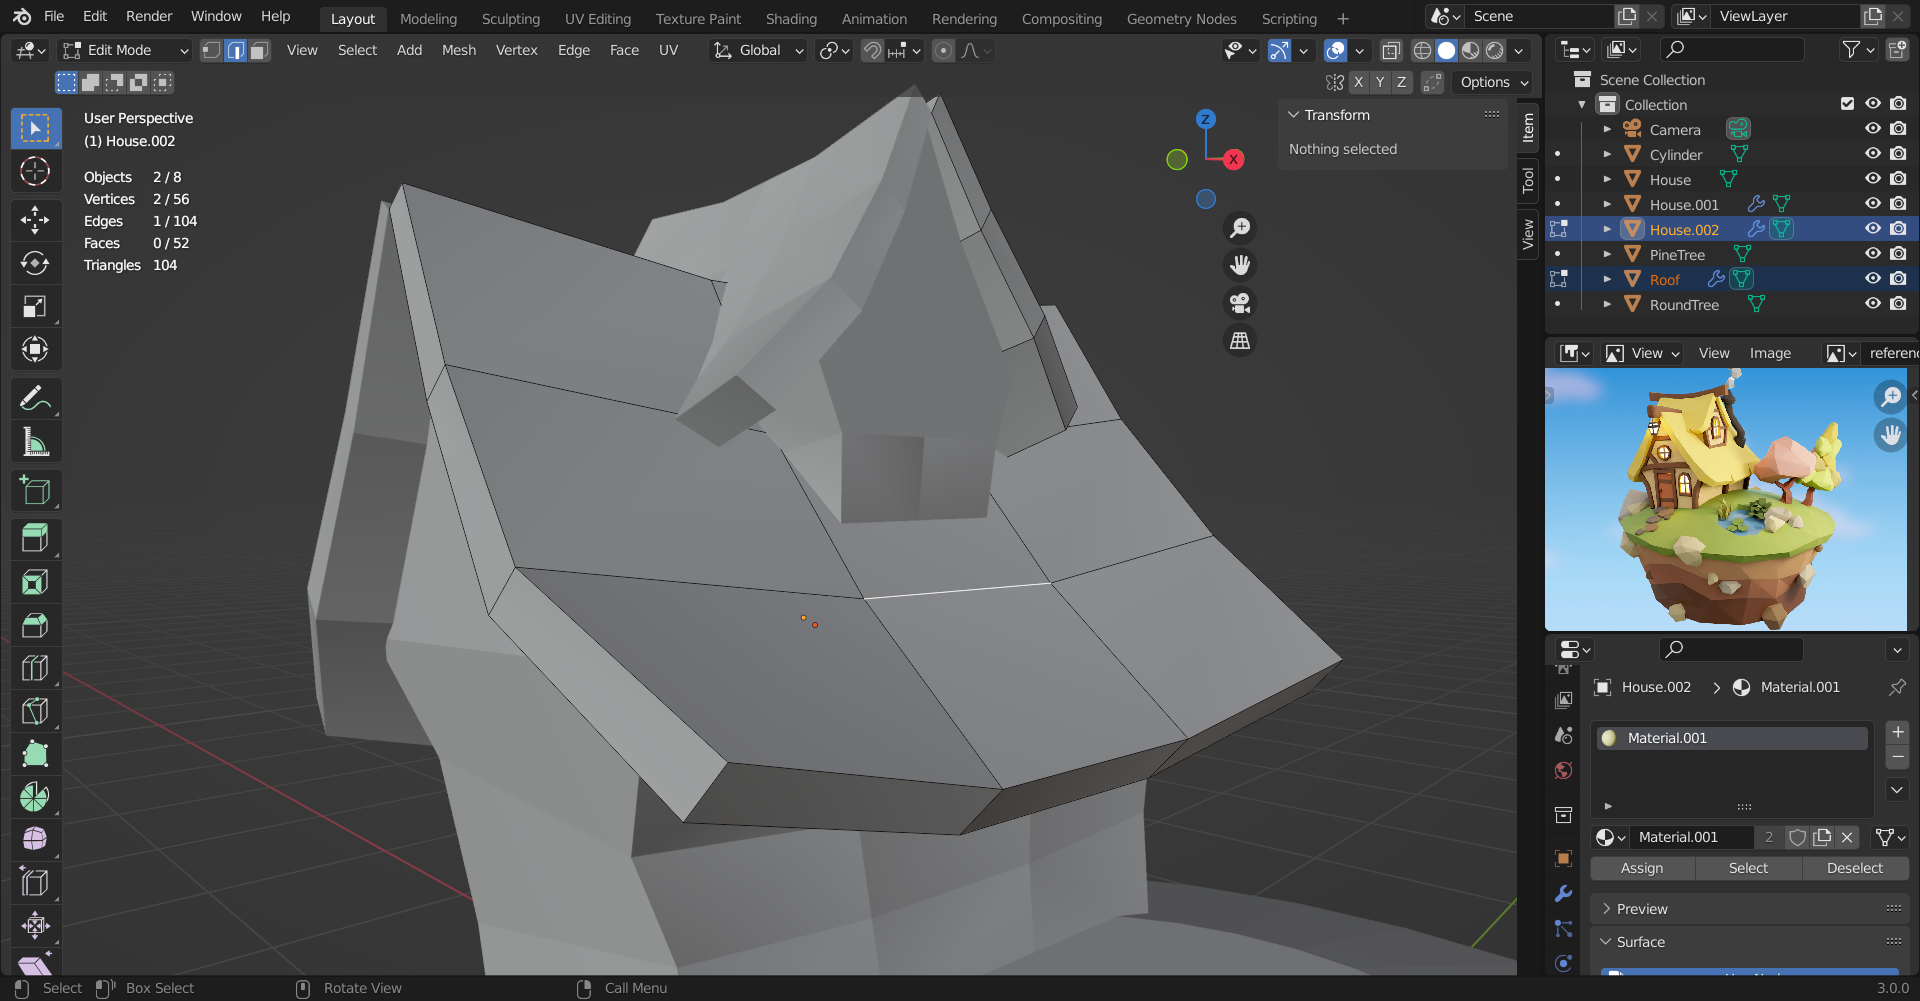
34. Adding Multiple Materials to Objects
Create new material slots in the object.
Assign material slot by selecting faces in edit mode.
Change emission to make glowing windows and lamp.
For the ground part to work, we need to apply the decimate modifier to assing material to specific faces.
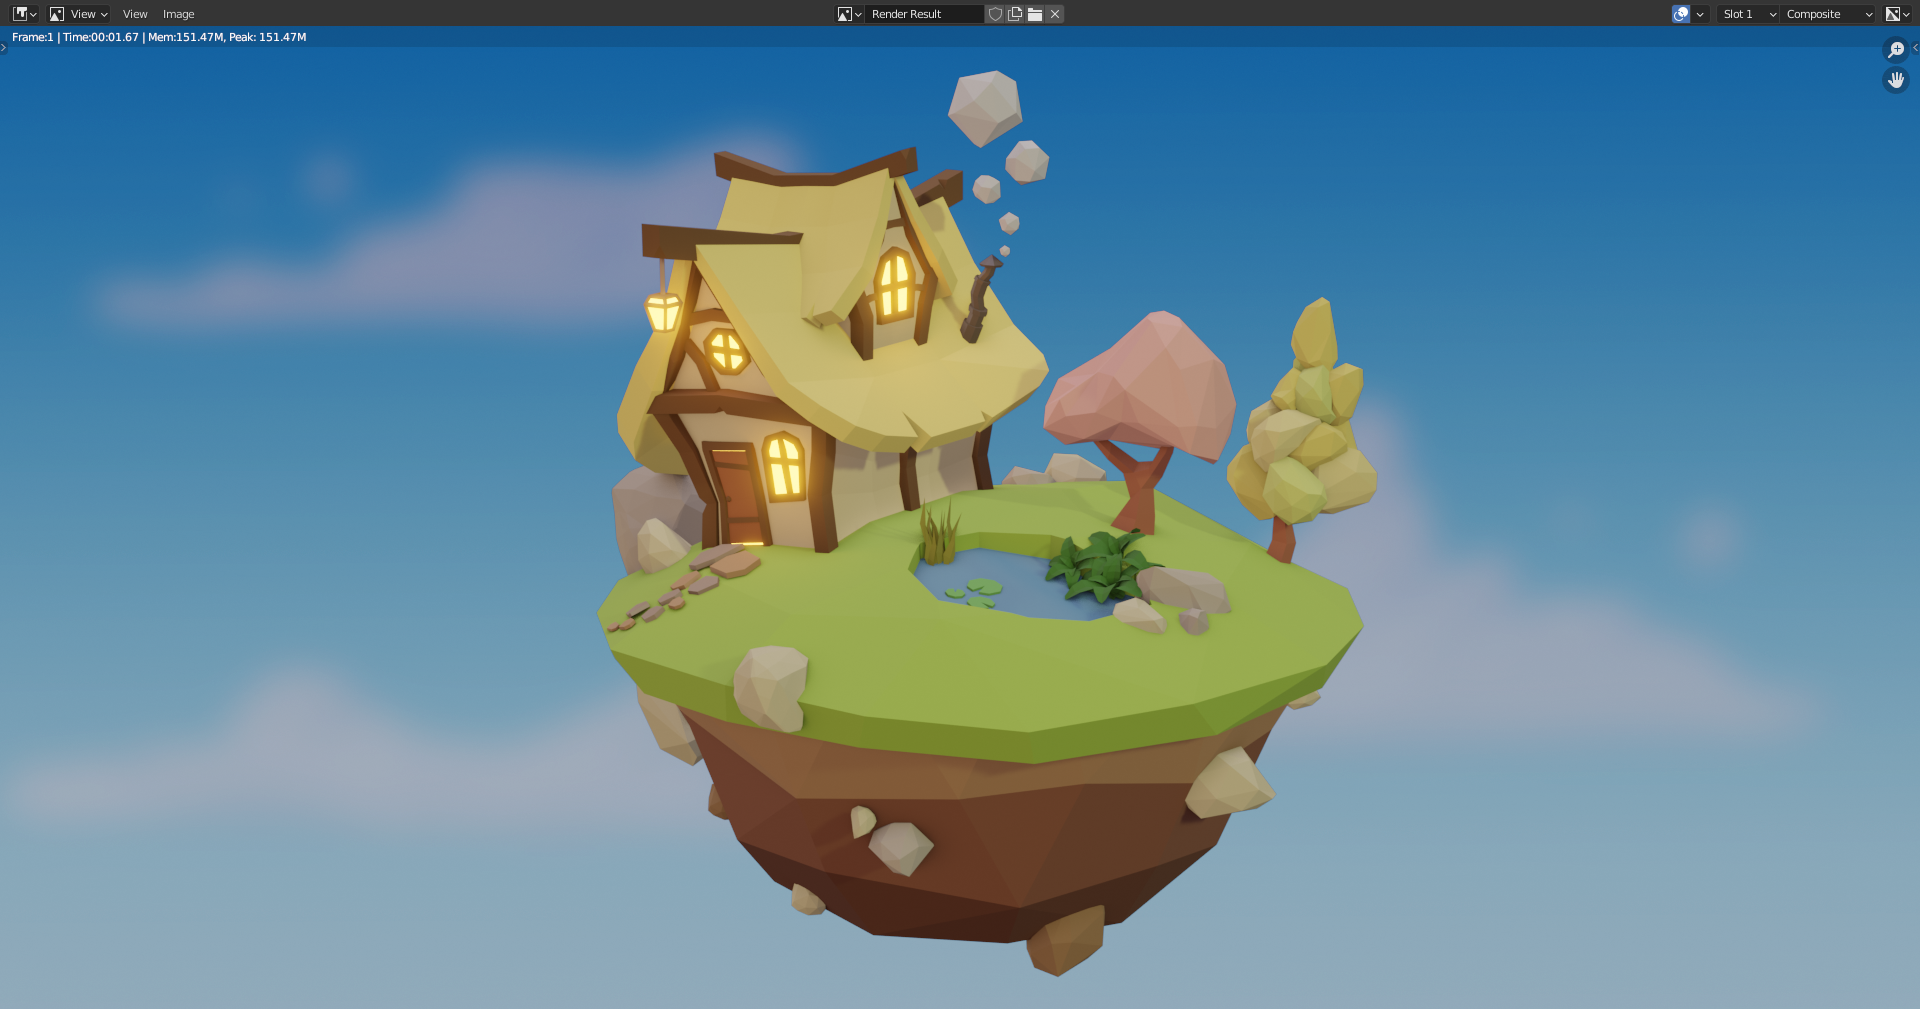
35. Cyvles vs Eevee
Pressing [Keypad 0] shows a preview of the render in the camera perspective.
Render properties tab to change render configurations.
Eevee: More flat, faster local lighting rendering.
Cycles: Ray-tracing based rendering.
We can enable some things to make Eevee look more realistig. E.g. enable Bloom to make lighting look better.
Add denoiser to make Cycles look better (takes more time).
Material preview mode uses Eevee, but has lighting setup.
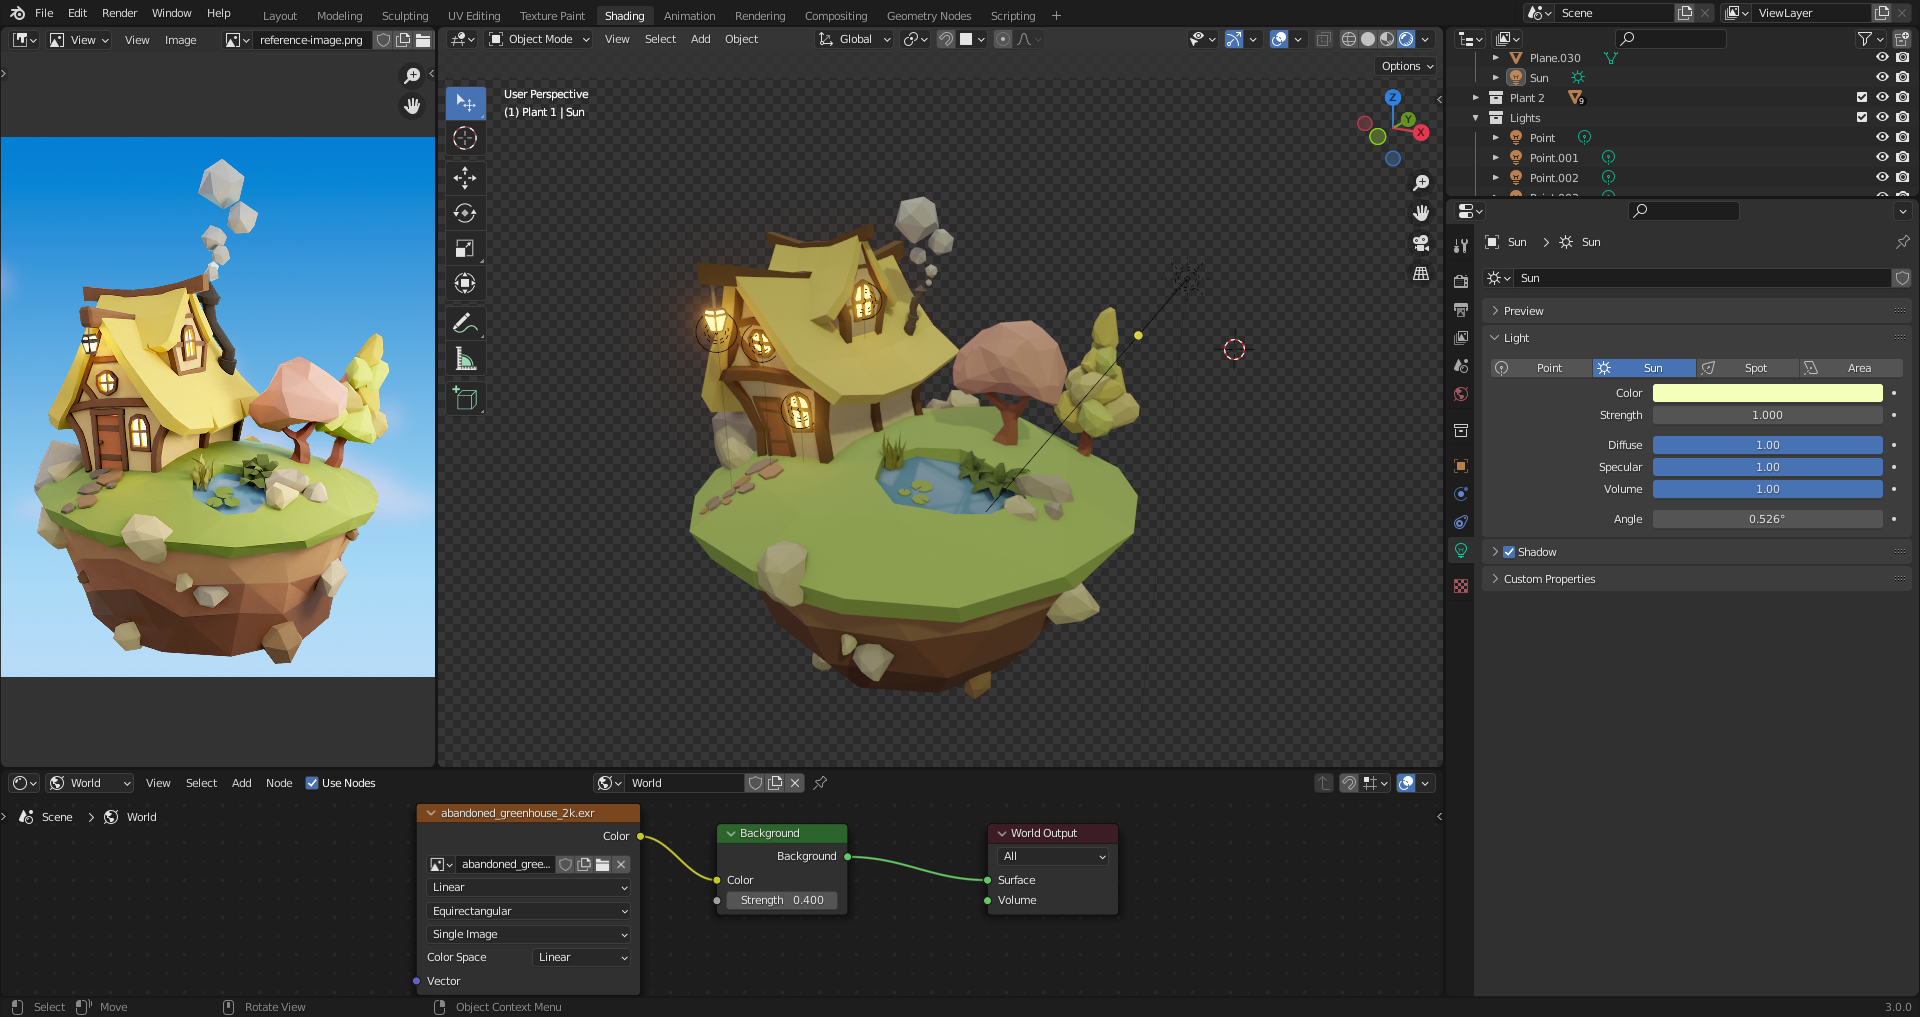
In shading editor, select World instead of object to change world material.
We can use HDRI to light up scenes. Can get some from polyhaven.com.
[Shift A] to add an environment texture and hook it up to Background.
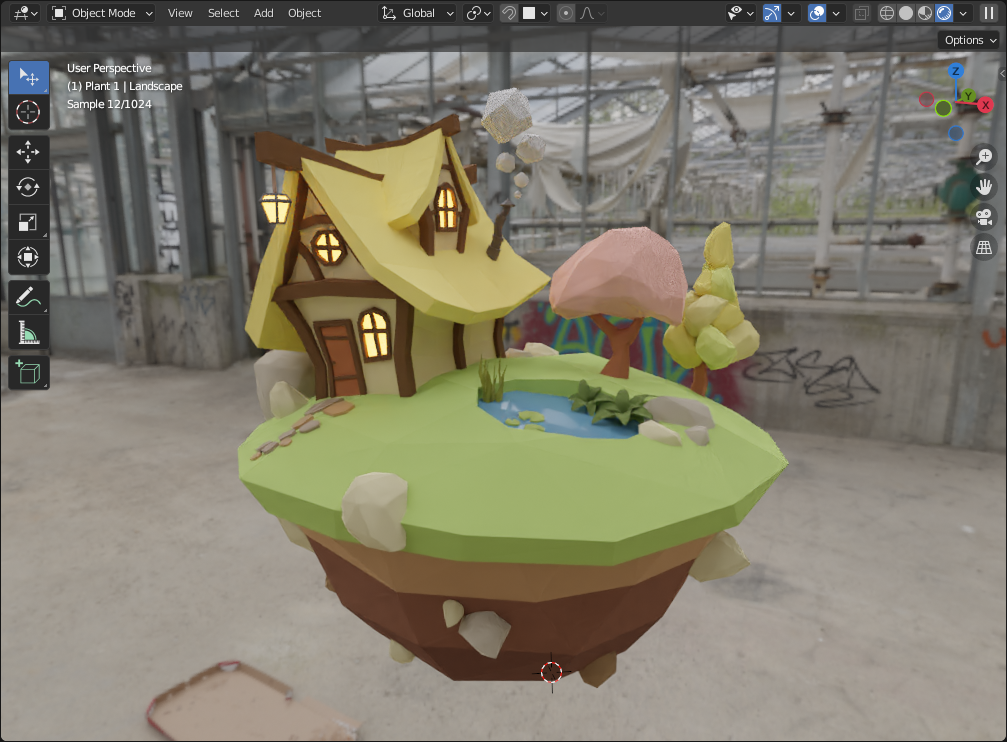
36. Adding Lights
Disable background added by HDRI: Render properties -> Film -> Transparent
Adding point lights to windows and lamp can simulate light for Eevee.
Sun light to add shadows and light to all elements.
Play around with light properties to achieve desired effect.
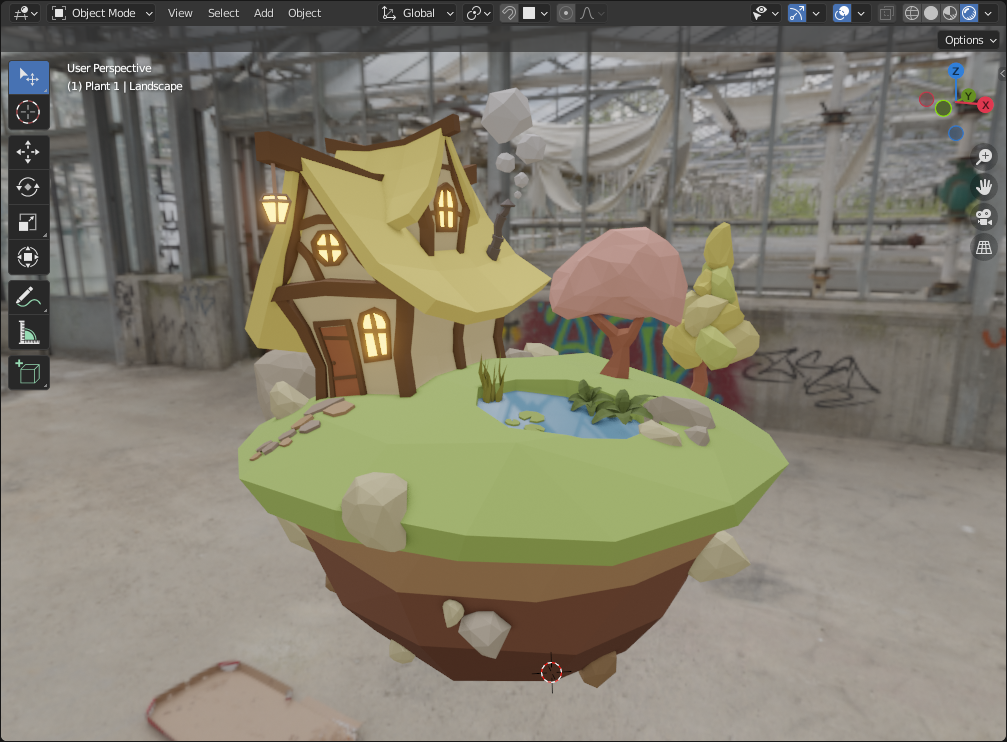
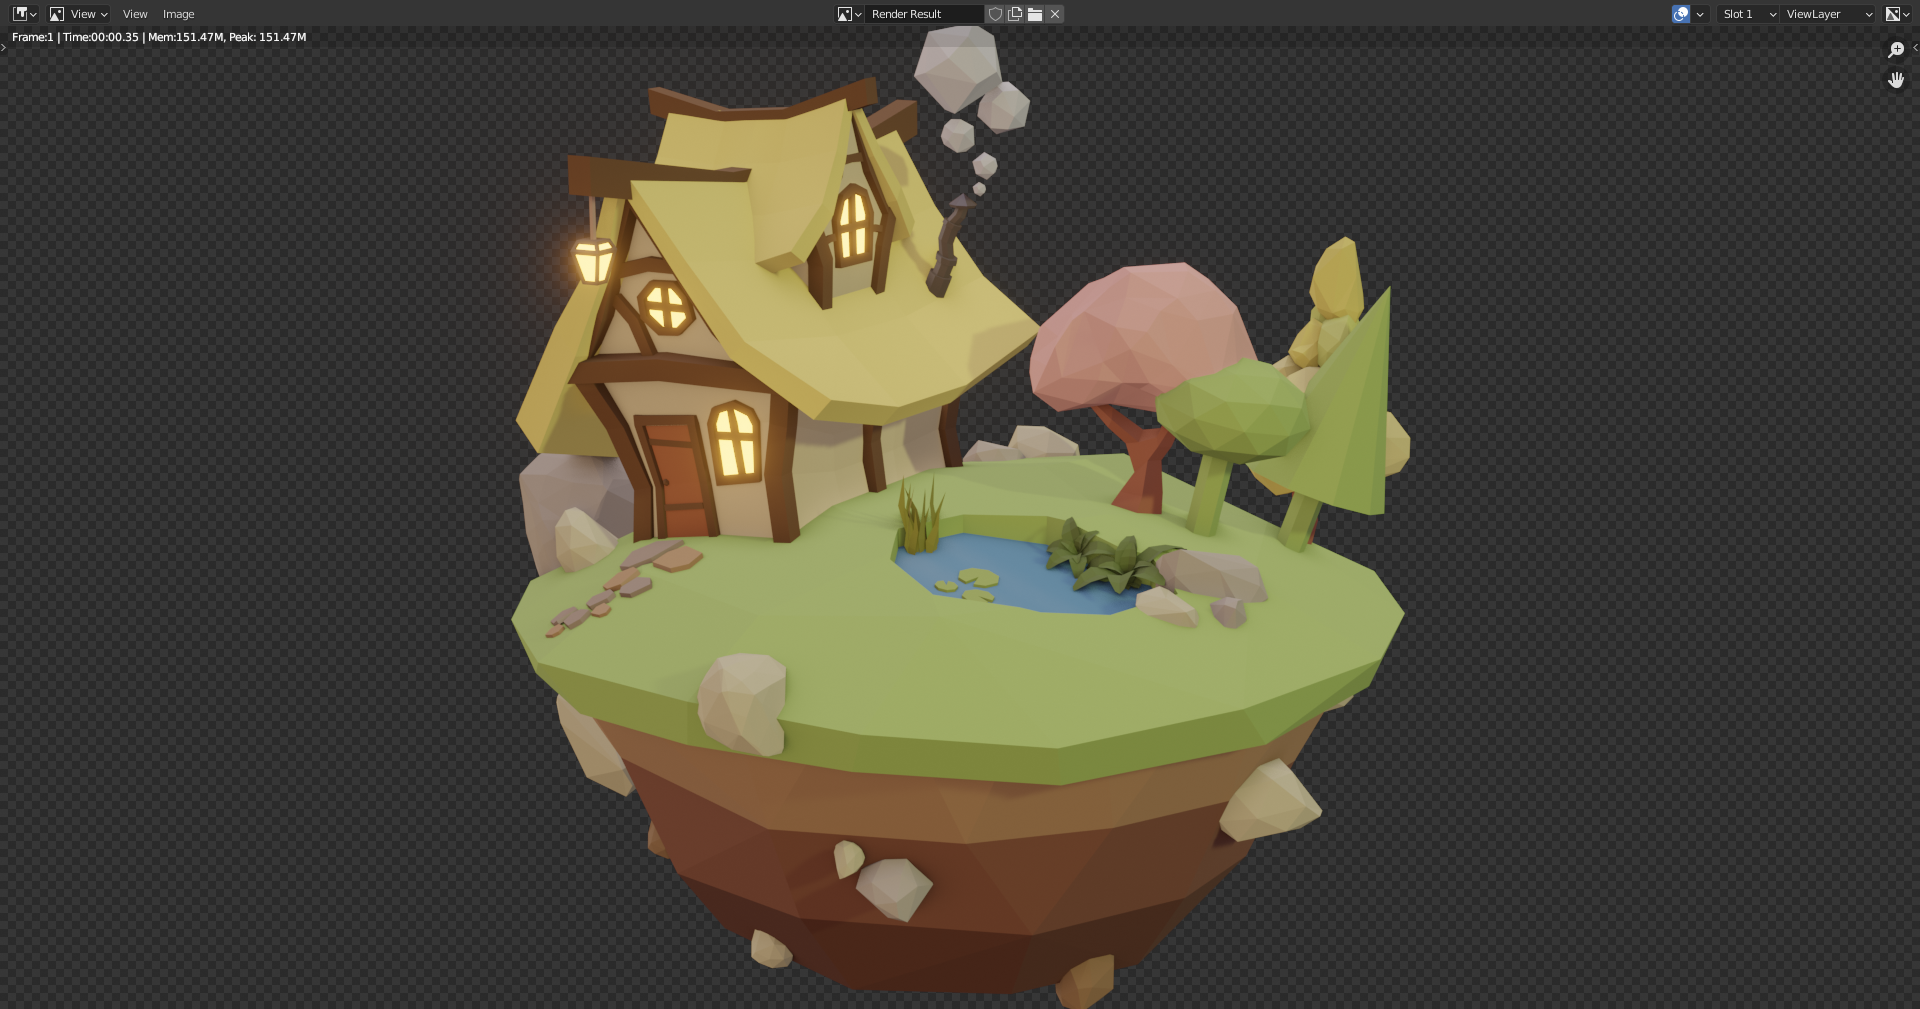
37. Creating Atmosphere
Using a grayish HDRI helps with settling with object colors.
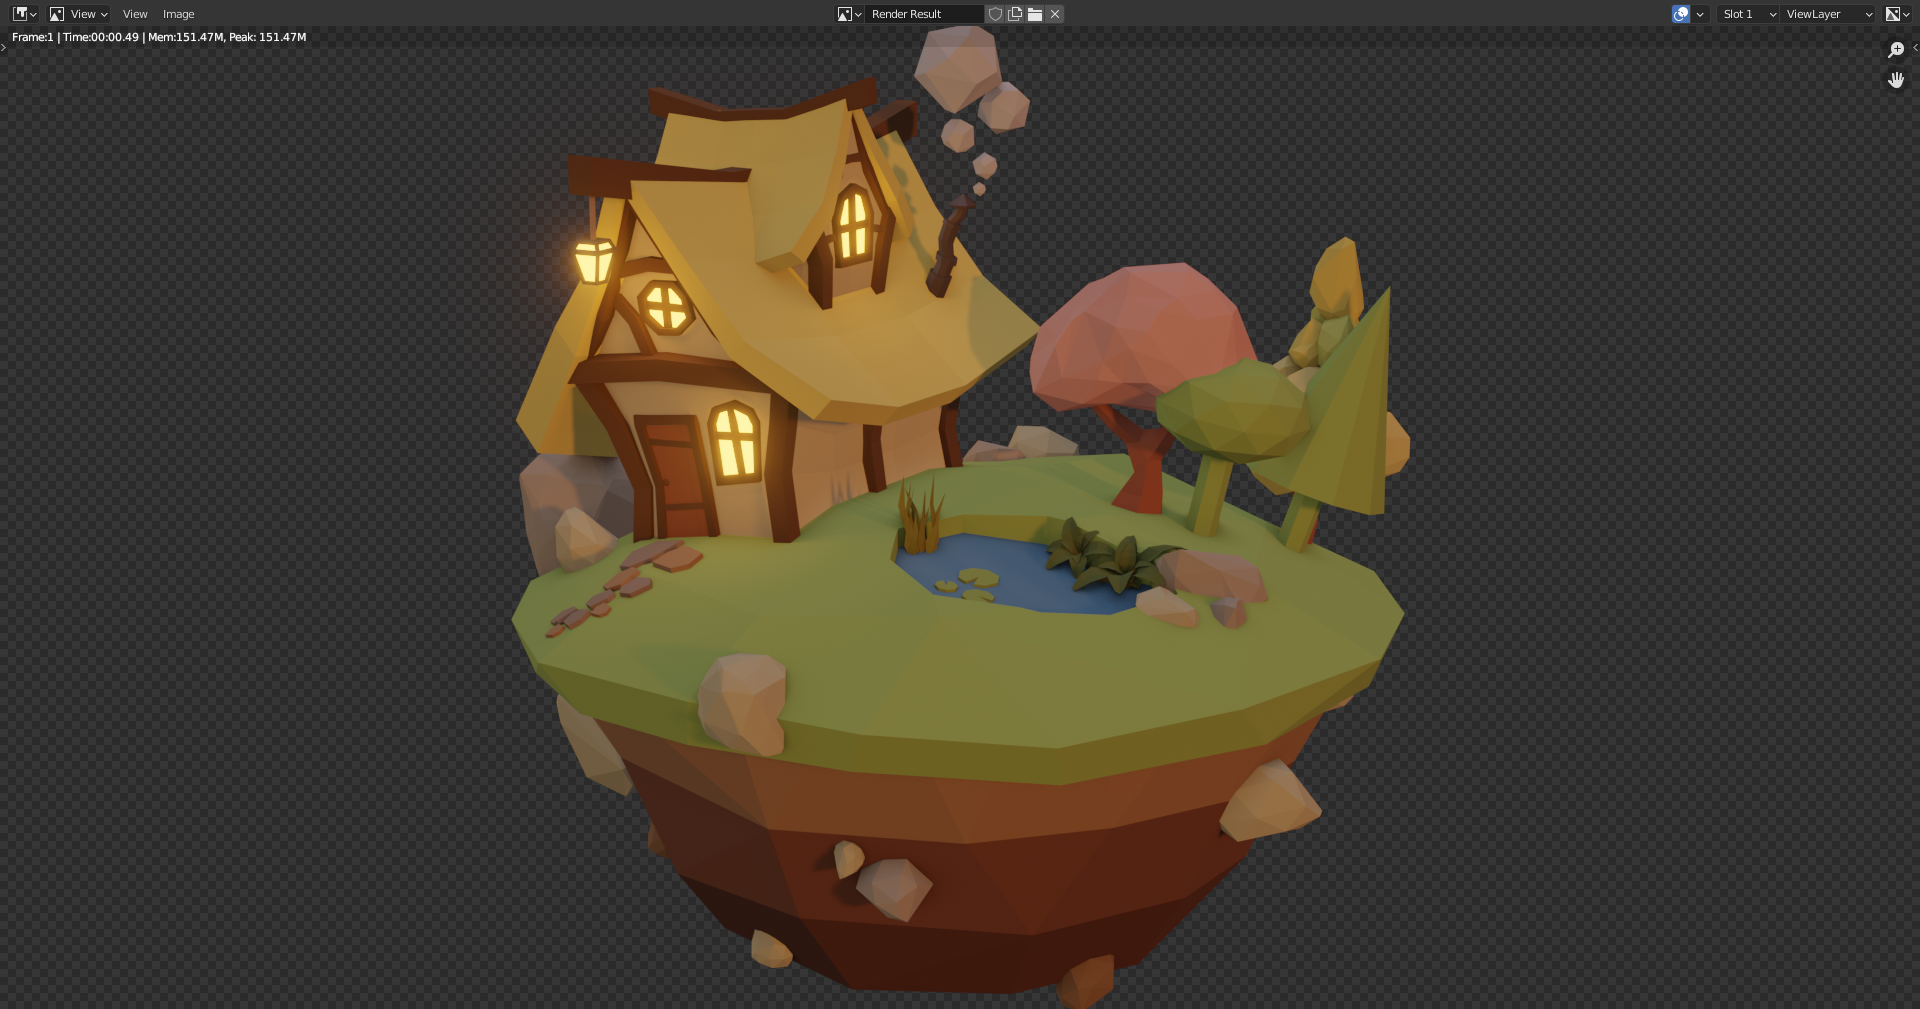
Picking up more vibrant colors help to add atmosphere. Nice when sun matches the scene sun position.
Sun color change mood. Early morning: blueish, late evening: orangeish.
Adding more suns to give different moods.
Blue light technique keeps things darker, but still allows you to see.

38. Details
Round some edges using bevel, and use bevel and knife tool to create gaps in the ceiling.
[G G] will do edge-slide when editing vertexes.
[Ctrl B] to start bevel on vertex, then [V] to take a chip off the edge. [Ctrl Shift B] does the same.
When selecting 2 opposite vertices in a newly created face, we can press [J] to join those vertices and split the face in two.
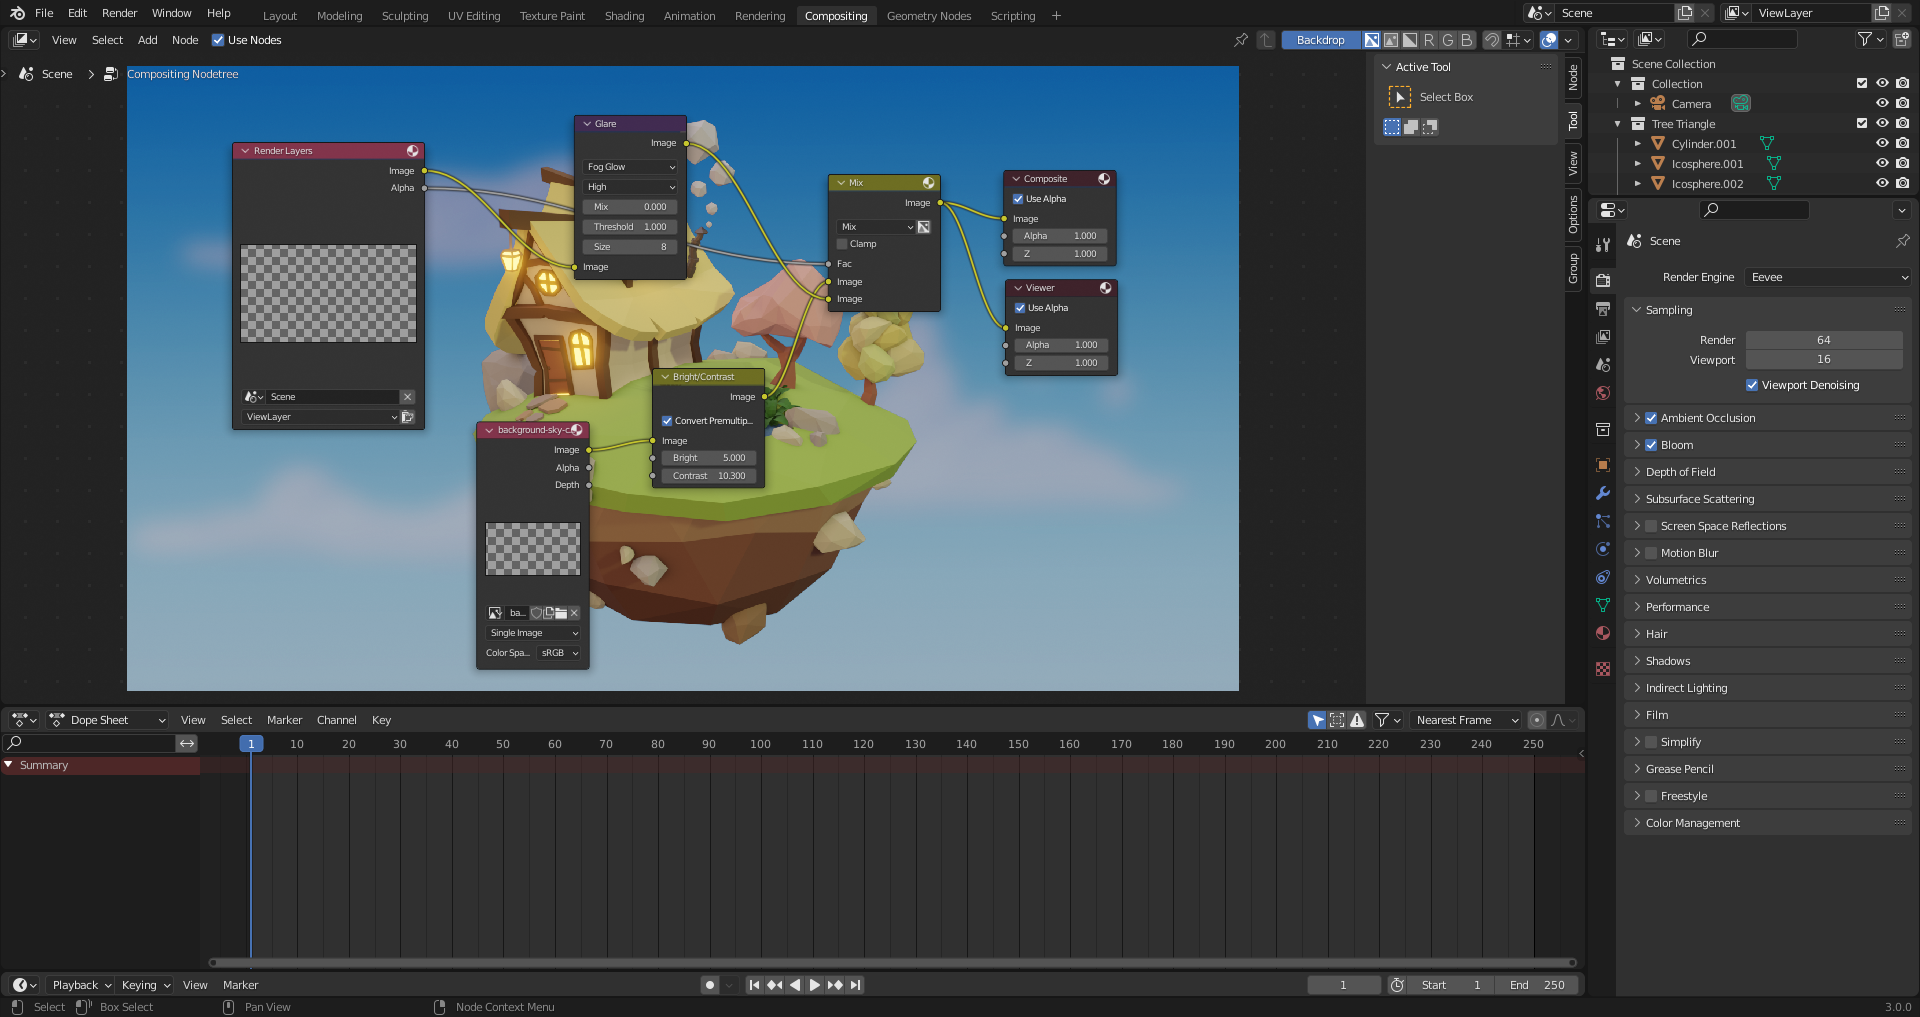
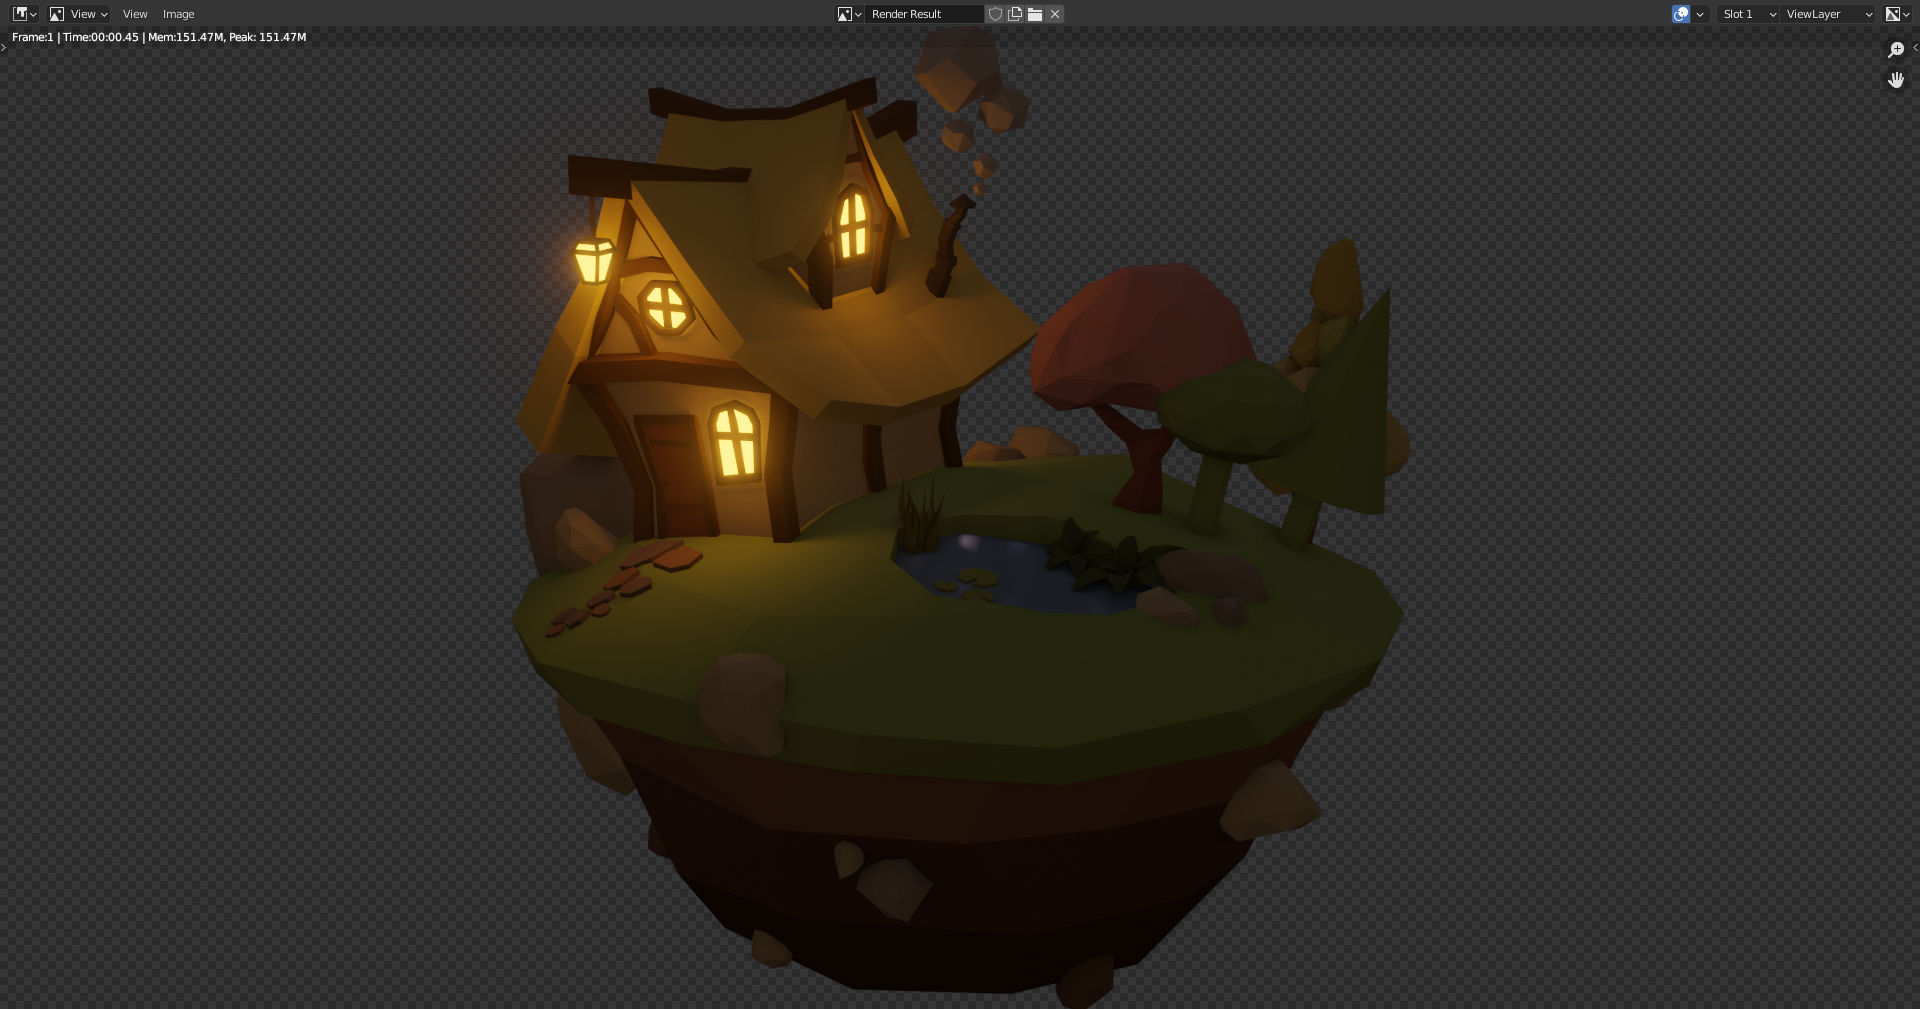
39. Render & Composition
View options -> View Lock -> Lock camera to View -> When pressing [Numpad 0] you can drag camera around with the view. Makes it easier to position camera.
Possible to add background using compositor. Compositing tab and use nodes.
Can add a background with an image node, and mix it with Mix node. Add viewer node to preview the result. Use render alpha as factor to blend images.
Pressing [M] can "Mute" a node and see the difference it makes.