Udemy Low Poly Landscapes
1. Introduction
Useful Shortcuts
- Numpad . - Frame selected objects.
- Home - Frame all.
- X,Y,Z - Constrain transform along axis.
- Shift X,Shift Y,Shift Z - Constrain transform along plane.
- F3 - Opens command palette. Can search by name.
- Tab - Switch between object and edit modes.
- 1,2,3 - Switch between vertices, edges and faces modes.
- L - Select linked objects.
- P - Separate meshes into different objects.
- J - Join separate objects into a single one.
- Ctrl X - Dissolve selected.
- Ctrl Alt Numpad 0 - Move selected camera to current view.
1. Basic Concepts
- Start out with blocking characters.
- Use a plane as a floor for reference.
- Use different materials for each body part.
- Wireframe view helps positioning blocks together with front view in ortho mode.
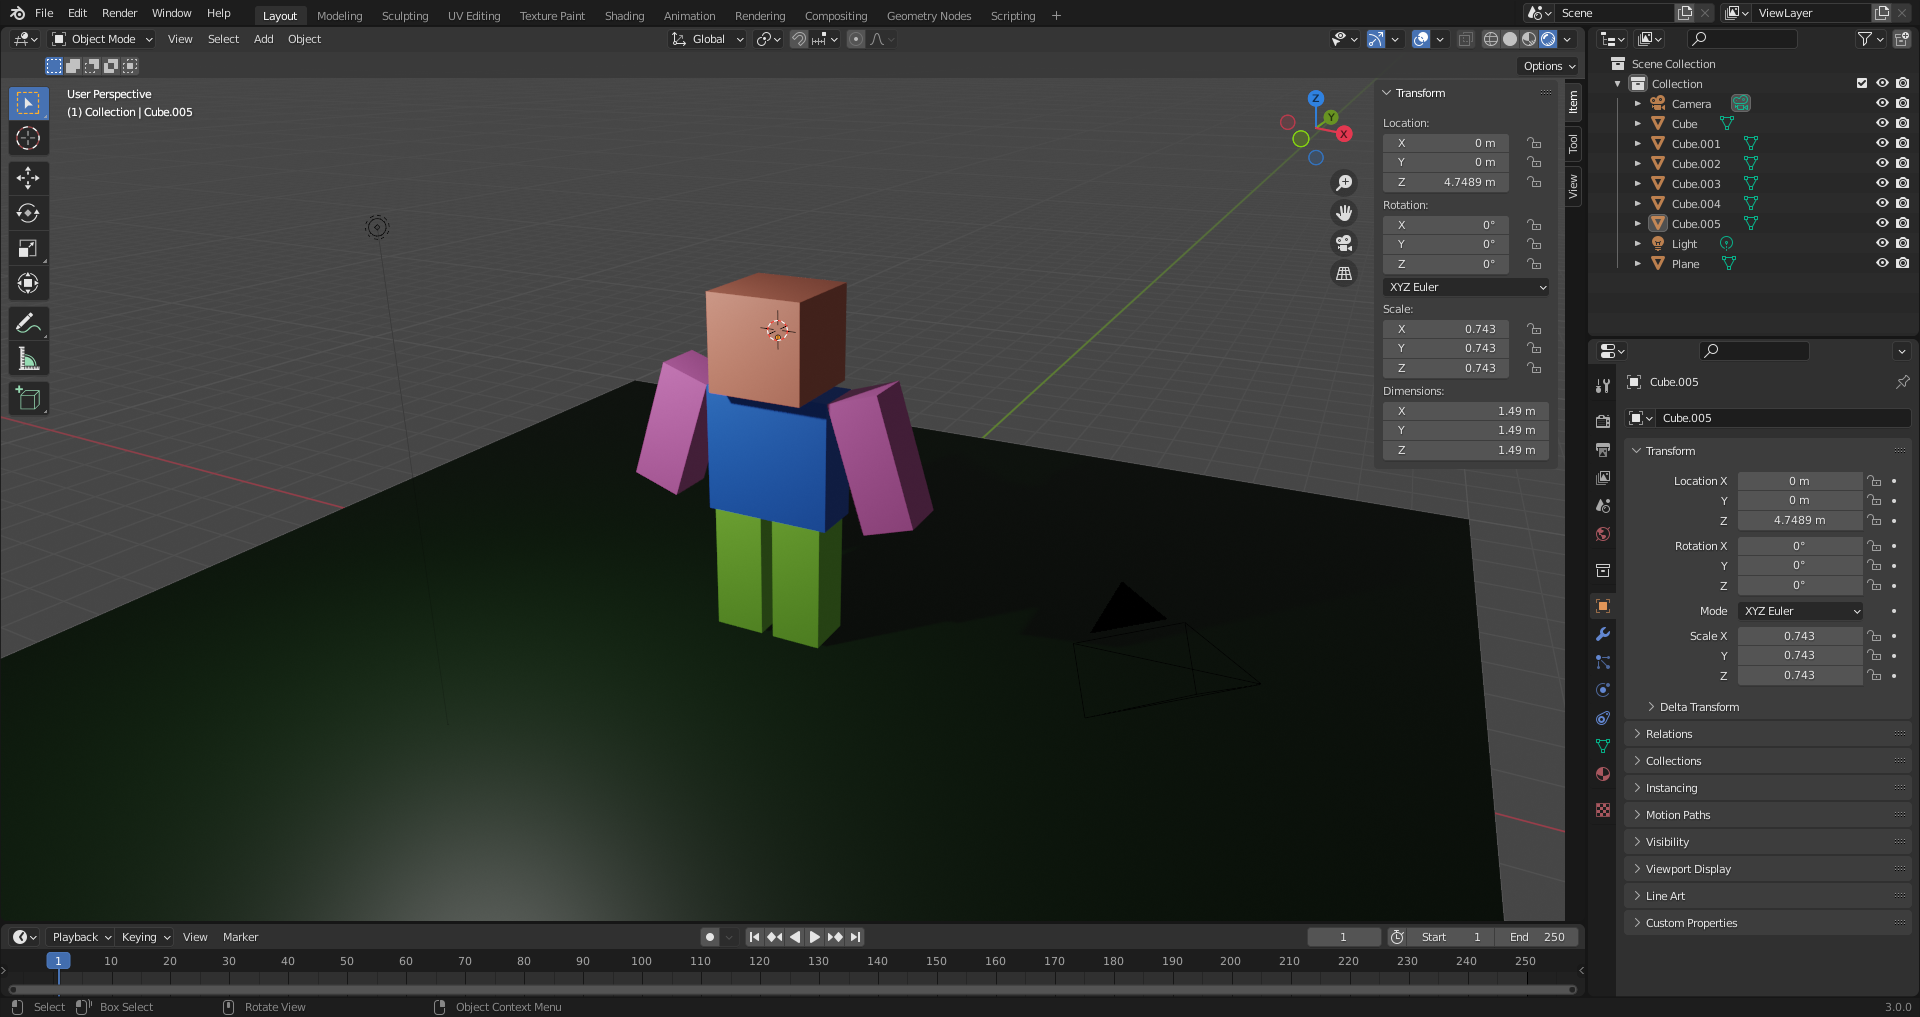
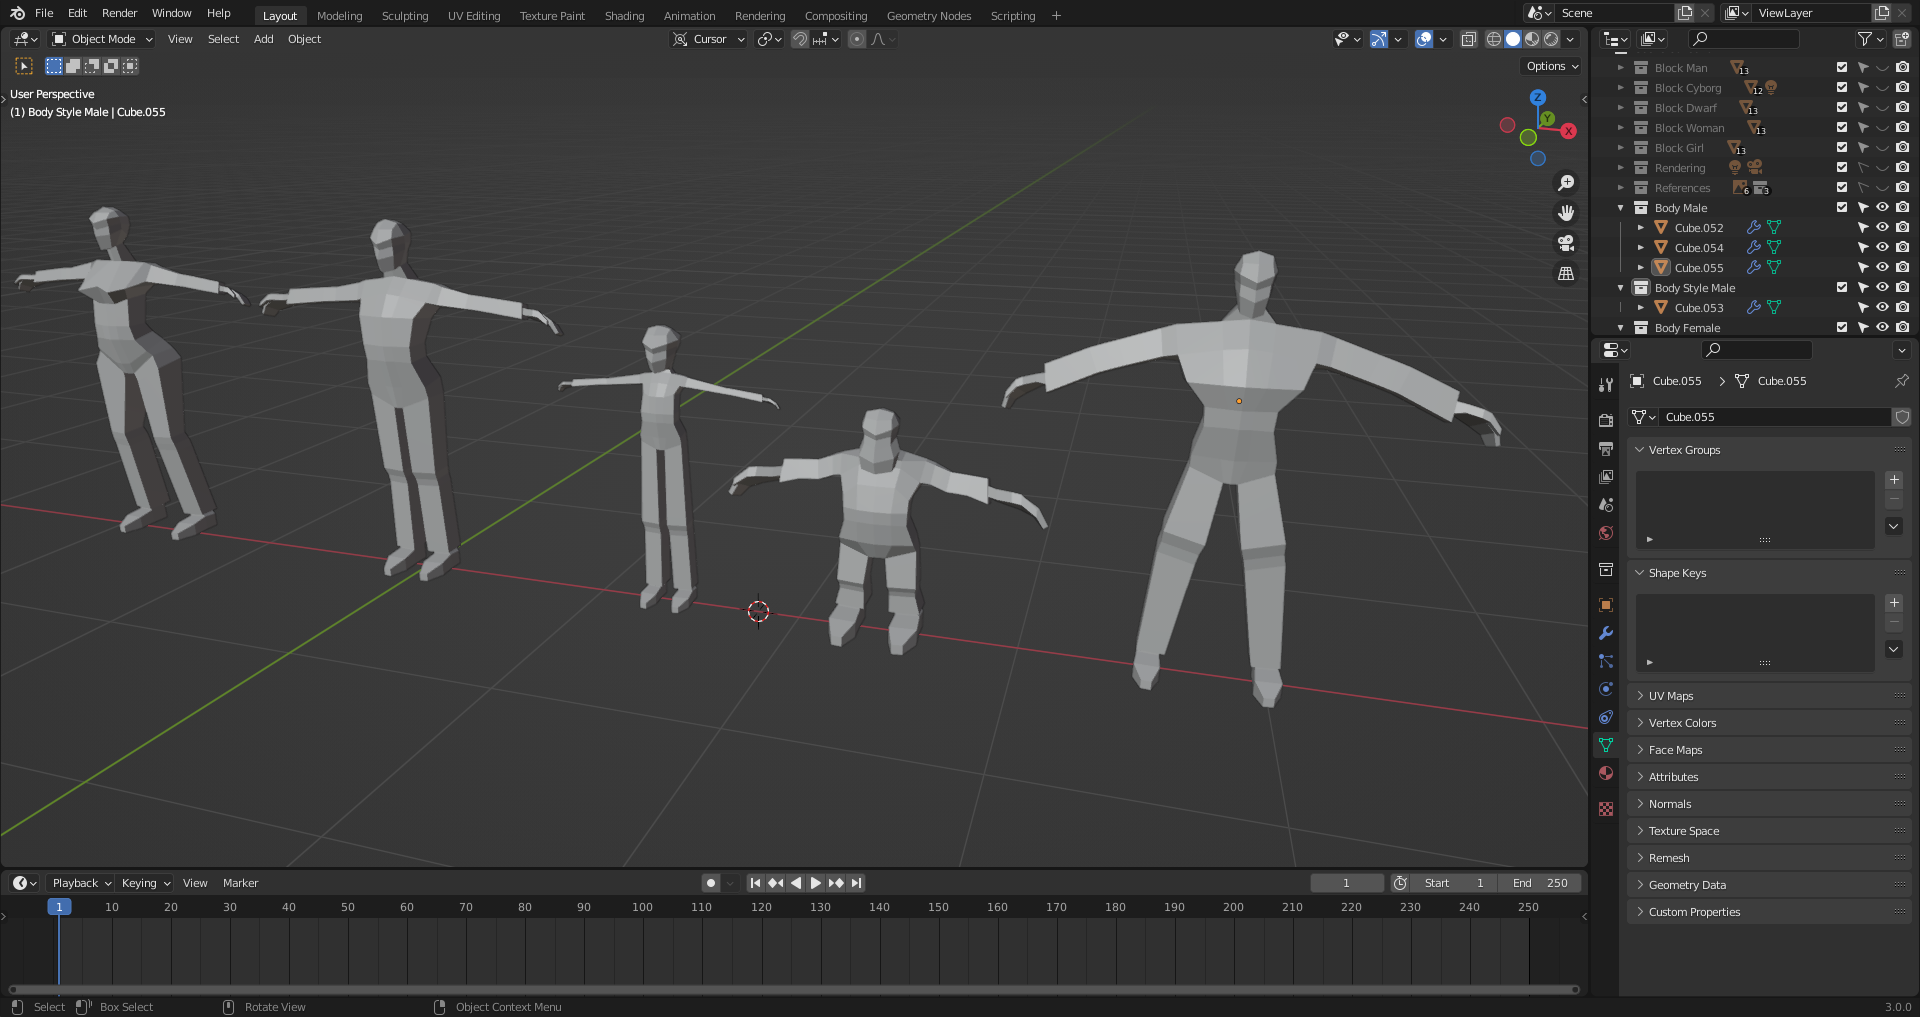
2. Block Man
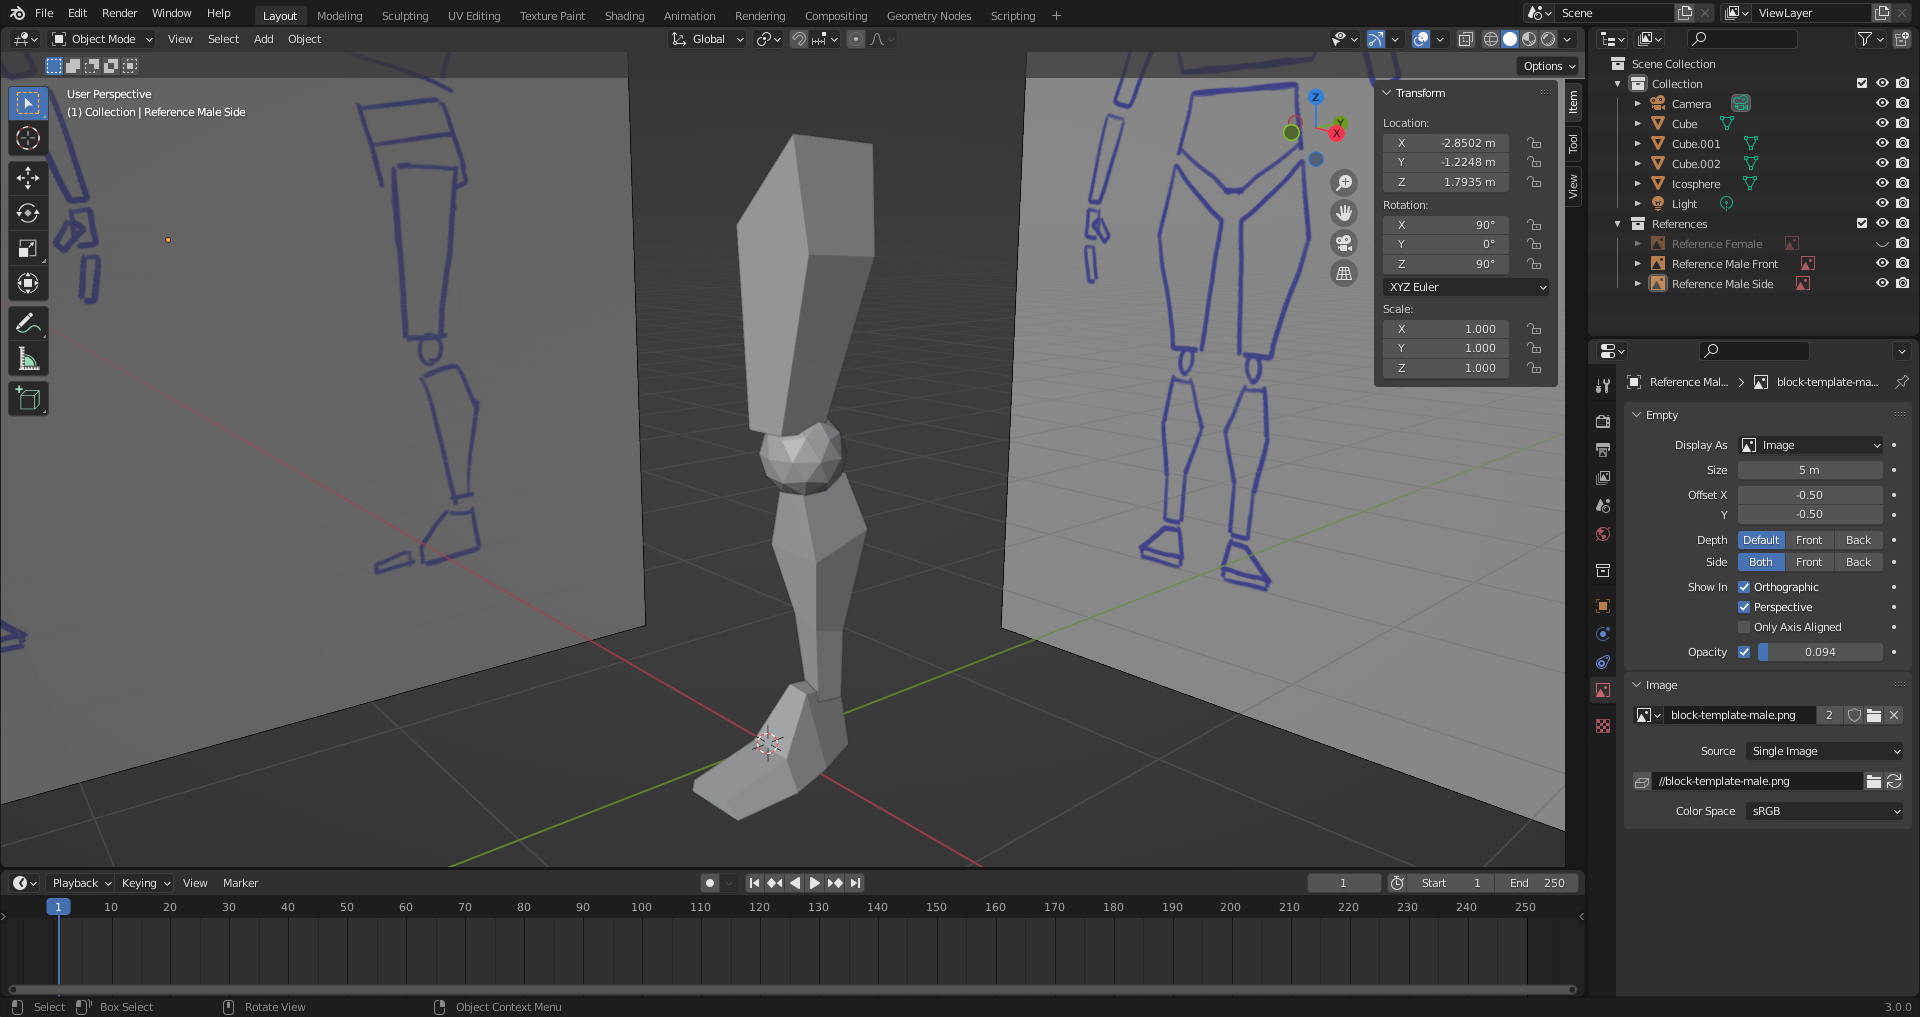
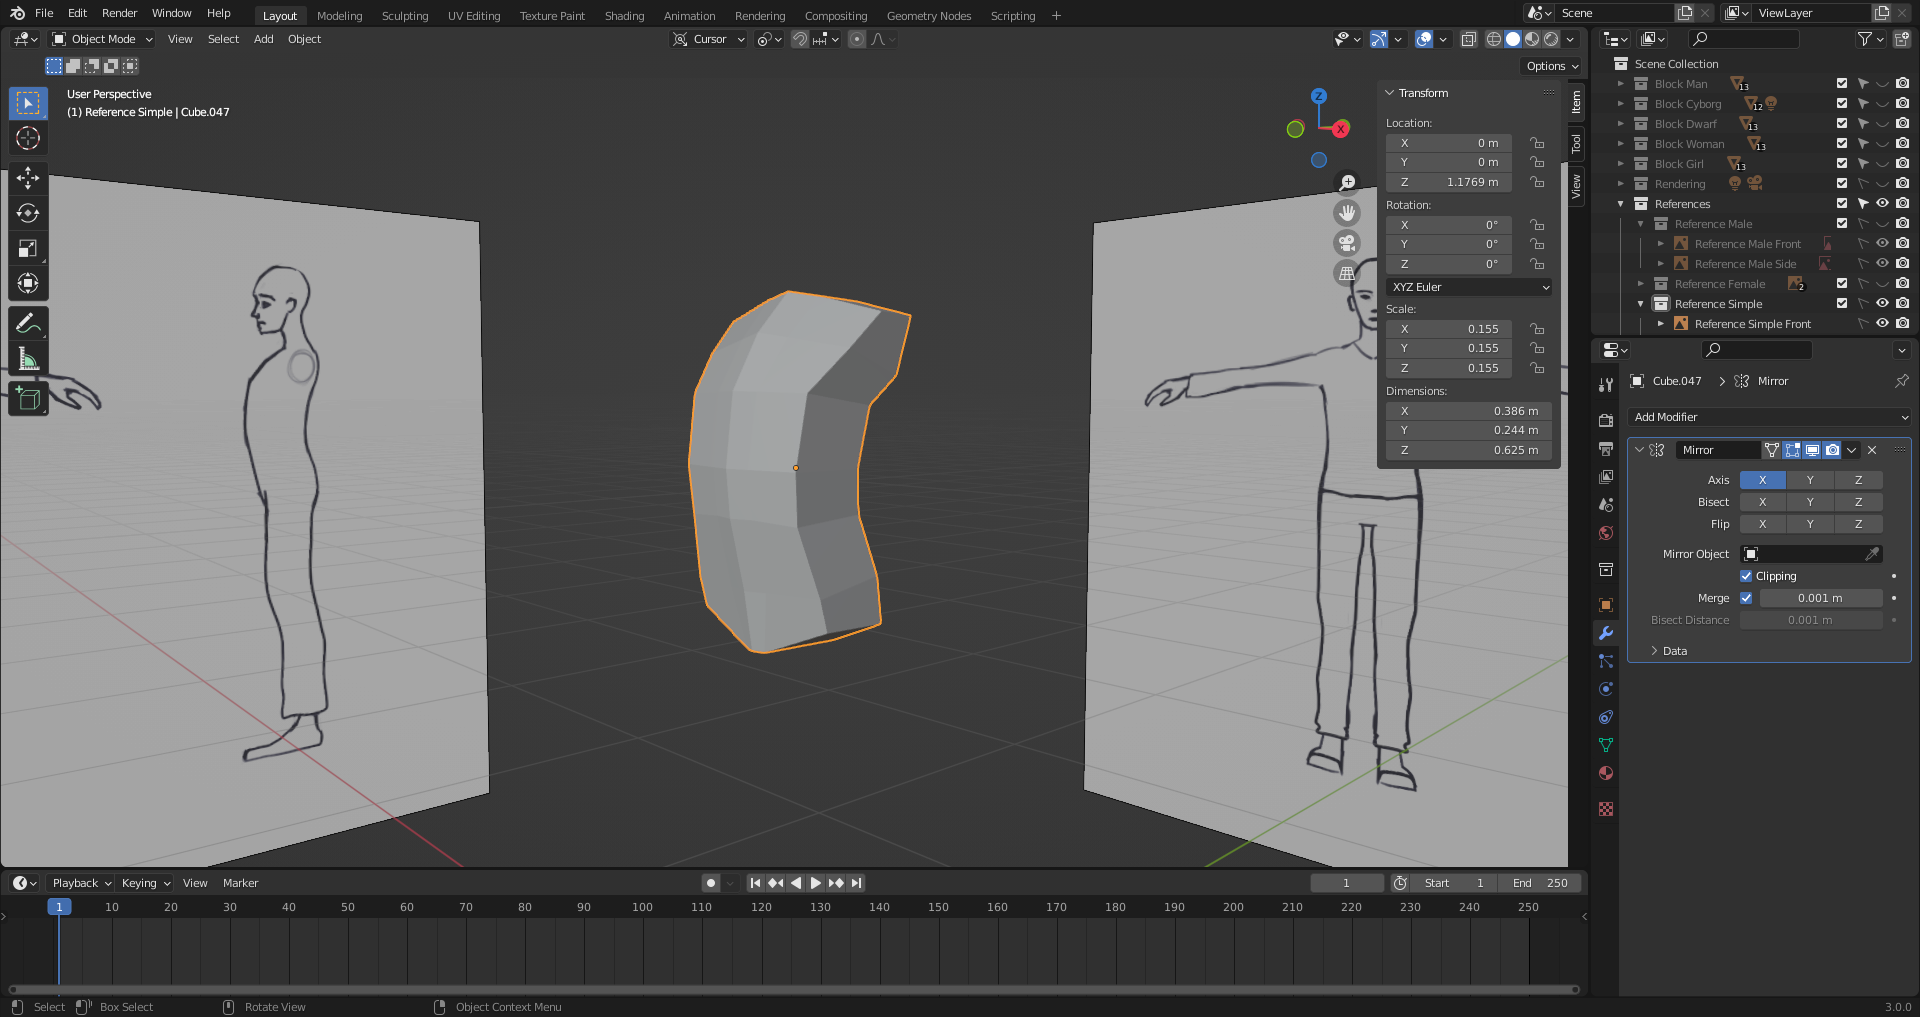
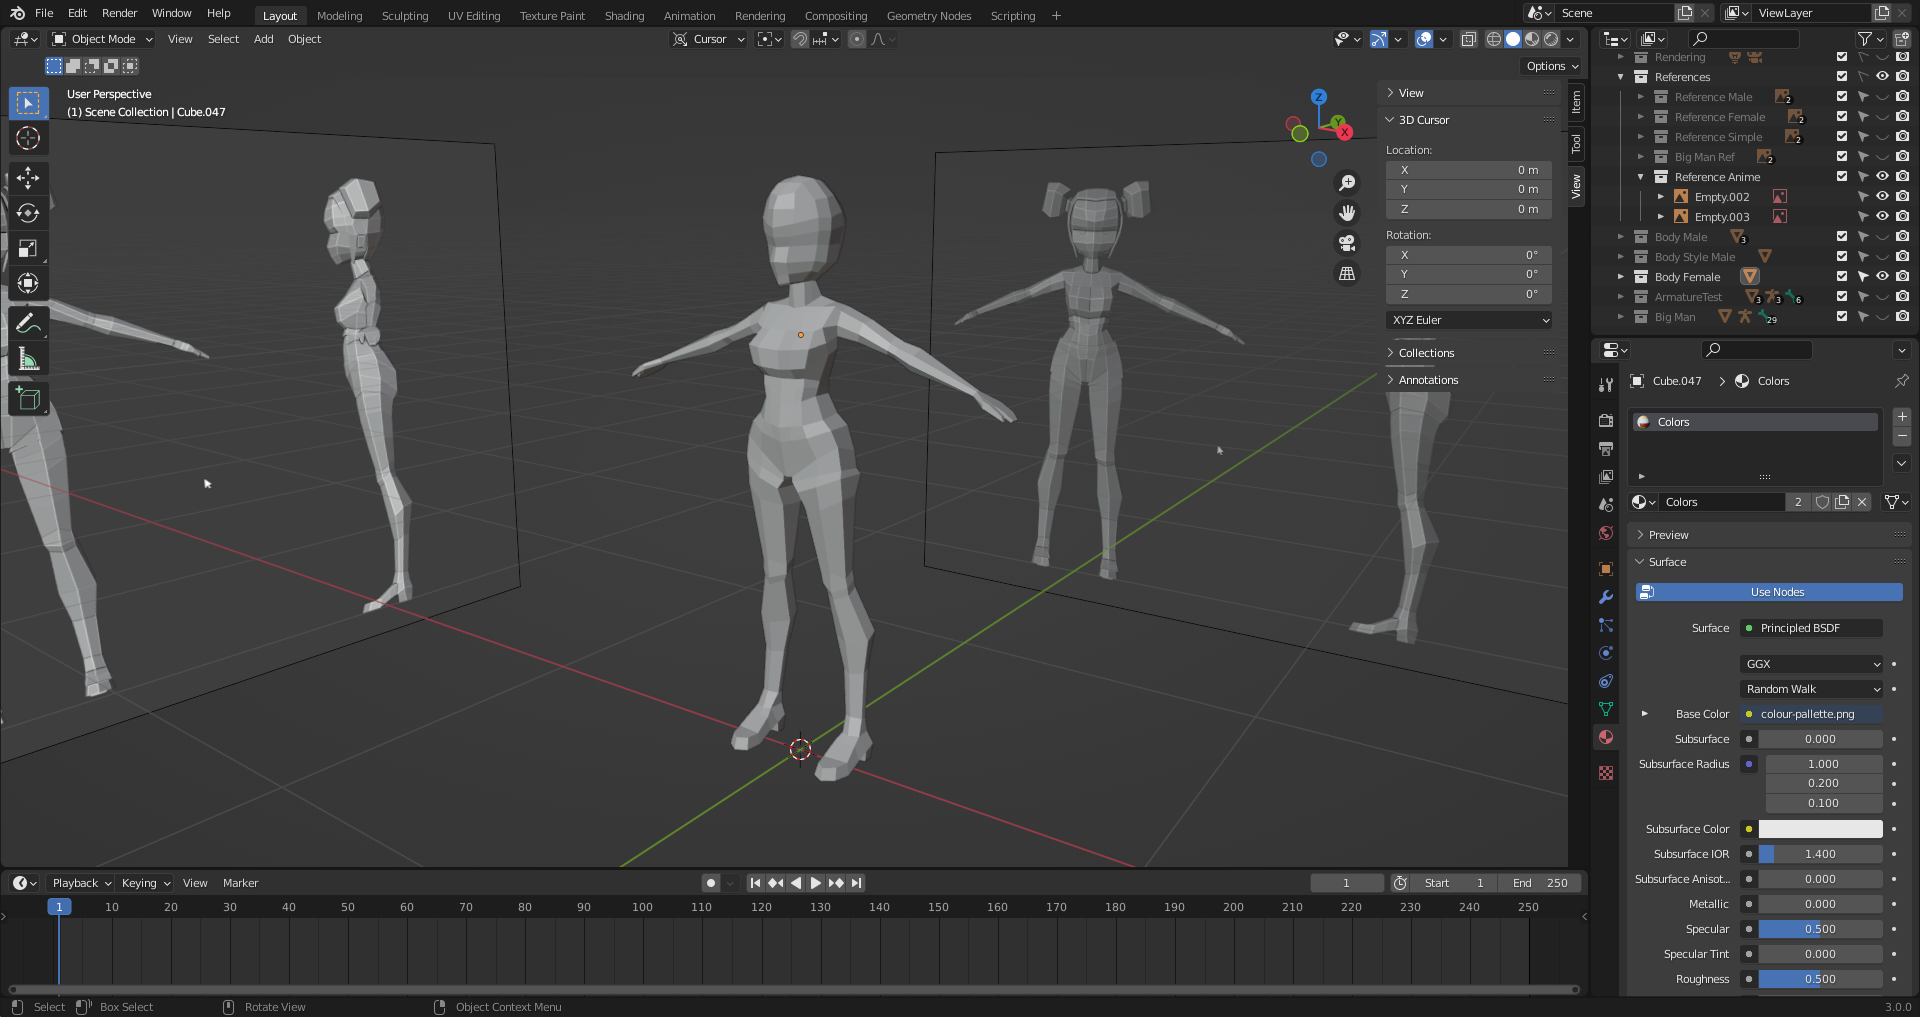
9. Importing Reference Image
Drag reference images into blender scene. This adds an empty mesh that does not get rendered.
Alt A to get rid of rotation and Alt G to get rid of the location.
When placed into position, reference can be duplicated and rotated to be able to see on side view as well.
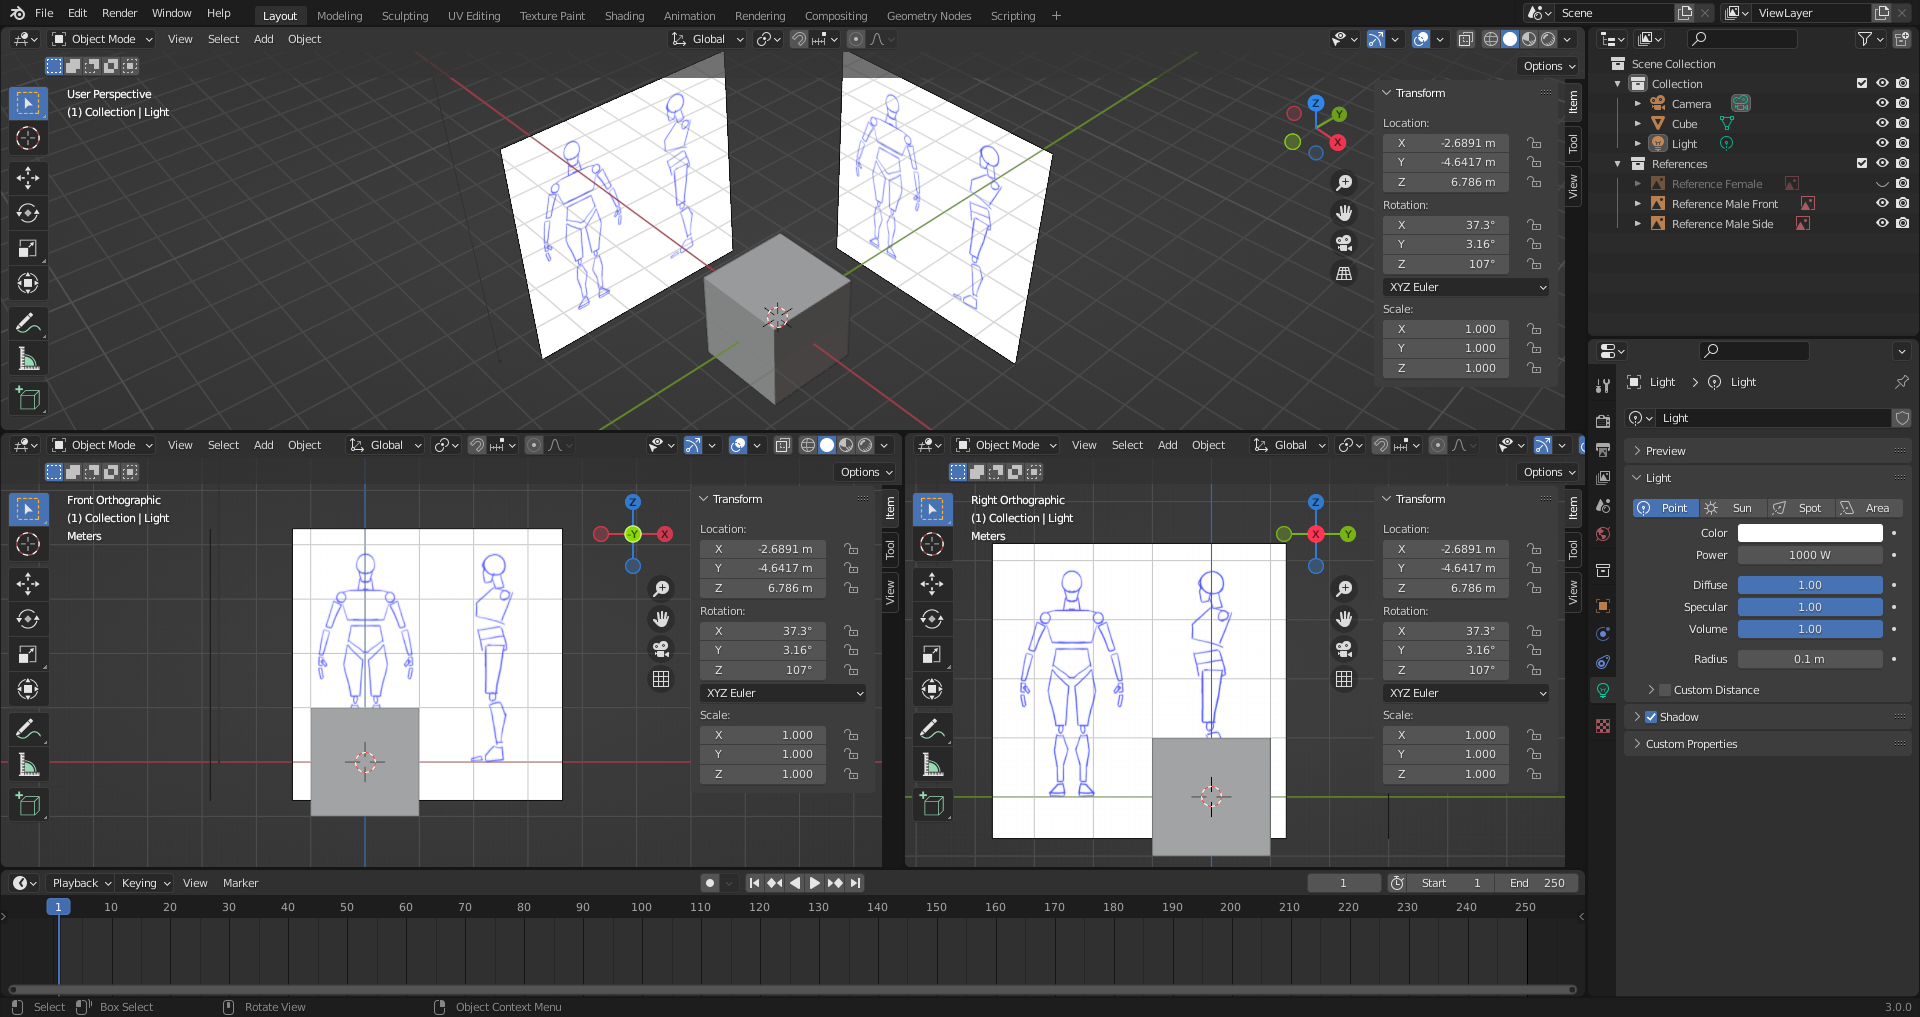
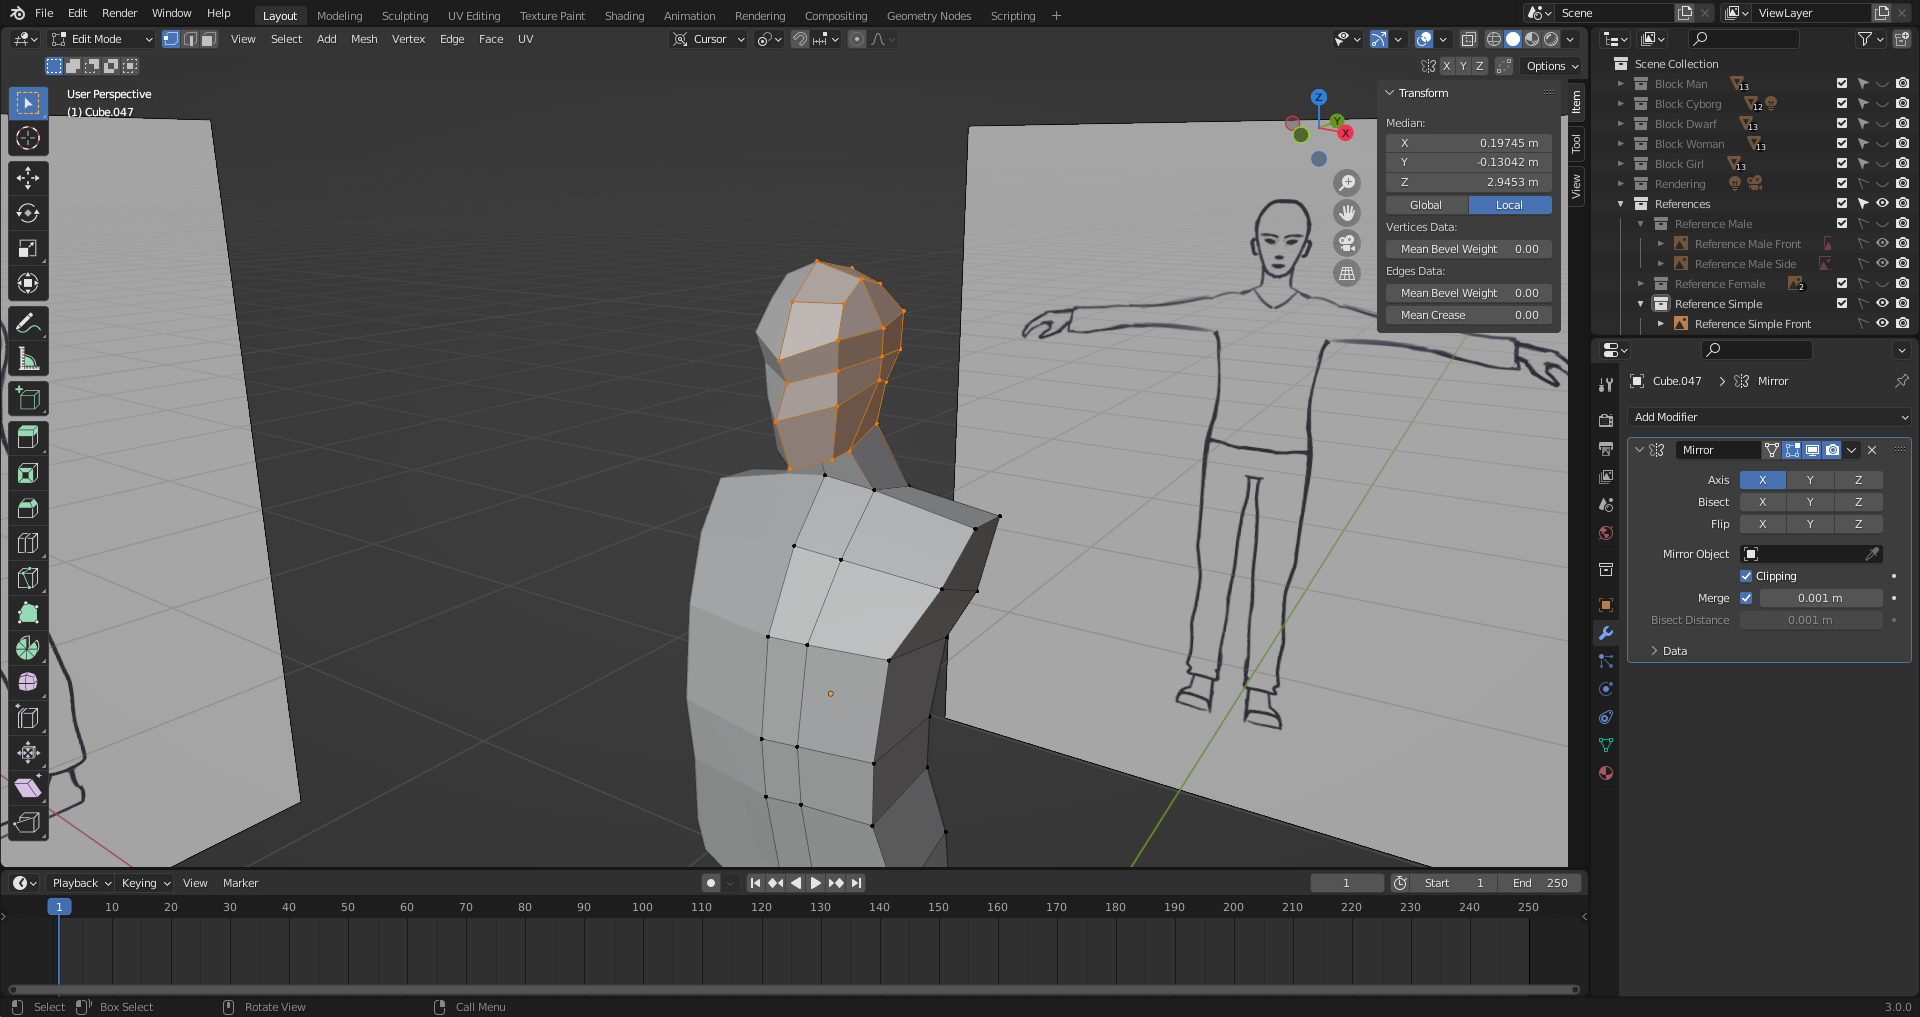
10. Edit Mode
Toning reference opacity down makes it easier to see the objects you are adding to the scene.
Add objects using front view as reference, then adjust to side view.
Sometimes the front-view and side-view references will not match. Choose a priority one to take over (e.g. front).
11. Extruding Objects
Using extrusion to create foot toes.
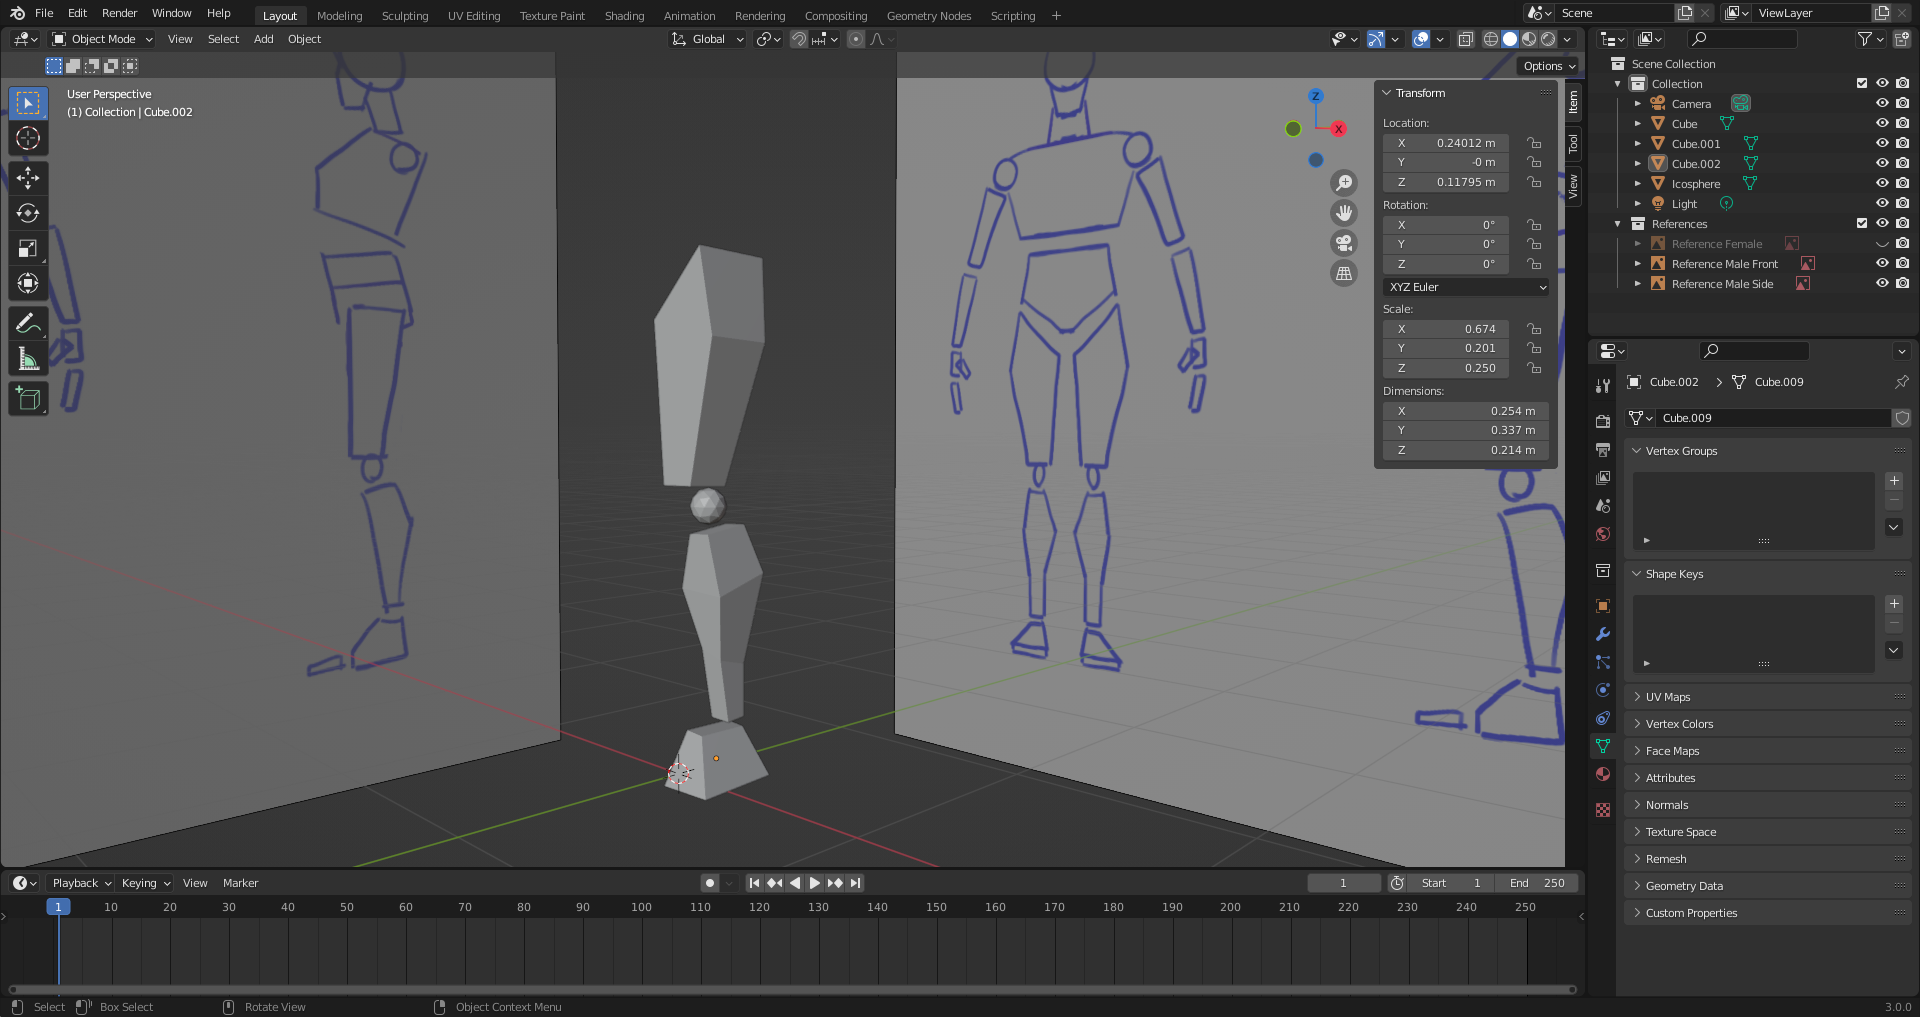
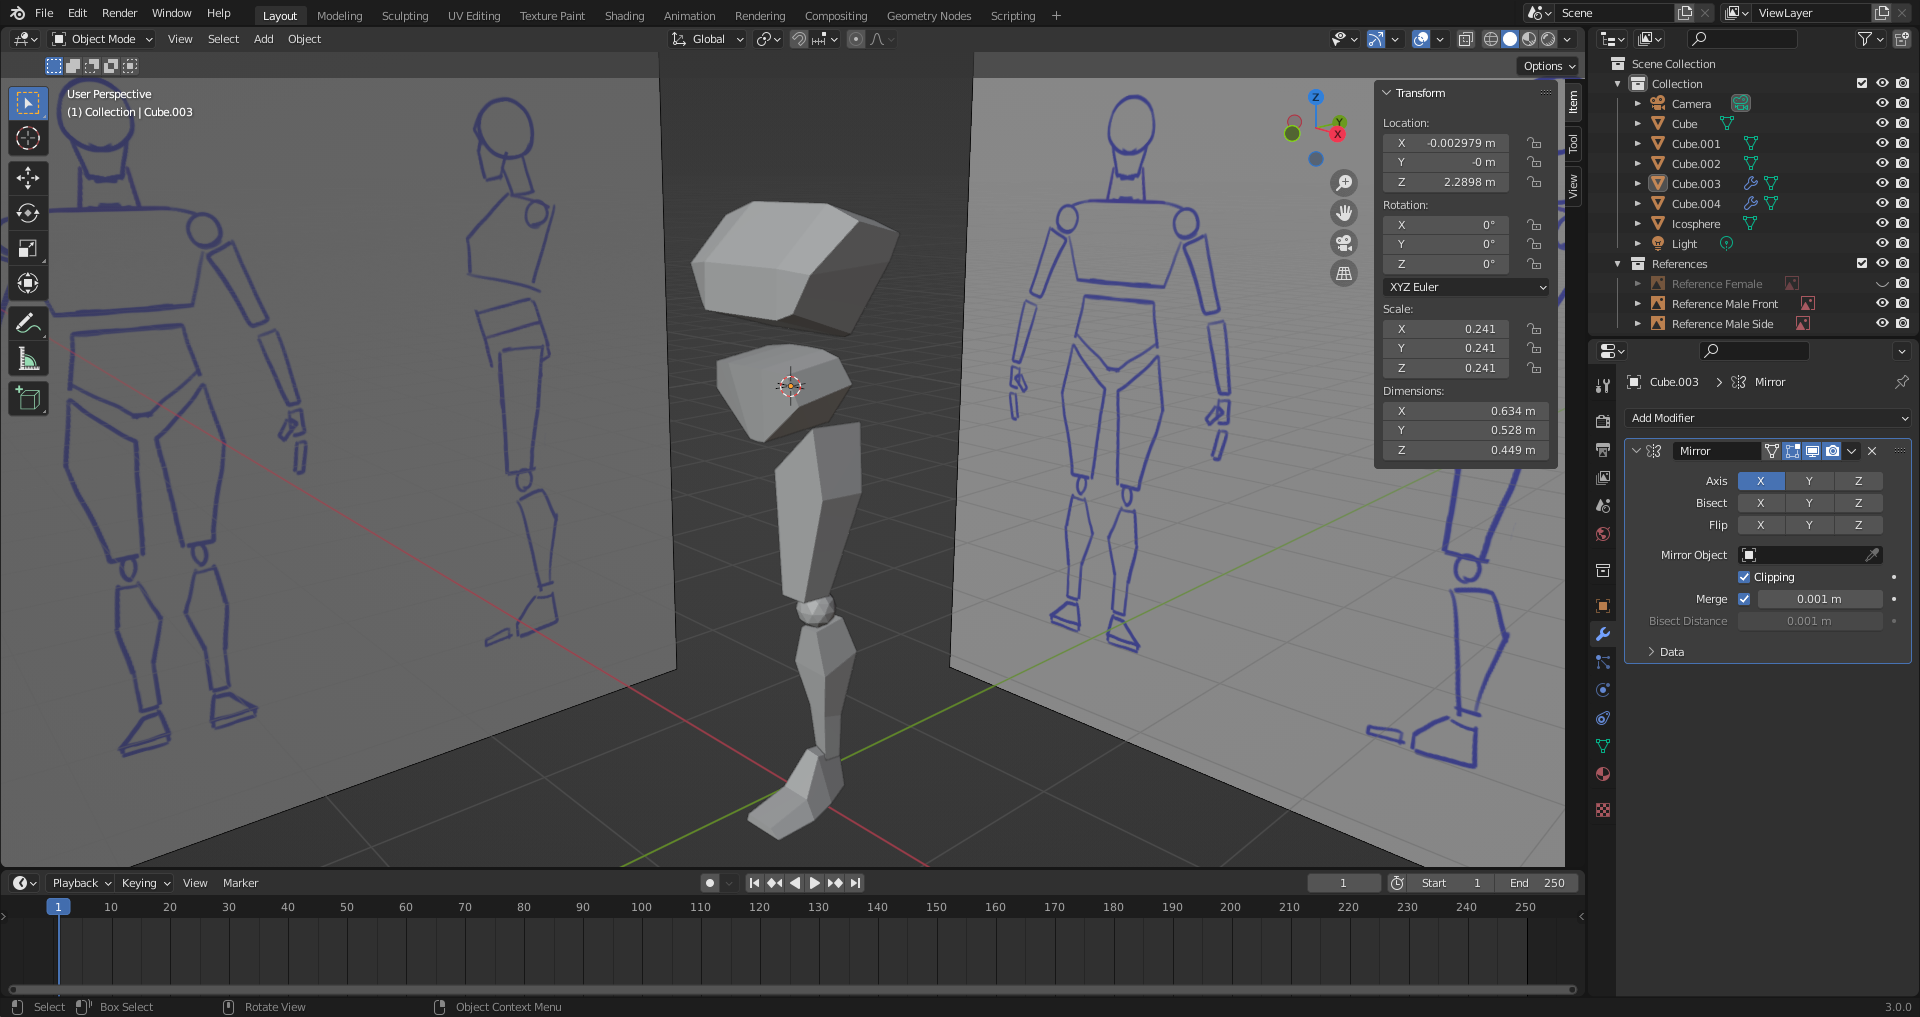
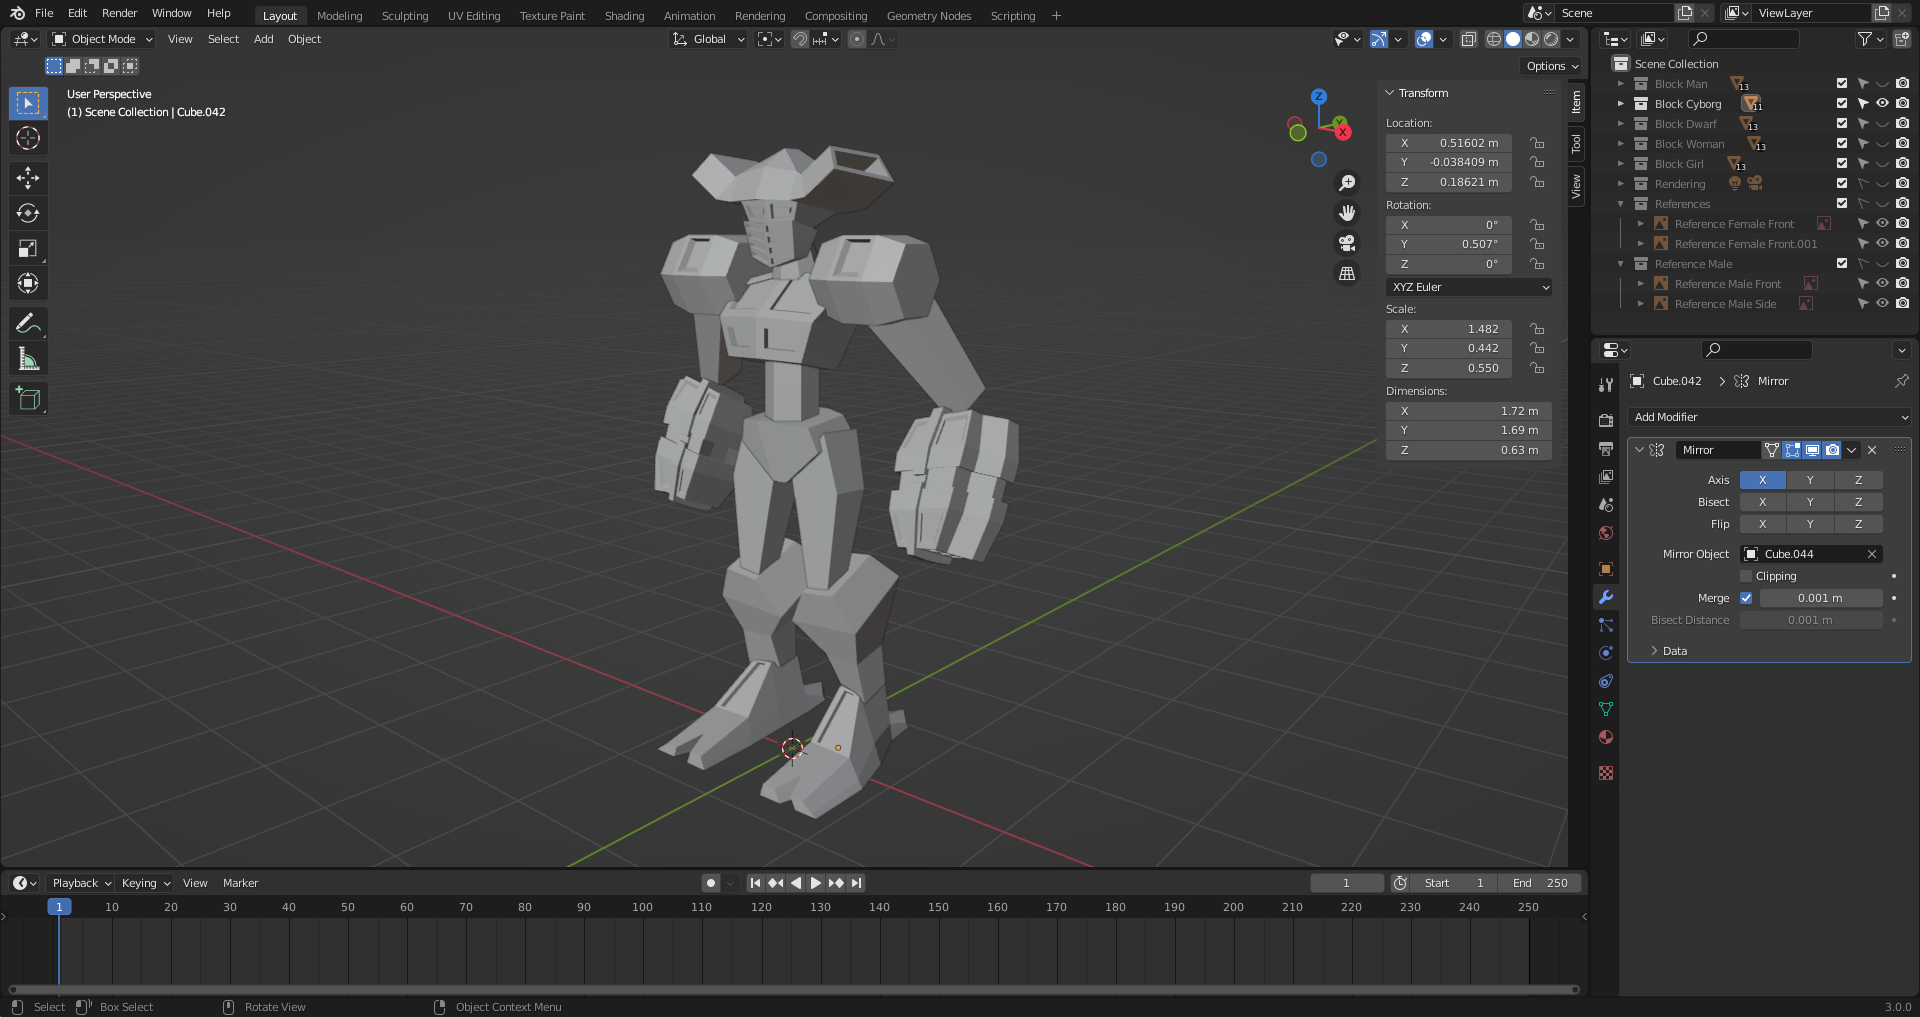
12. Mirroring
When using mirror modifier, remember to remove faces from inside.
Remember to enable clipping to keep the shape manifold.
Add some roundness by making side faces smaller (not visible in the concept)
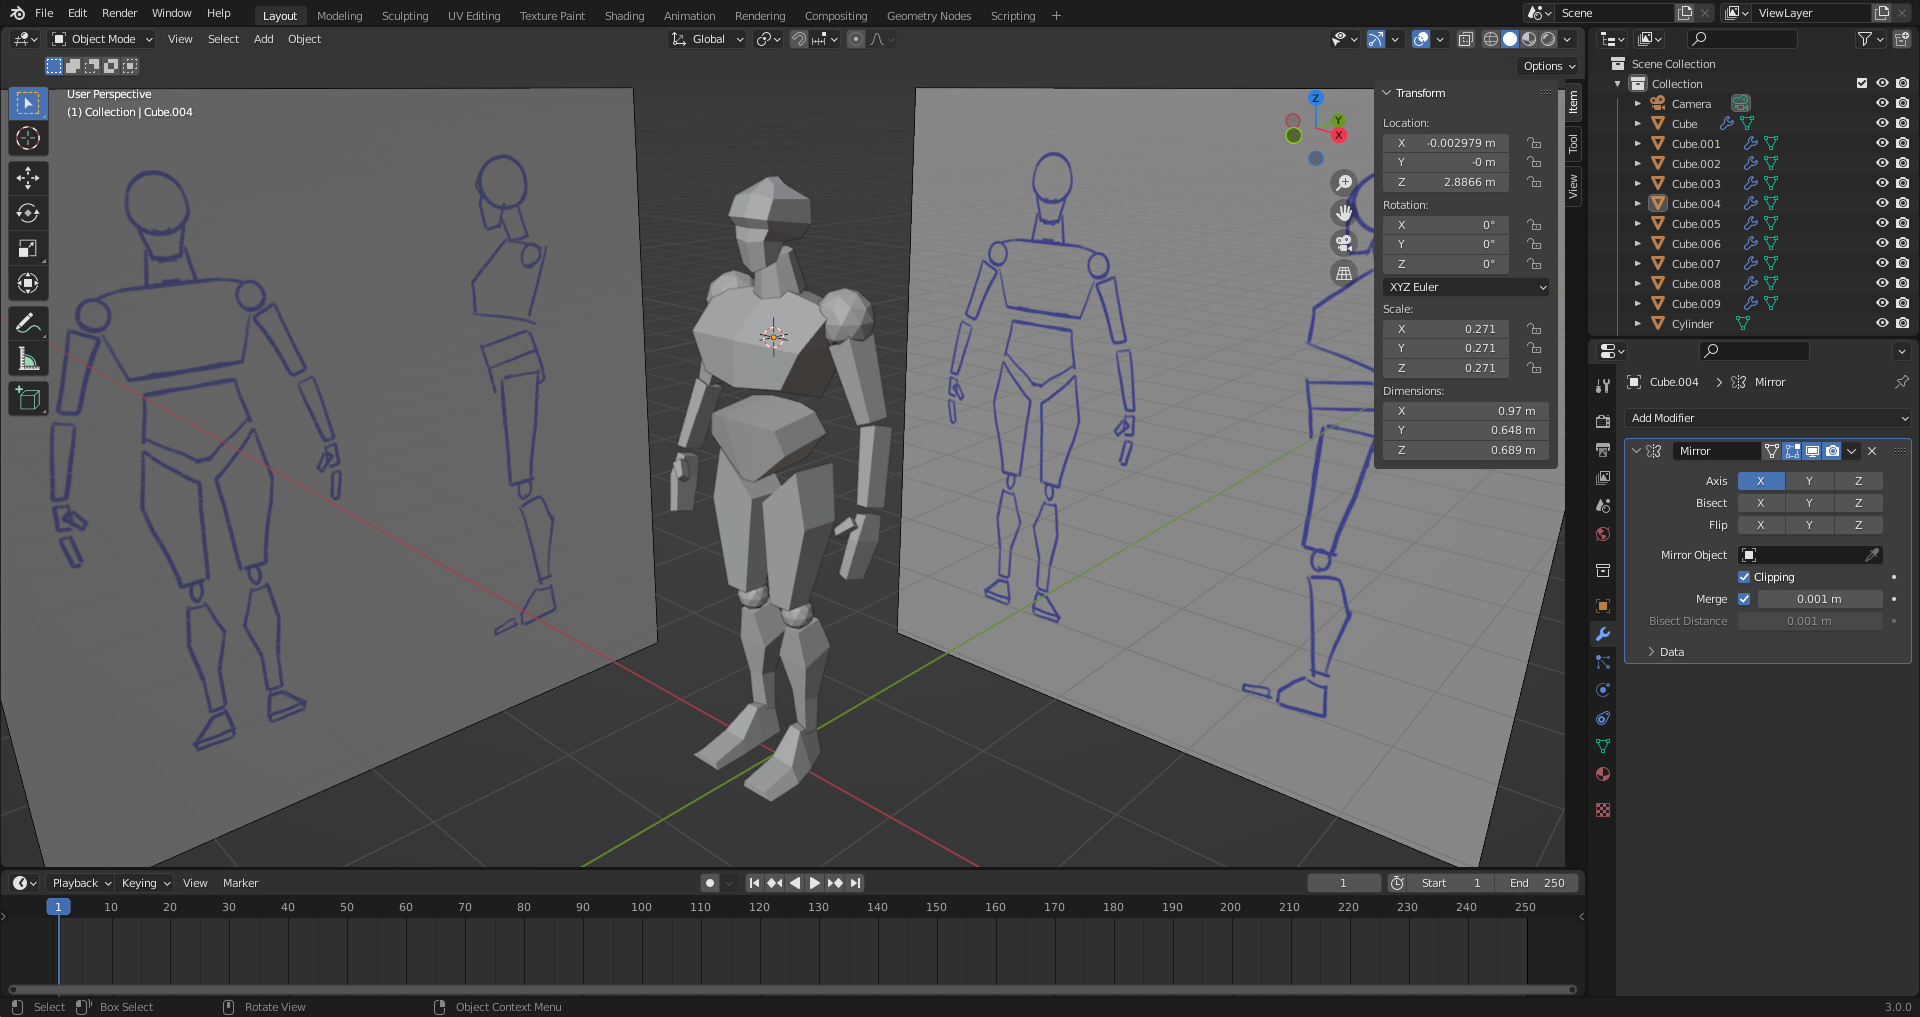
13. Mirror By Object
Add mirror modifier to one object, targeting a central part. Copy over using Ctrl L and copying modifiers.
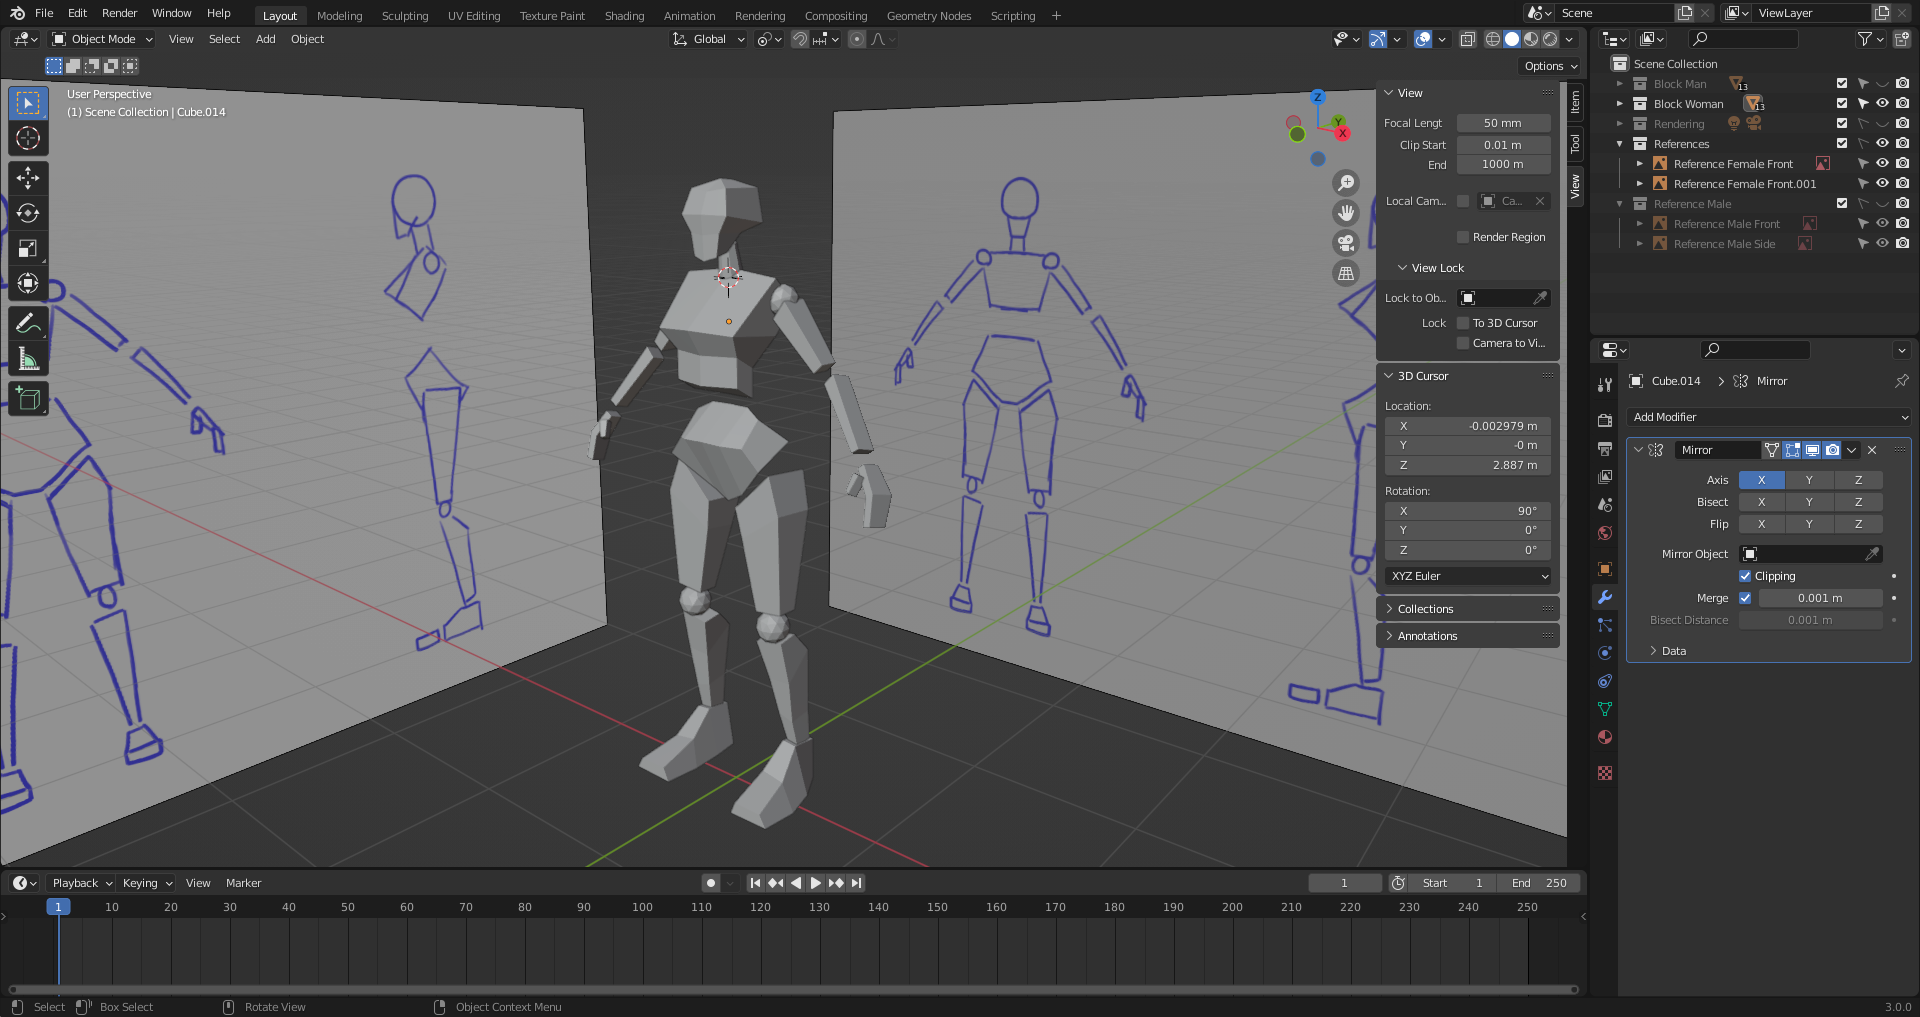
14. Collections
Useful to move stuff into collections.
15. Block Female
After adding references, it's good to move everything into separate collections.
Good making references not selectable by adding a filter to the object inspector (outliner).
Good position to rig characters for animation later is an "A" pose (female pose in the reference).
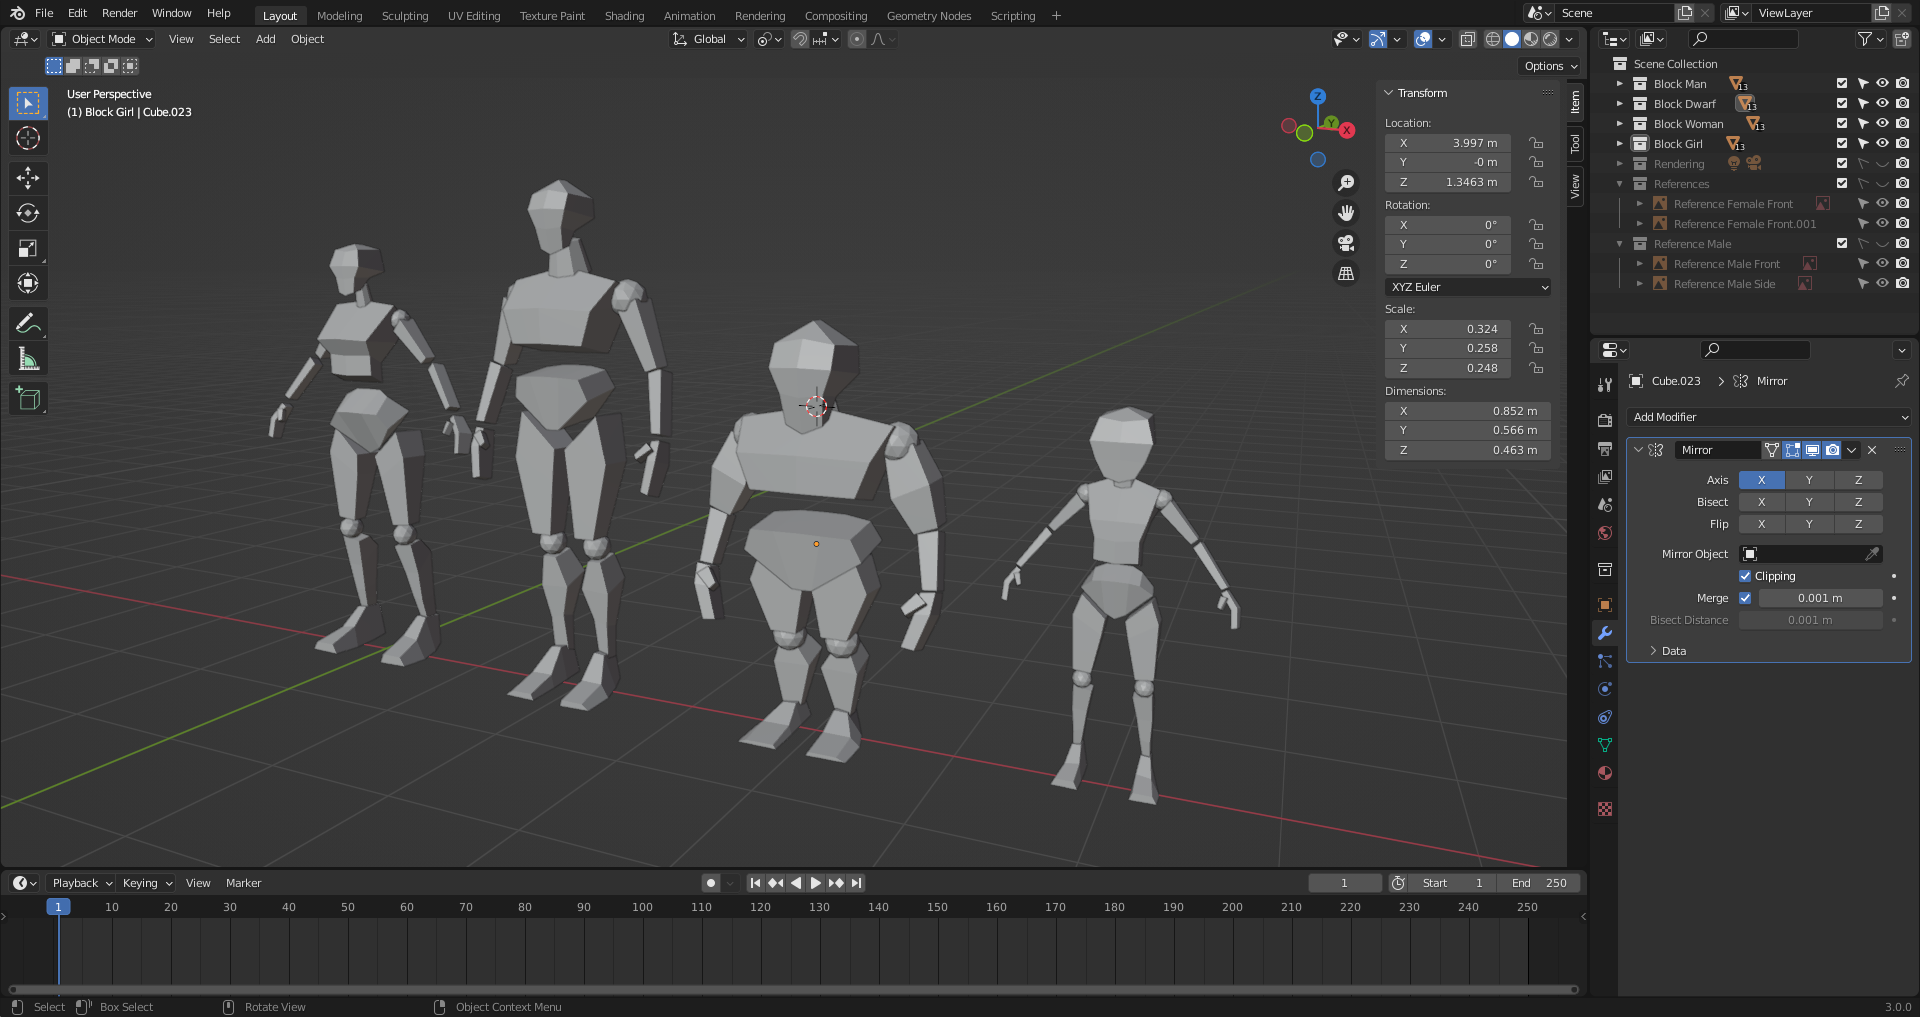
16. Block Characters
Change character shape and proportions to create different types of characters.
17. Cyborg
Shift S and 1 to move cursor to world center.
Scale character using point between foot to keep on ground.
Alt E gives extra options when extruding. E.g. extrude along face.
I starts inset command. Pressing I again alternates to each individual face being inset separately.
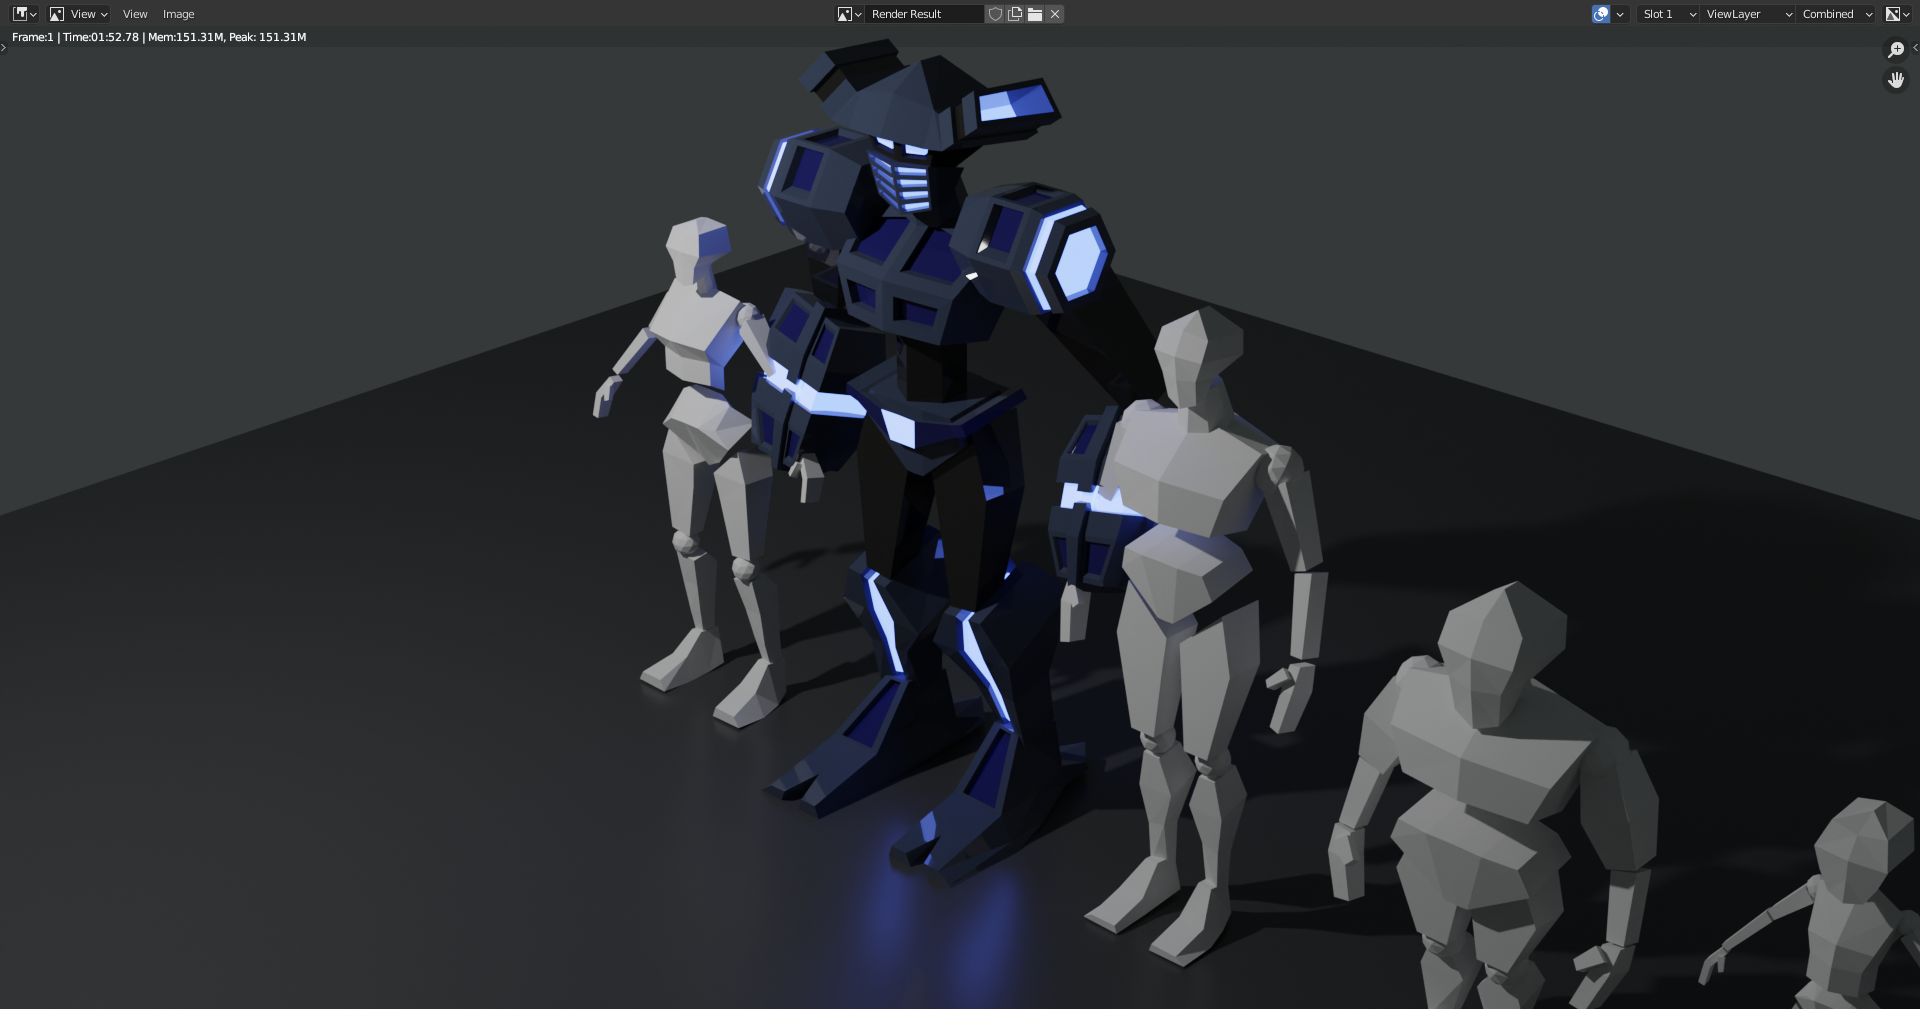
18. Cyborg Materials
Ctrl L to link materials.
Change background color: World material.
3. Full Character
20. The Torso
It's possible to only show references when axis aligned.
Scaling down reference and already modelling the character in the correct size is a good idea.
Nice to start out with chest. More central and more complex.
Auto-mirror add on to speed up mirror shape flow.
21. The Head
Not much new, just shape the head following the reference.
Try to model more proeminent parts of the face first (brows/eye cavity/nose/chin)
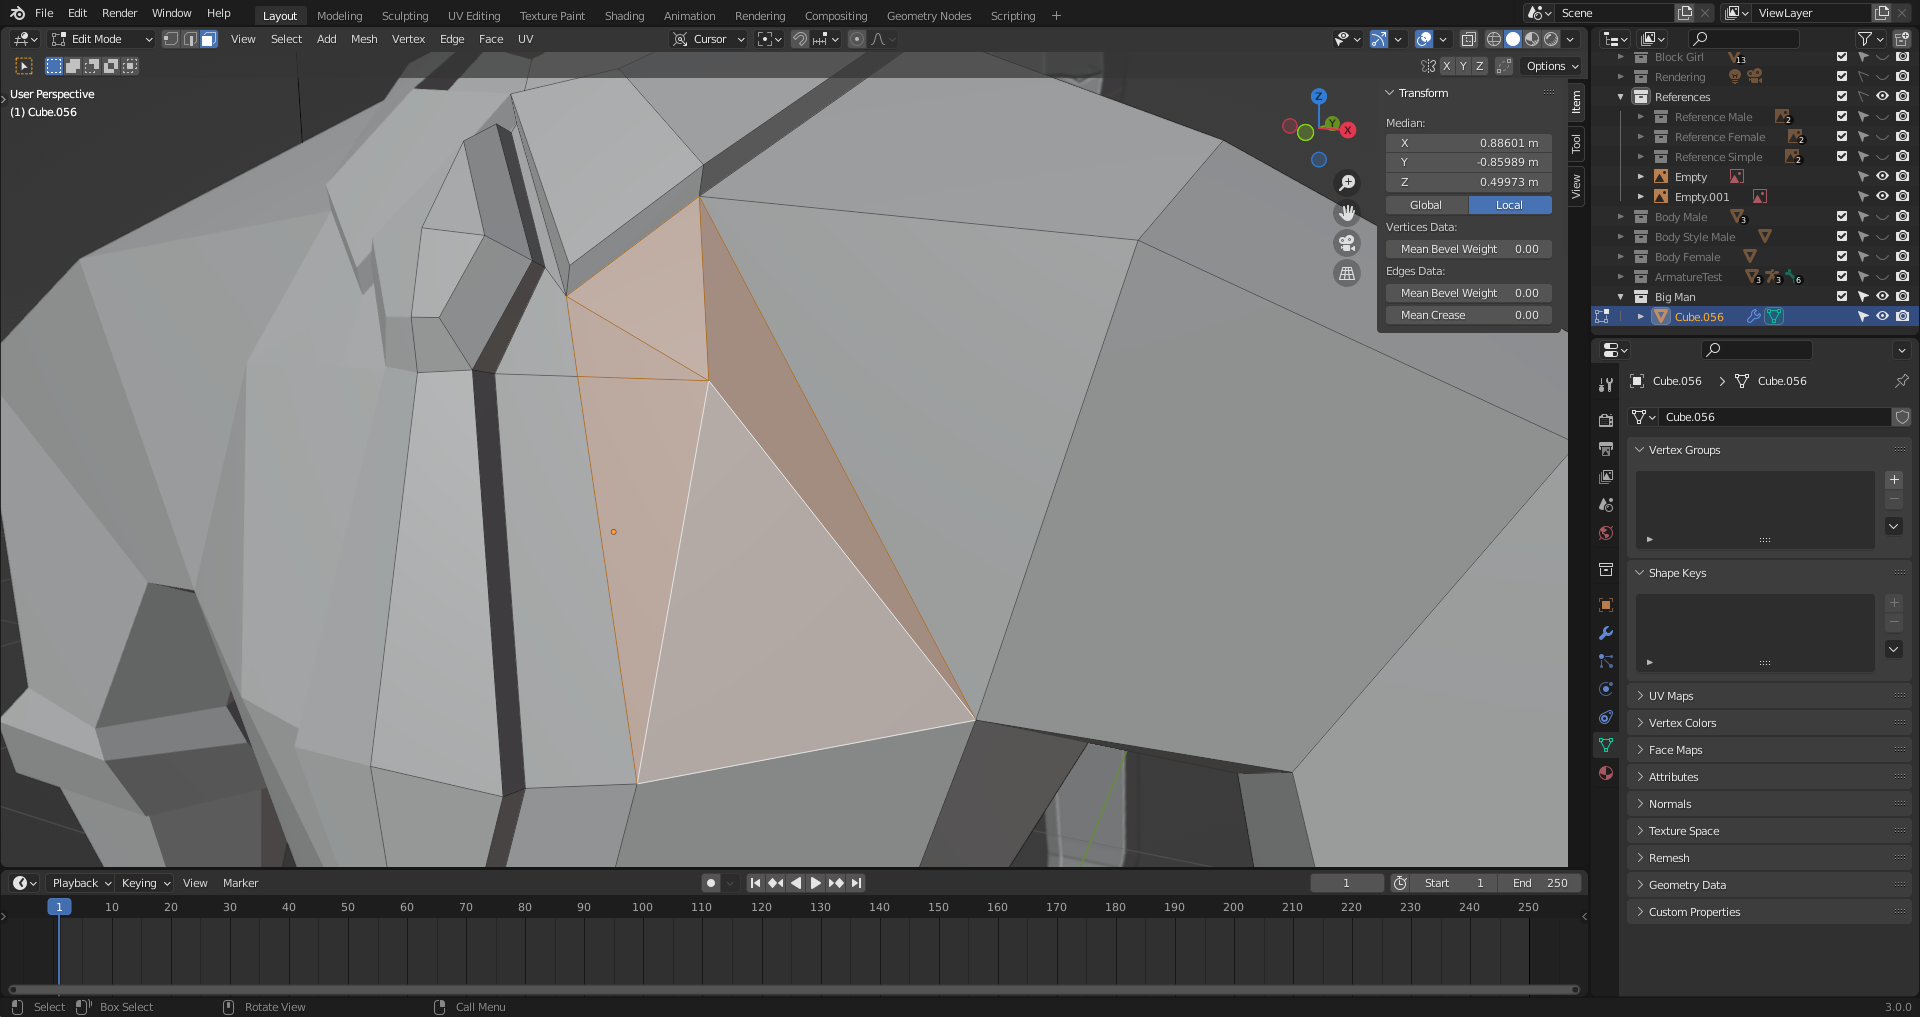
22. Topology & Rigging
Test out some mesh for joins. Single split, triple split and triangular split. Each one behaves in a different way. Single split is worse even when keeping the volume after transform.
Pinching is specially worrysome for low poly models.
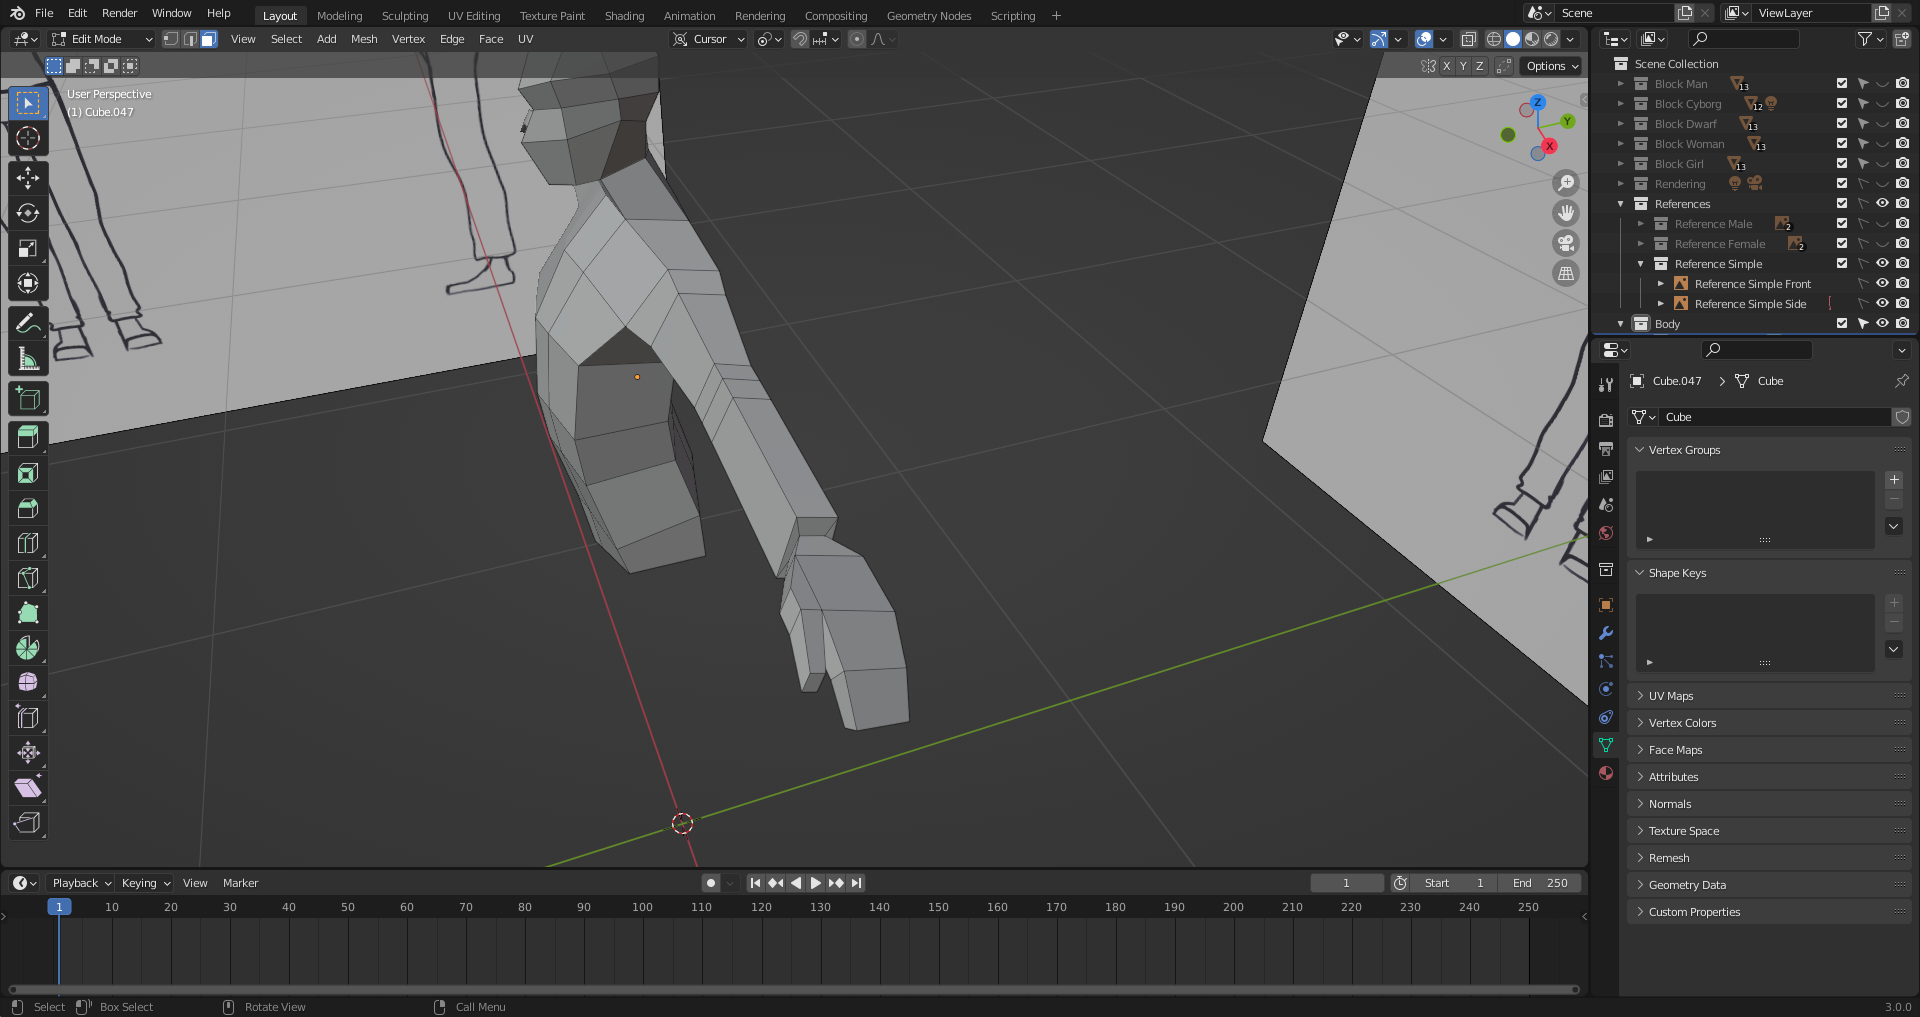
23. The Arm & The Hand
Try to keep the square/rounded shape of the arm.
When get to the sleeve part, use G G to move edges and make it slightly thinner.
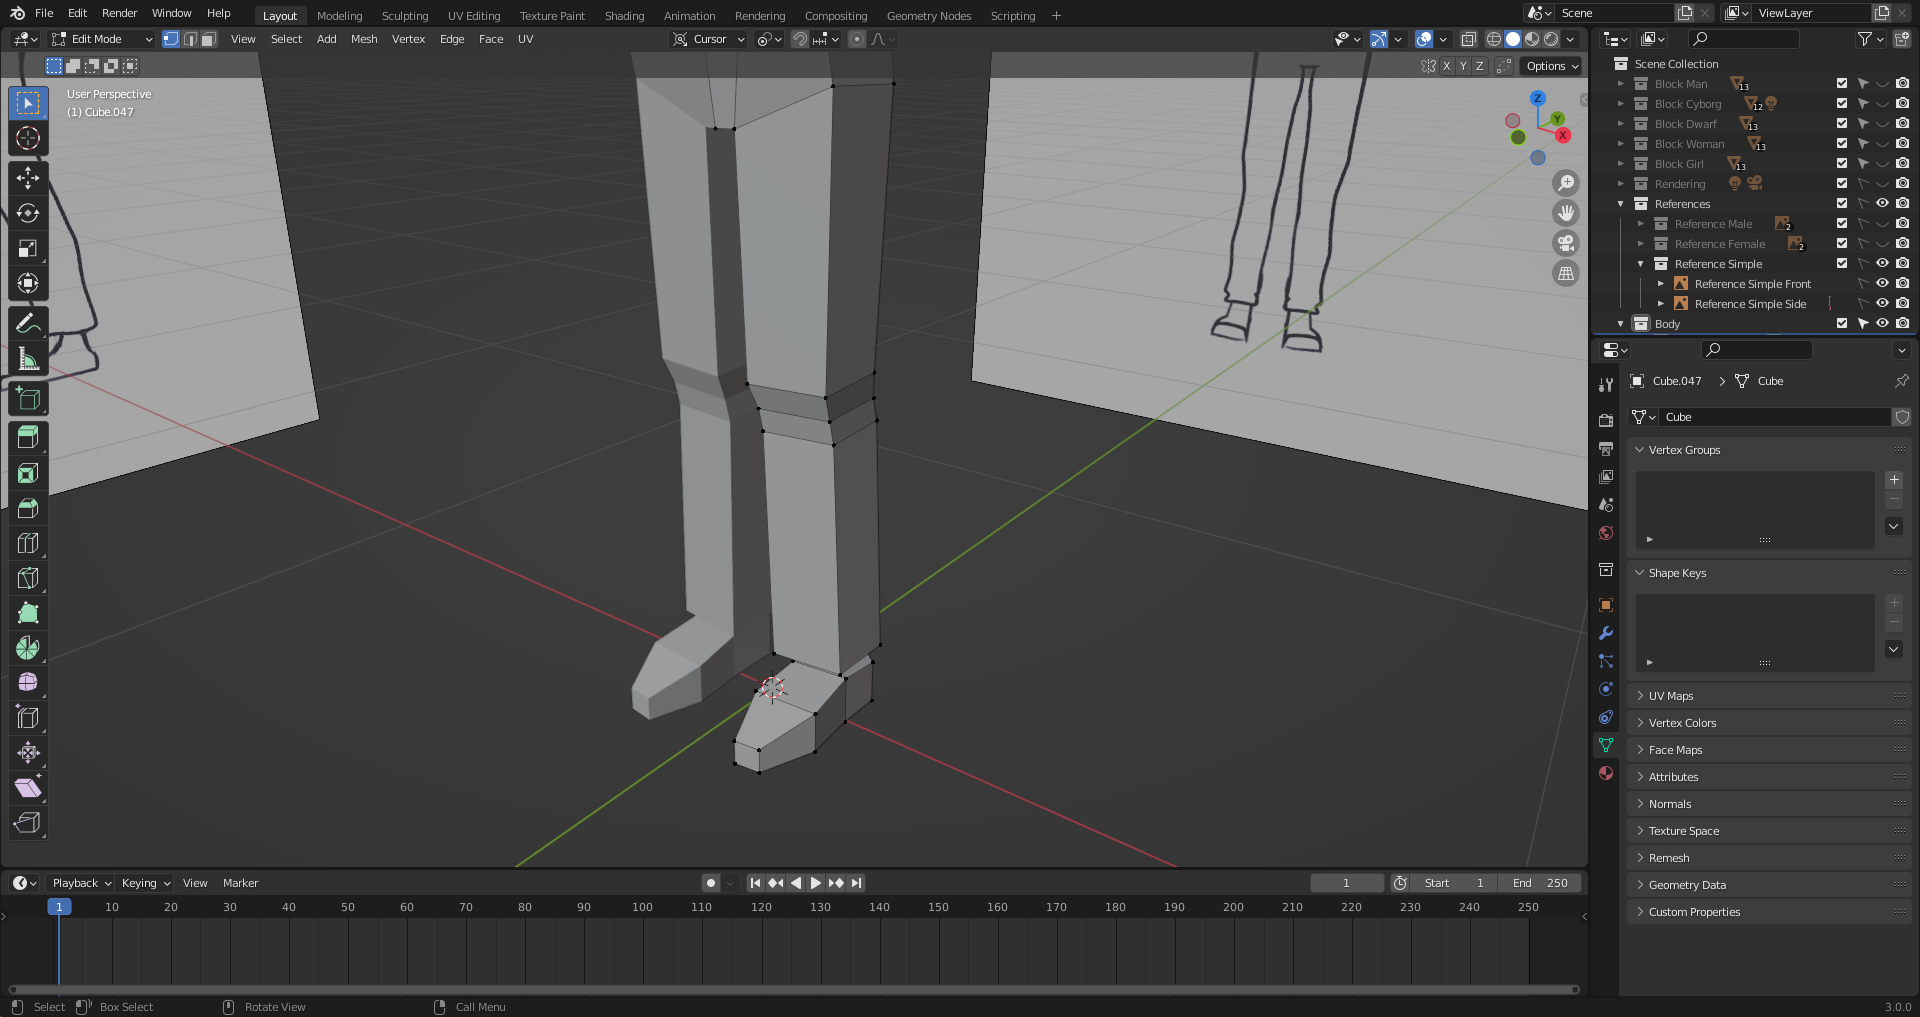
24. The Legs & The Feet
When trying to rotate a prism face along an axis but want to keep the prism width, the face scale in that axis can be set to 0 instead.
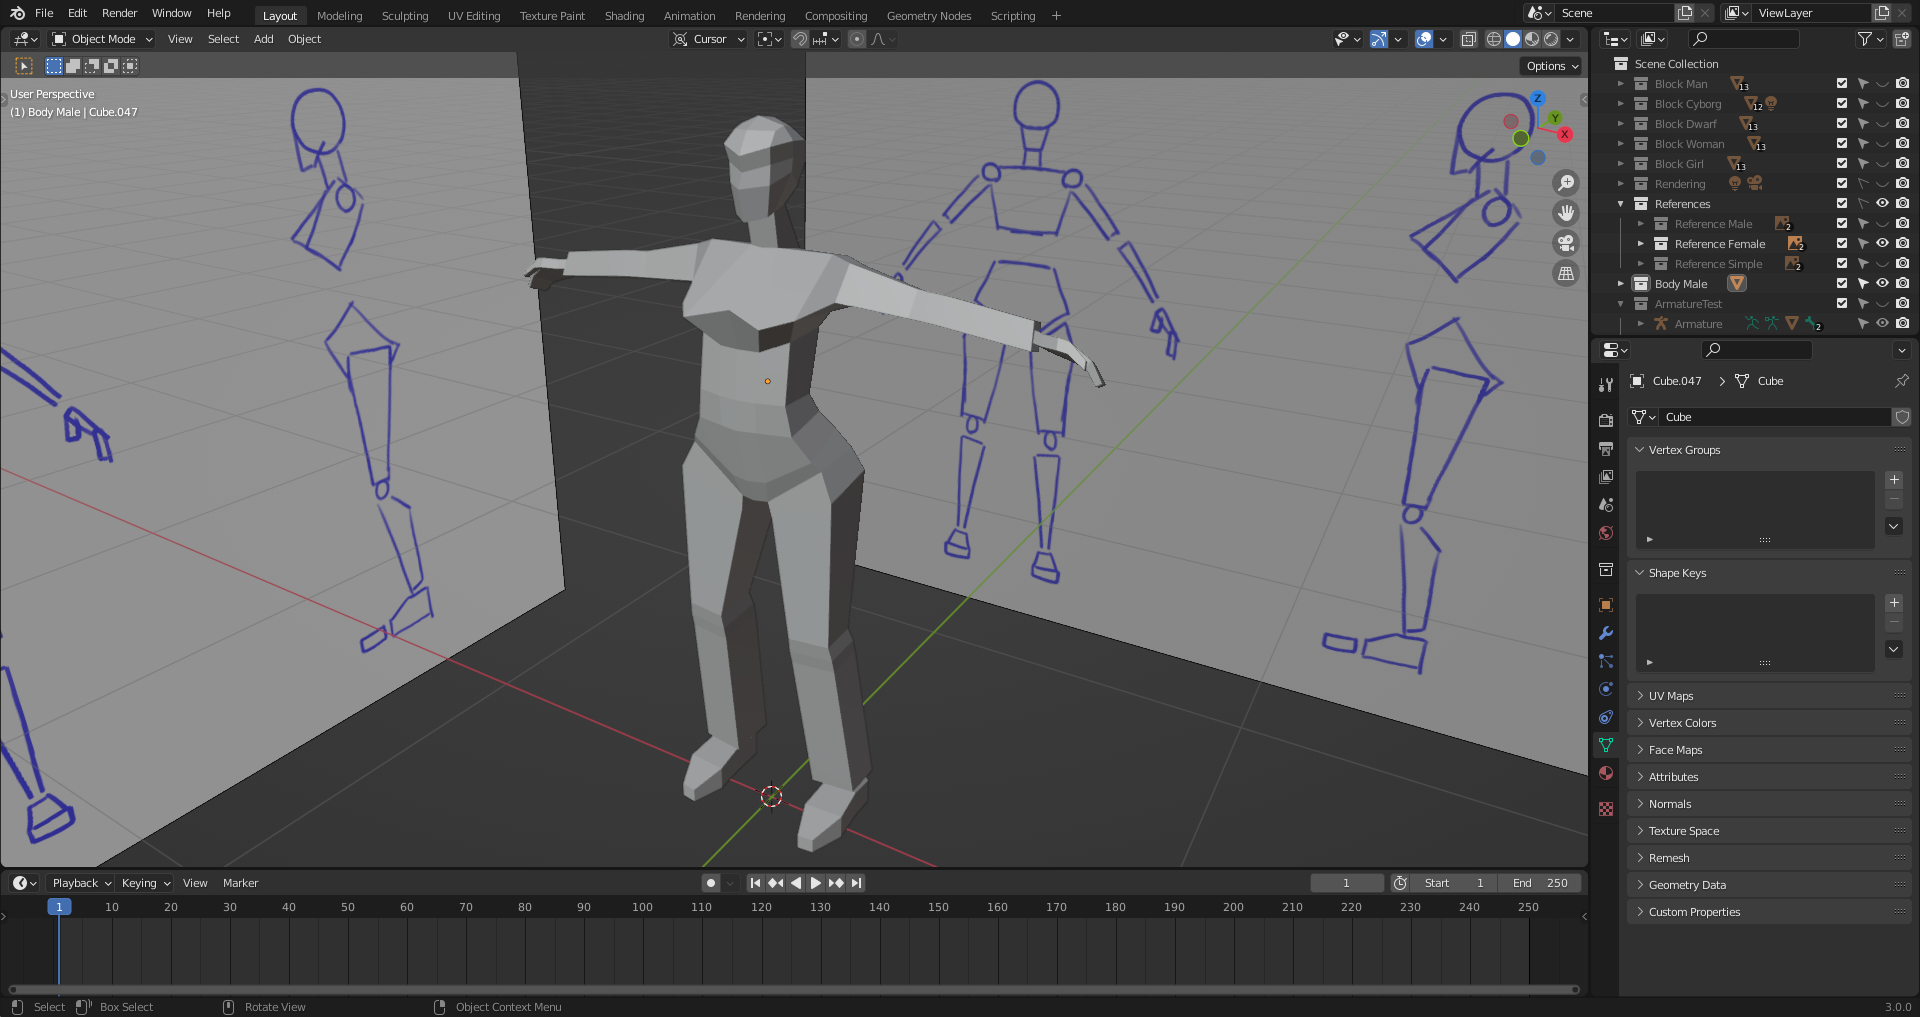
25. Female Character
Just select vertices and morph them into position.
26. Both Characters
Append other blend file to add objects from it into your current object.
27. Stylized Teenager
4. Detailed Character
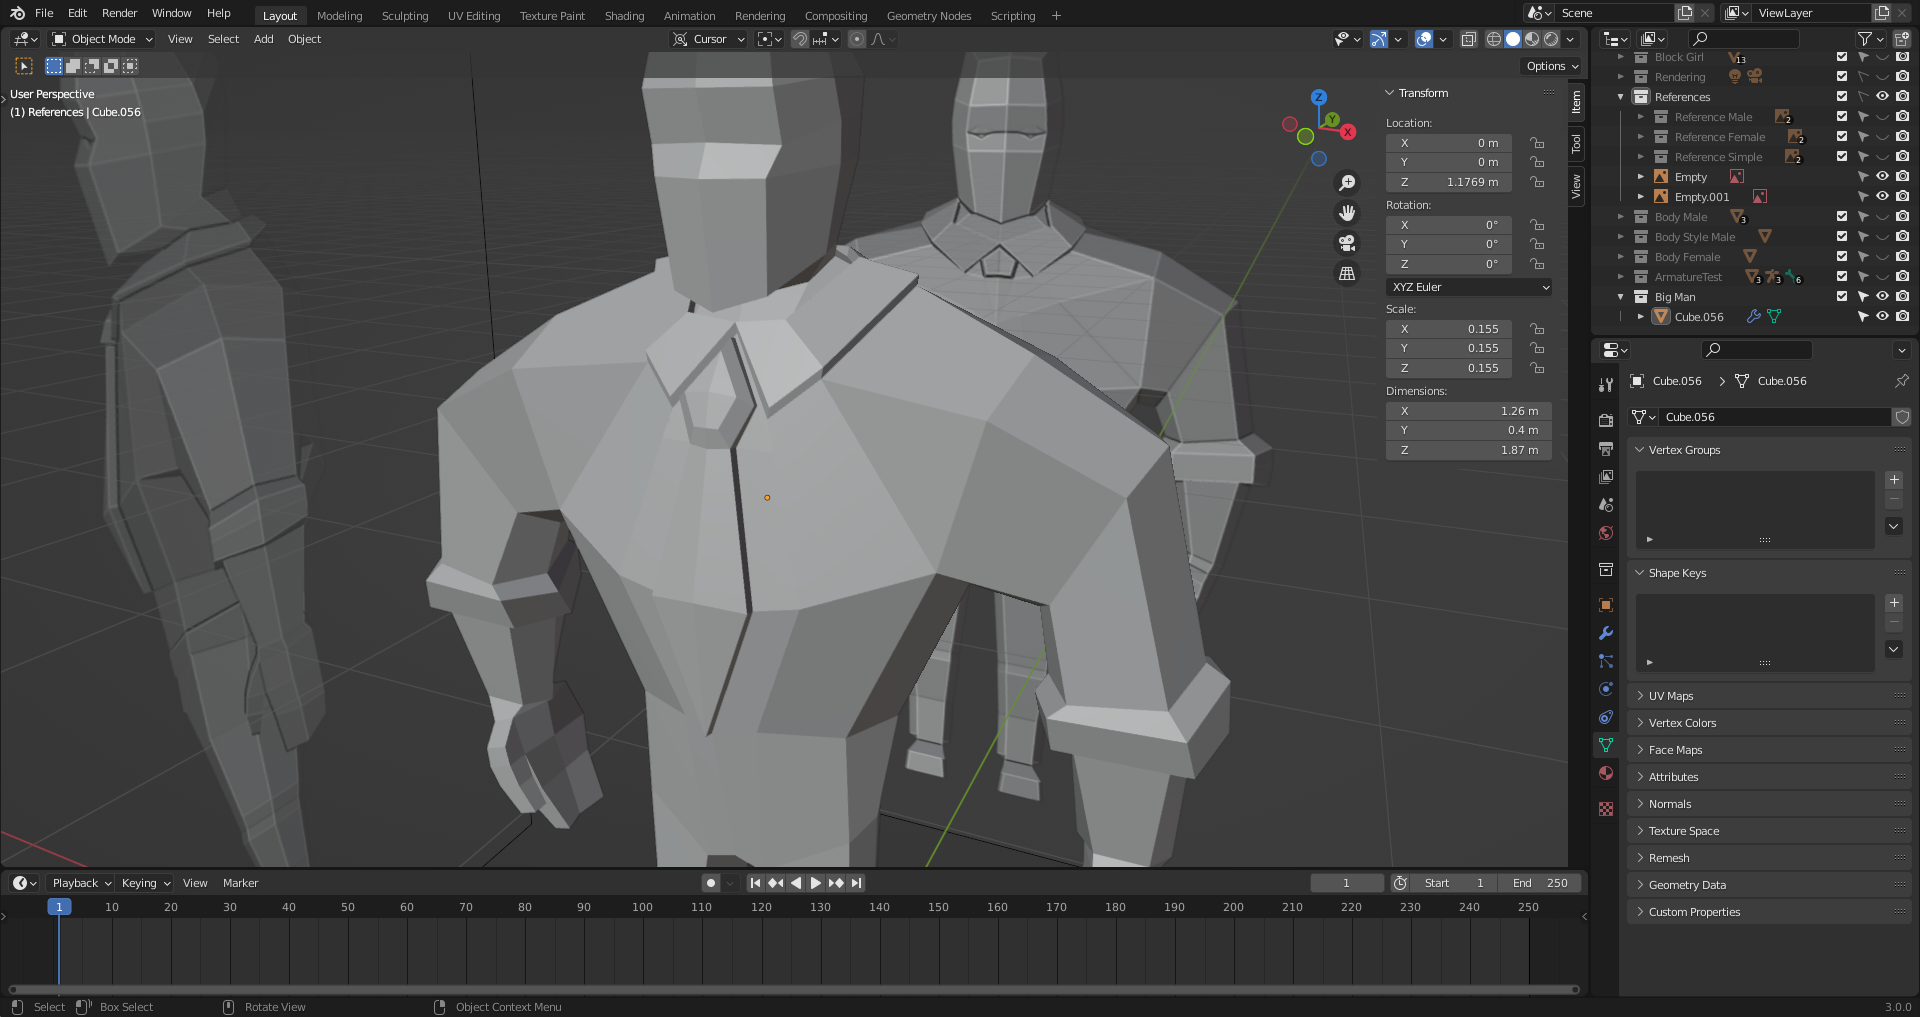
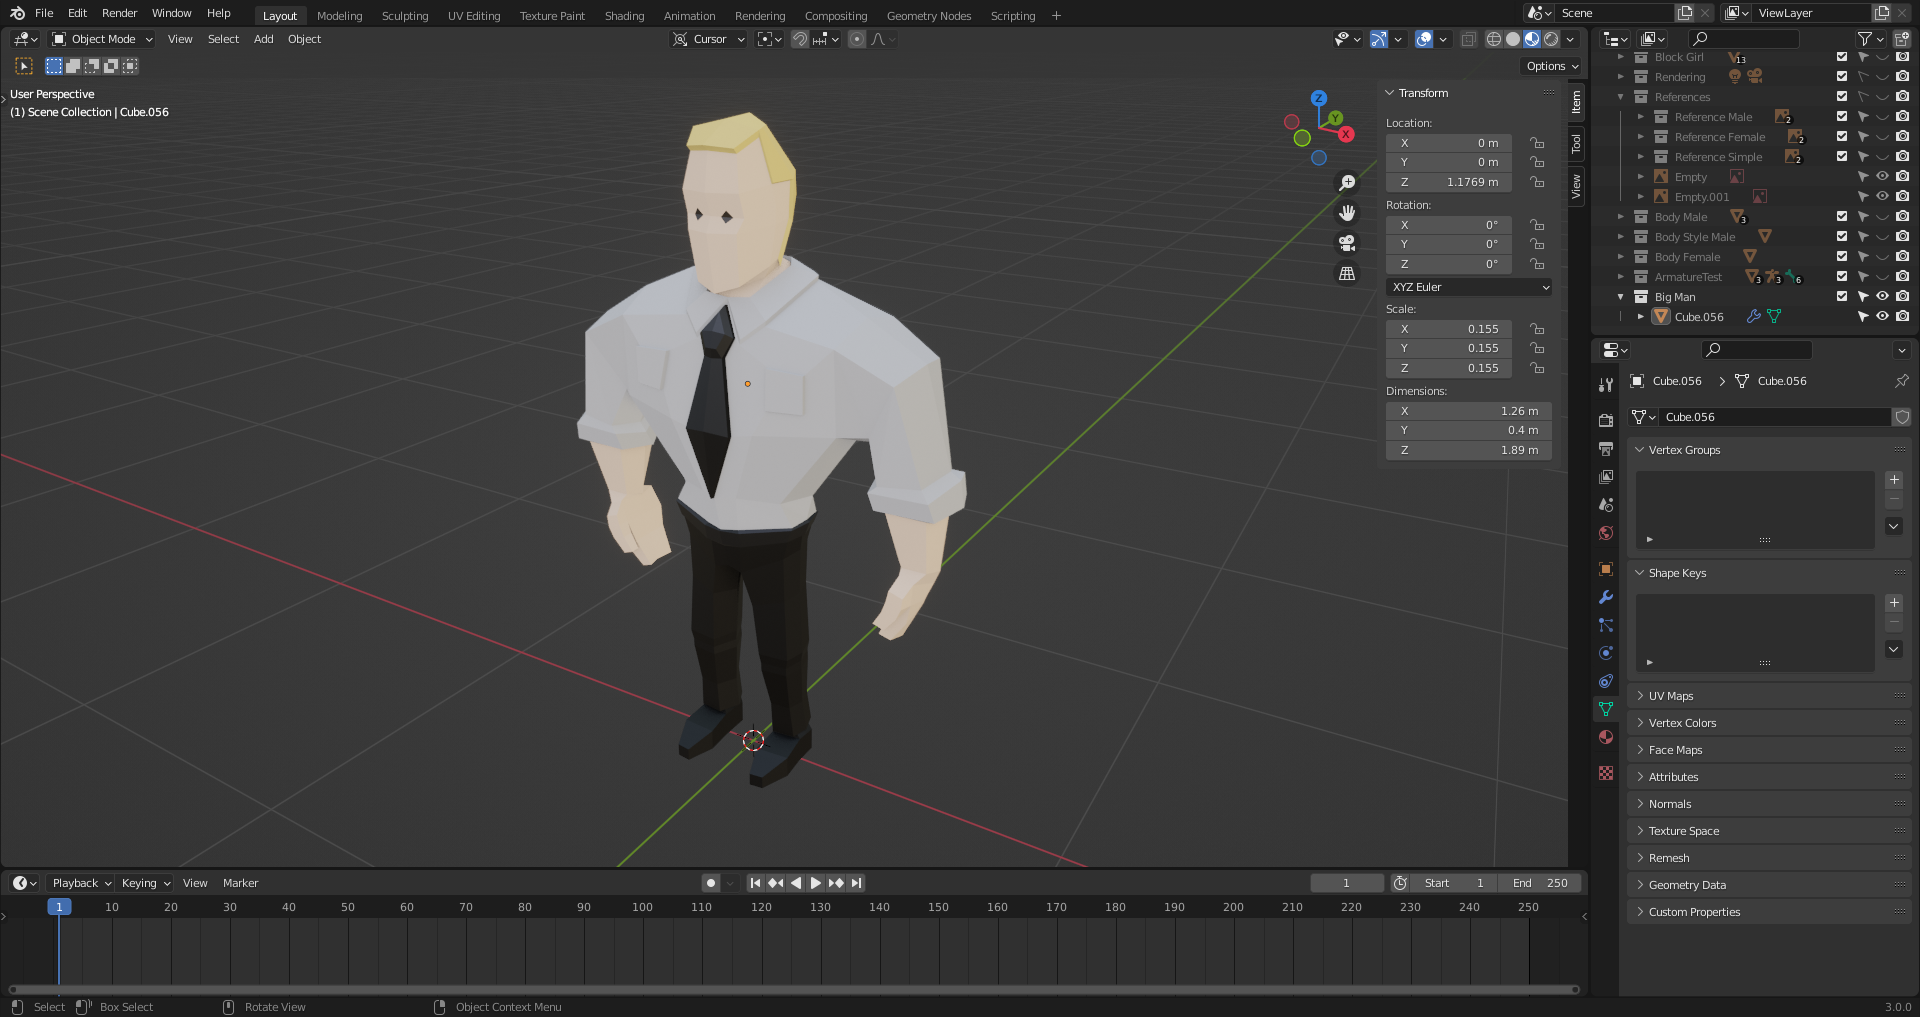
29. Big Man
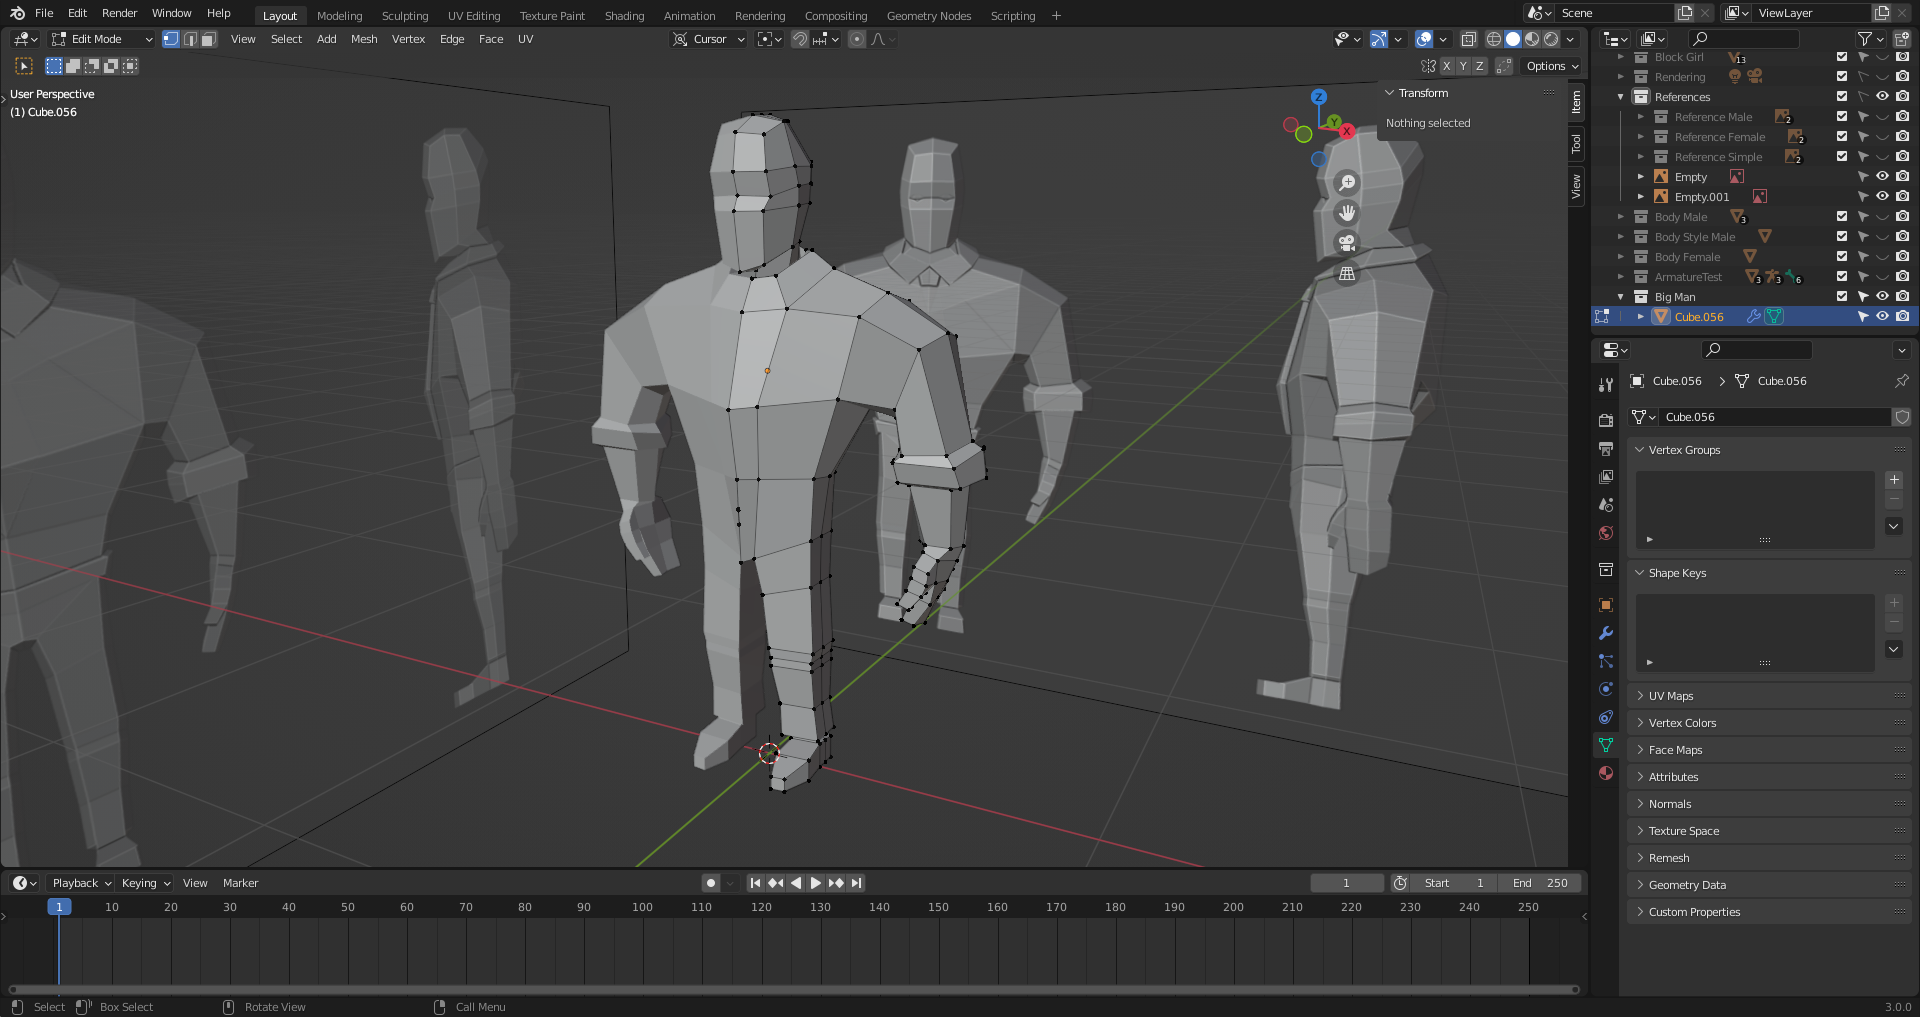
30. Big Man Details
31. Merging Vertices
When auto merge is enabled, vertices that get too close to each other get merged automatically.
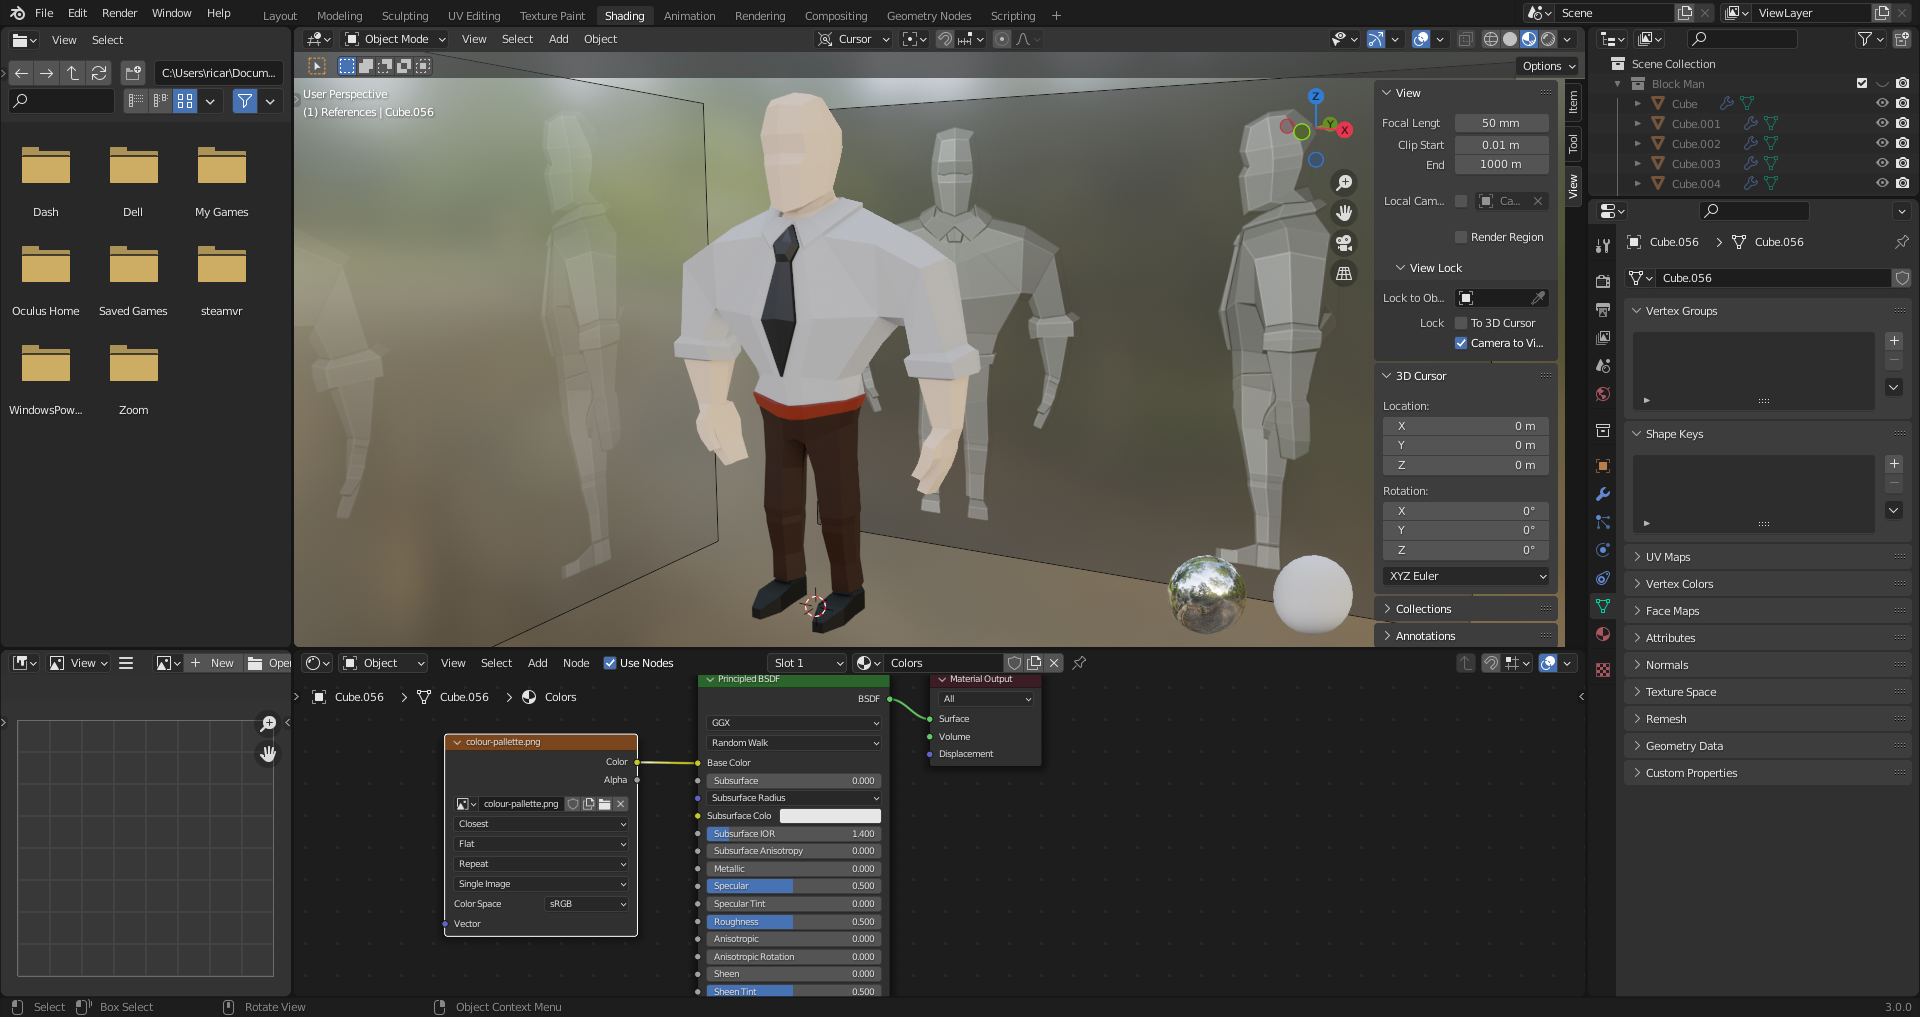
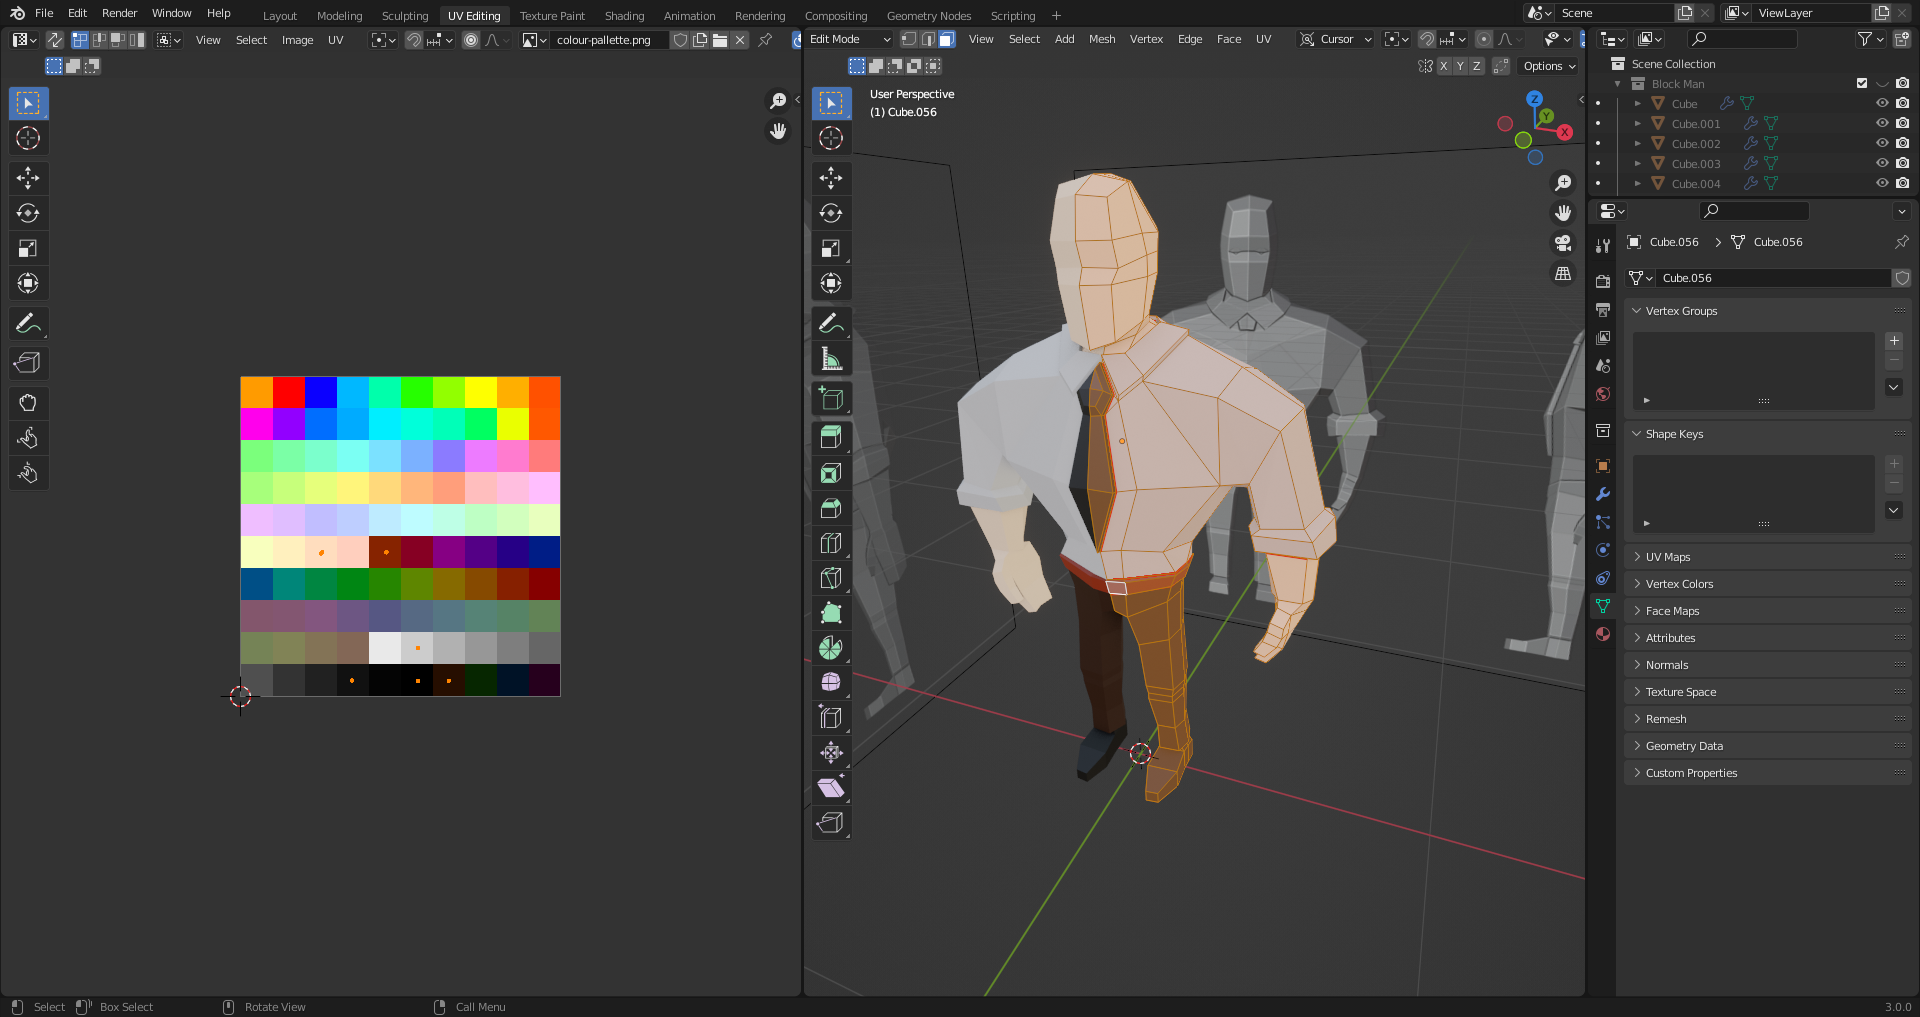
32. UV Editing
Coloring with materials looks ok, but limited.
If flat colored but many many colors, using a color map texture is ideal. Place faces within certain colors in the texture.
Use closest uv filter so colors do not get blended.
Selecting belt: Select edge loop with Alt LMB. Grow selection with Ctrl +.
If interface is hidden by too small windows (e.g. UV Editing split screen), drag with middle mouse to find hidden options.
Easy way to separate objects to make it easier to change color later: Marking seams (Edge -> Mark Seams).
Now, when selecting faces with L, the linking will stop at seams.
Selecting all points and scaling to 0 makes it easier to fit in the color face.
33. Minor Edits
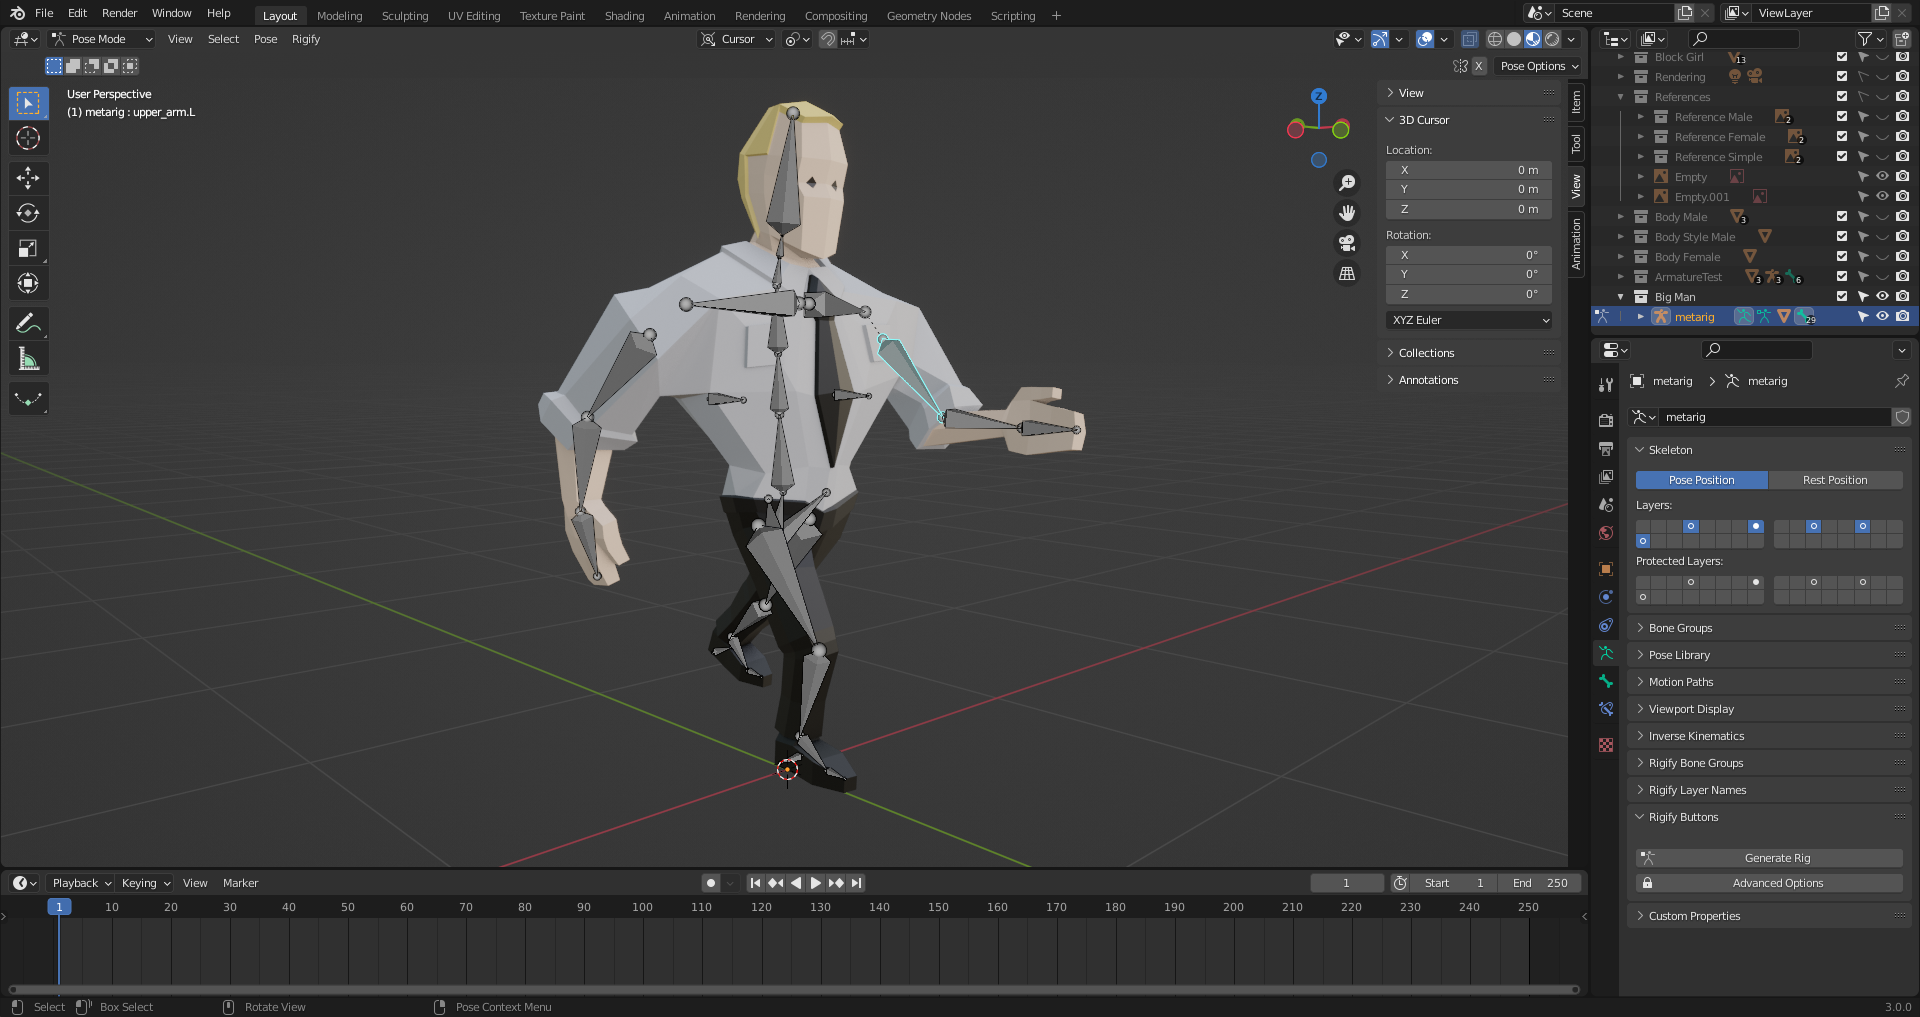
5. Basic Rigging
35. Human Rig
Usually not good if you have transforms in the mesh. Apply rotation and scale.
Merging by distance with M after selecting the mesh helps removing confusion with the bone resolver.
Also check normals with overlays -> orientation
On Overlay -> Statistics to see amount of vertices and other values.
Possible to add rig by hand. Add Armature to the scene.
There's a plugin to add human rig. Edit -> Preferences -> Add-ons -> Rigify
Now when adding armatures with Shift A there will be multiple options.
"butterfly" button on top let you mirror movement in the bones along the X axis.
"Chest bones" prevent character chest to attaching to the arms instead. Wide characters require those to be more spread.

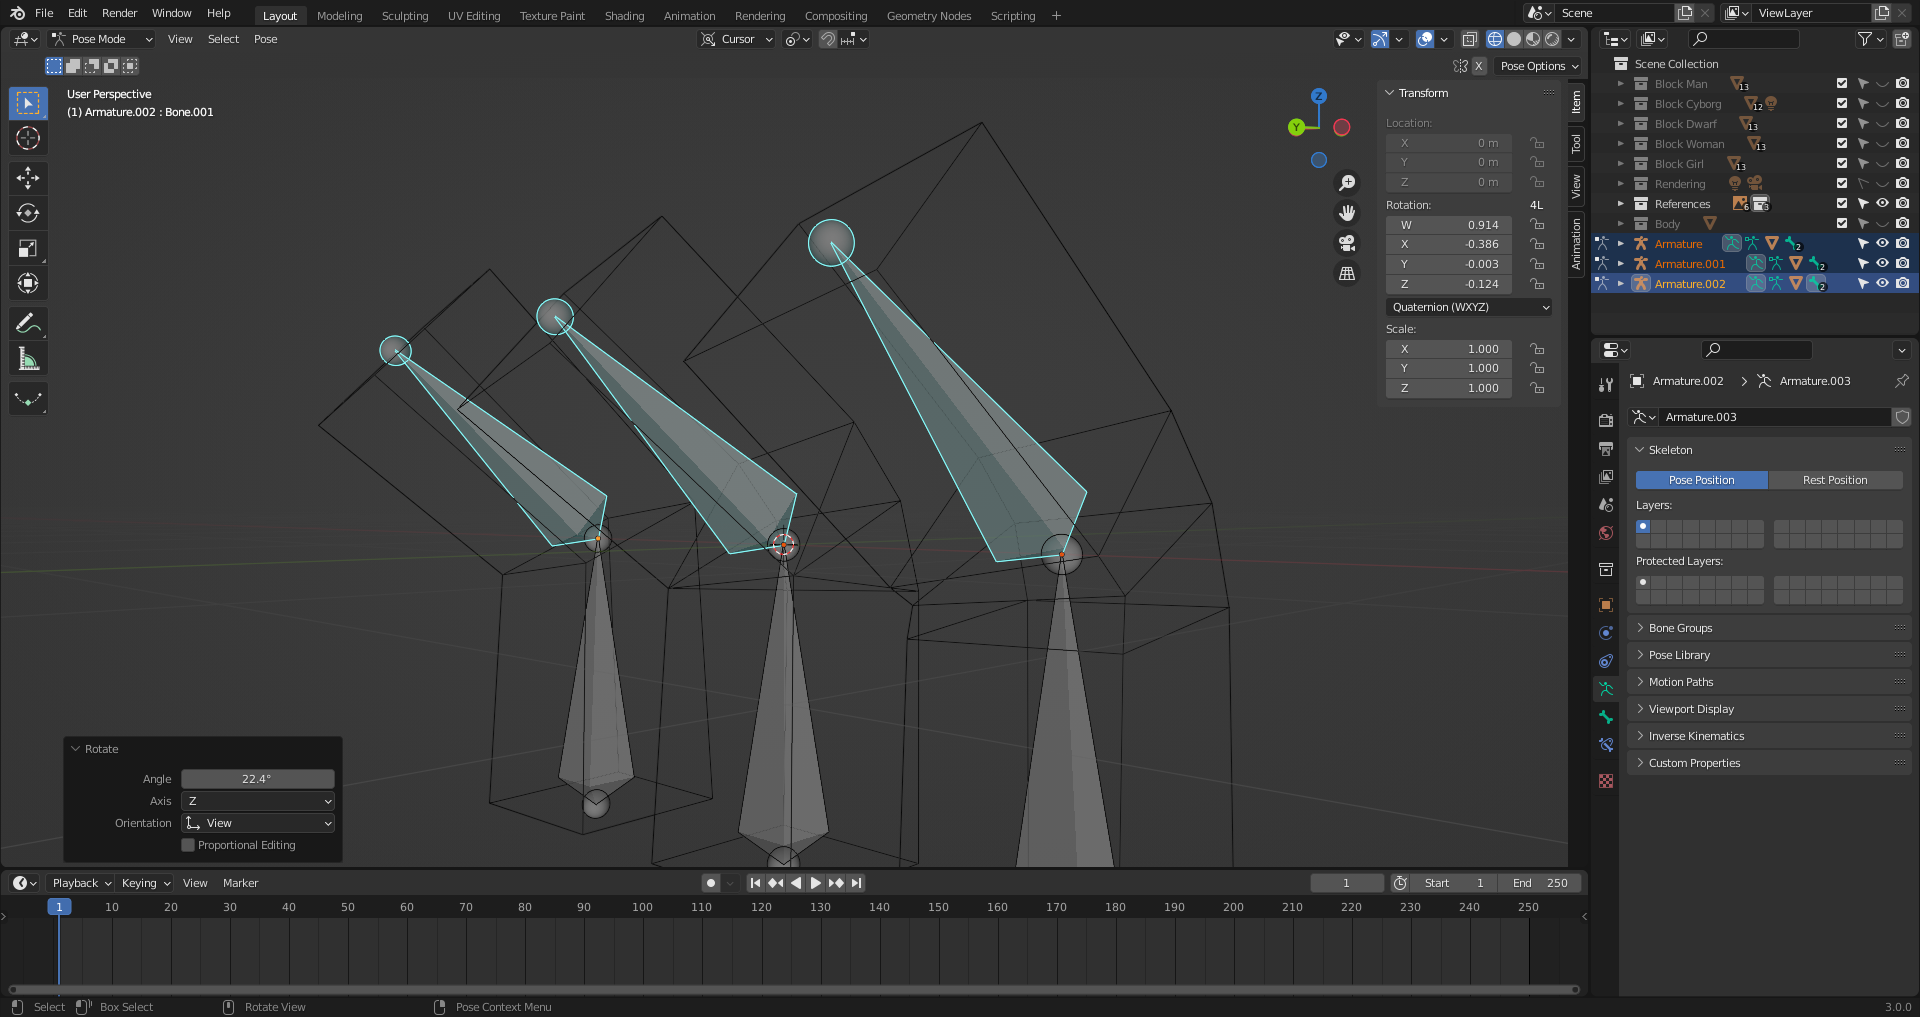
36. Strike a Pose
Parent the mesh within the armature with Ctrl P
Use pose mode to move the armature.
Alt R removes any rotation in the armature. Alt G remove any movement.
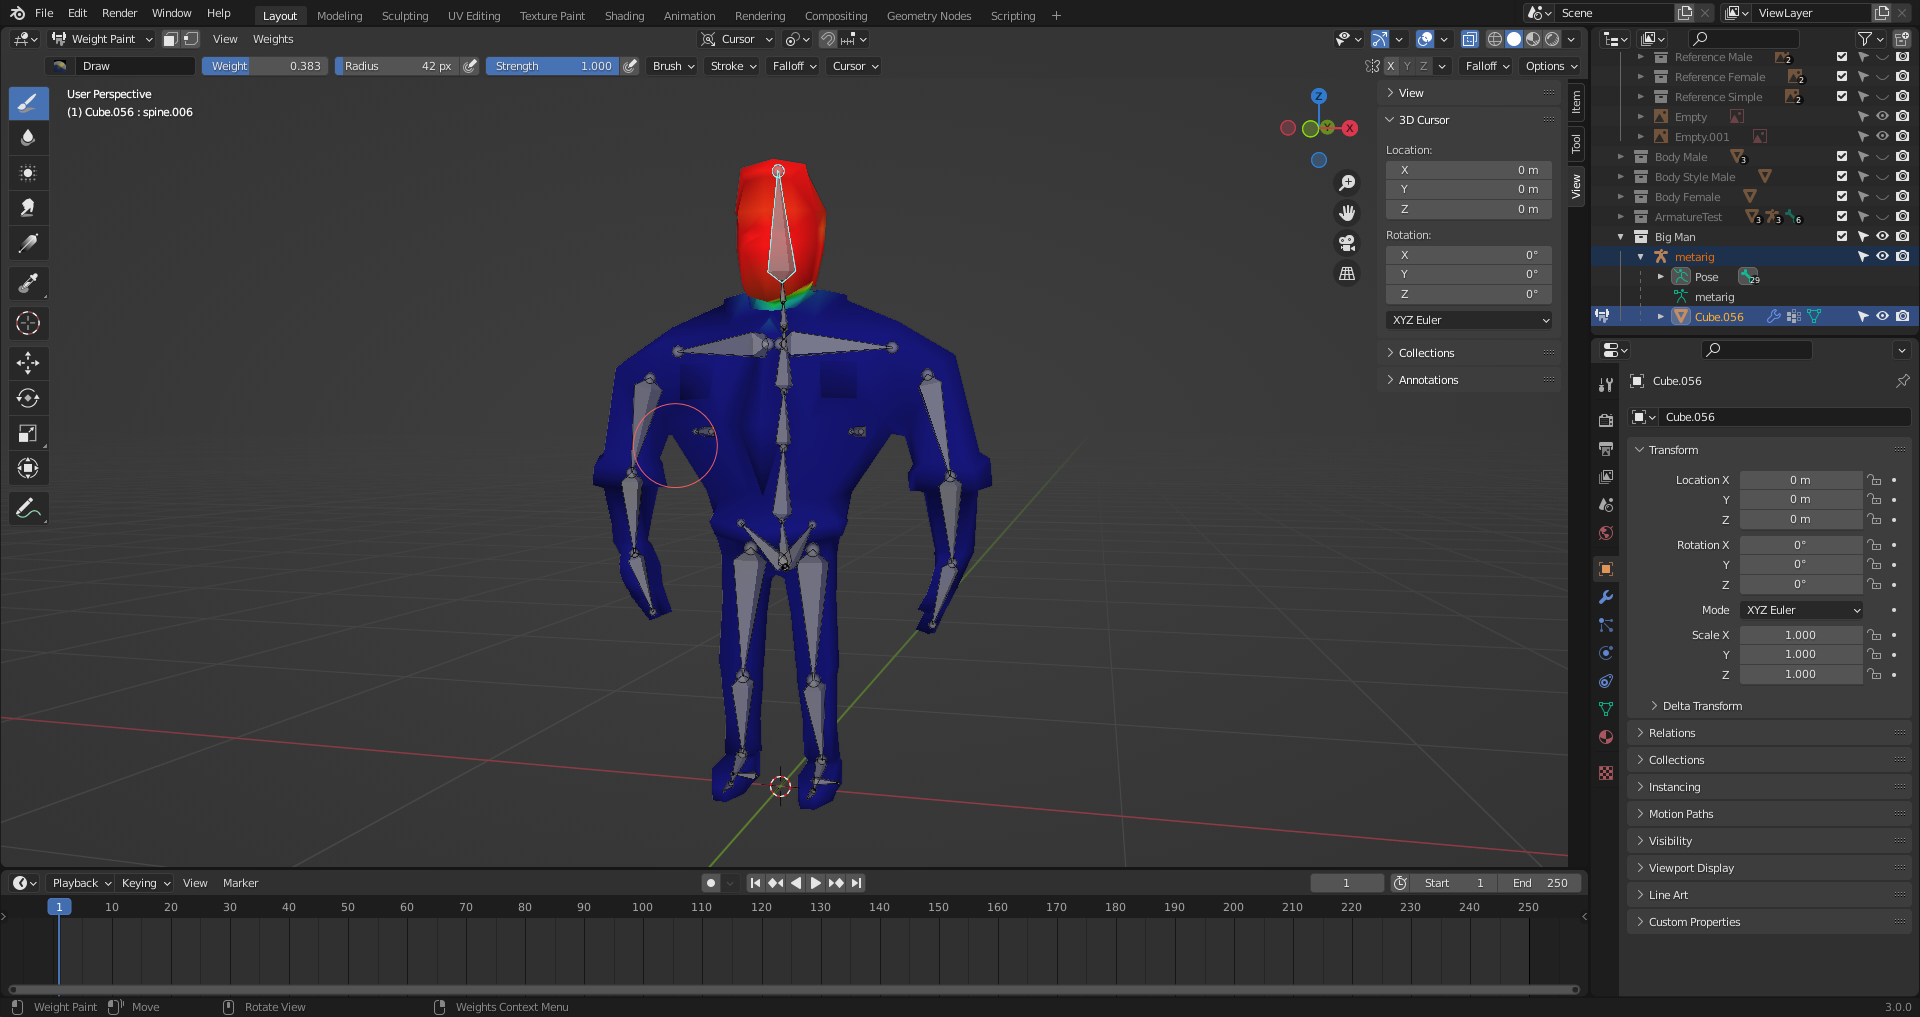
37. Weight Painting
Sometimes the auto weight is not good enough.
Ctrl Tab - Opens mode menu
Edit -> Lock object mode - Untoggle to let select bones while in weight paint mode.
Enter weight paint mode with both object and armature selected.
With both character and bones selected in paint mode, holdint down Ctrl and clicking will select a bone. Makes it easier to edit the weight of it.
6. Female Character
39. Base Mesh
40. Final Base Mesh

41. Mixamo Animations
Nice tool from adobe to apply animations over meshes automatically.
Upload mesh, follow instructions, download fbx file with animation. Import into Blender
Sometimes texture get messed up after export/reimport